
Sibling Discounts
In this guide, you'll explore how to configure sibling discounts within your application
Go to playbooksandbox8.herokuapp.com
1. Introduction
By the end, you will have a fully functional sibling discount ready to attract and support customers.
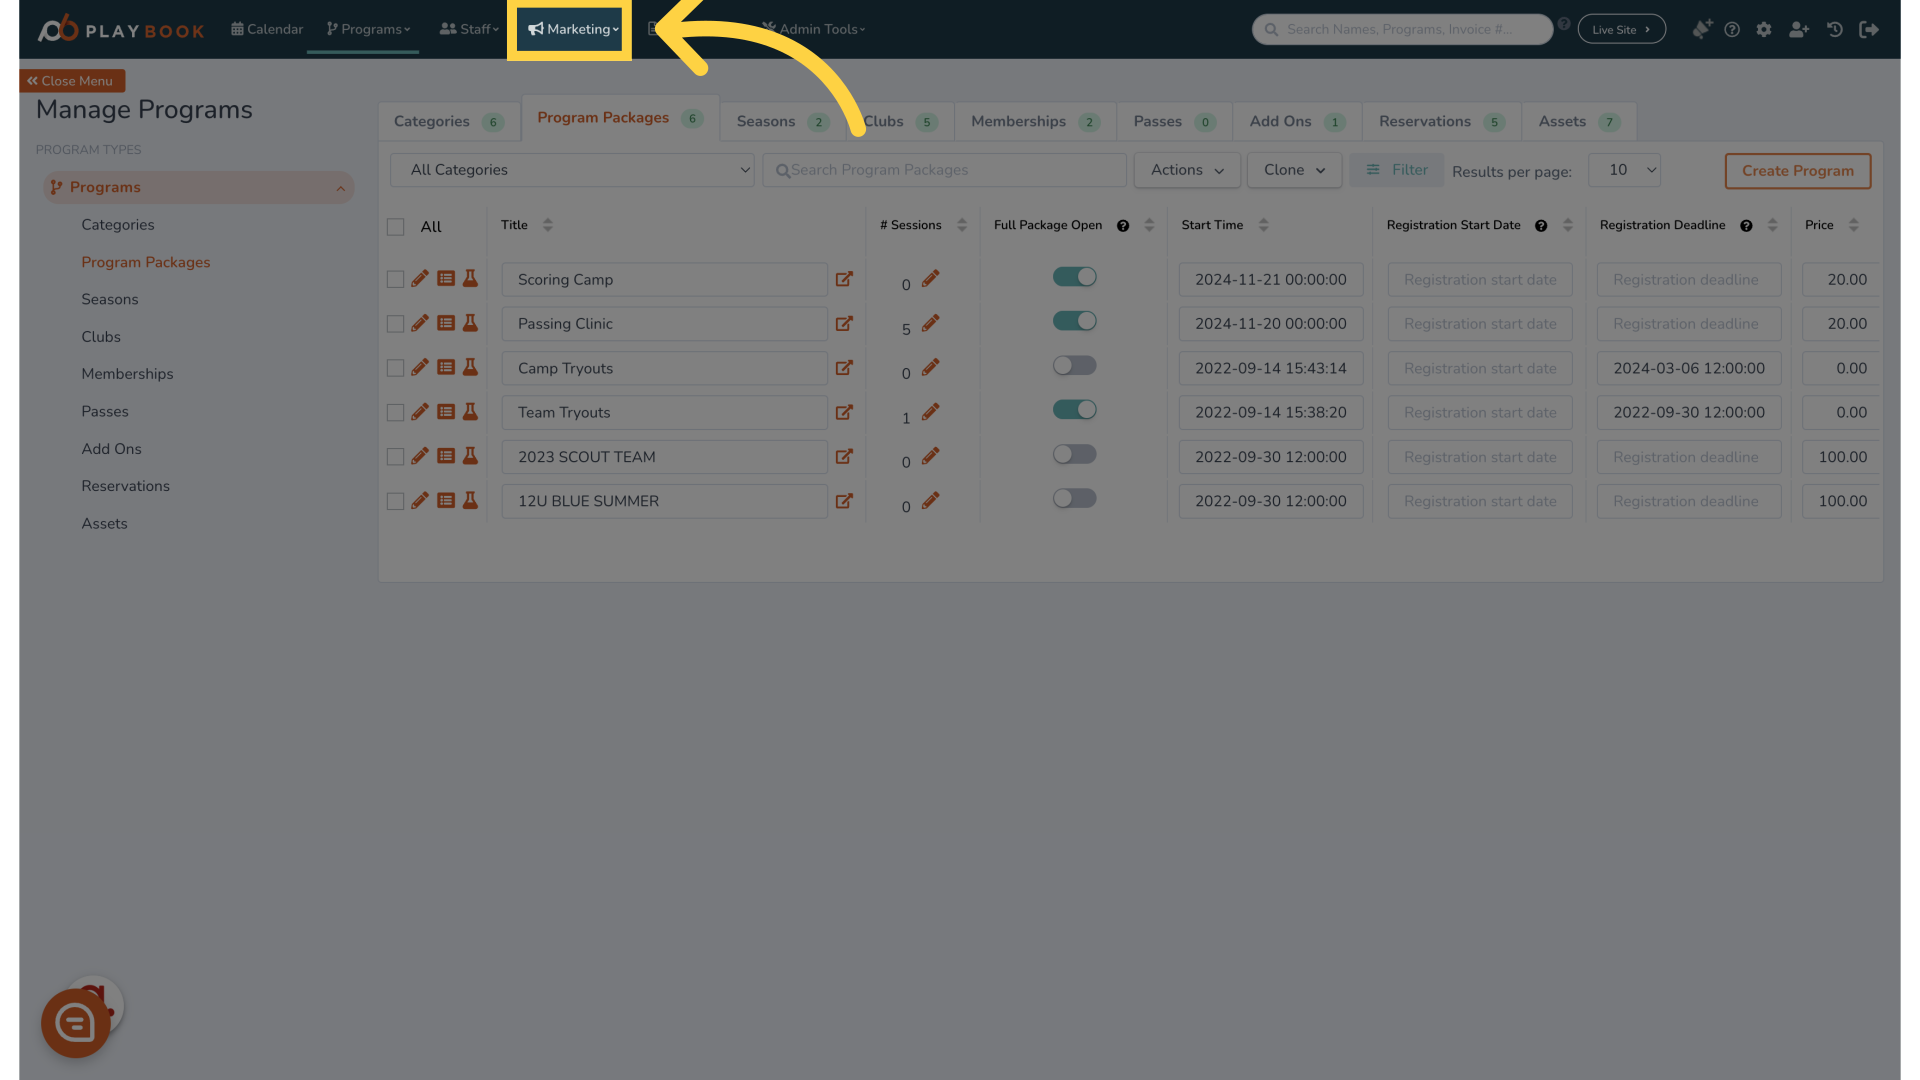
2. Click "Marketing"
Navigate to the marketing section of your application to begin
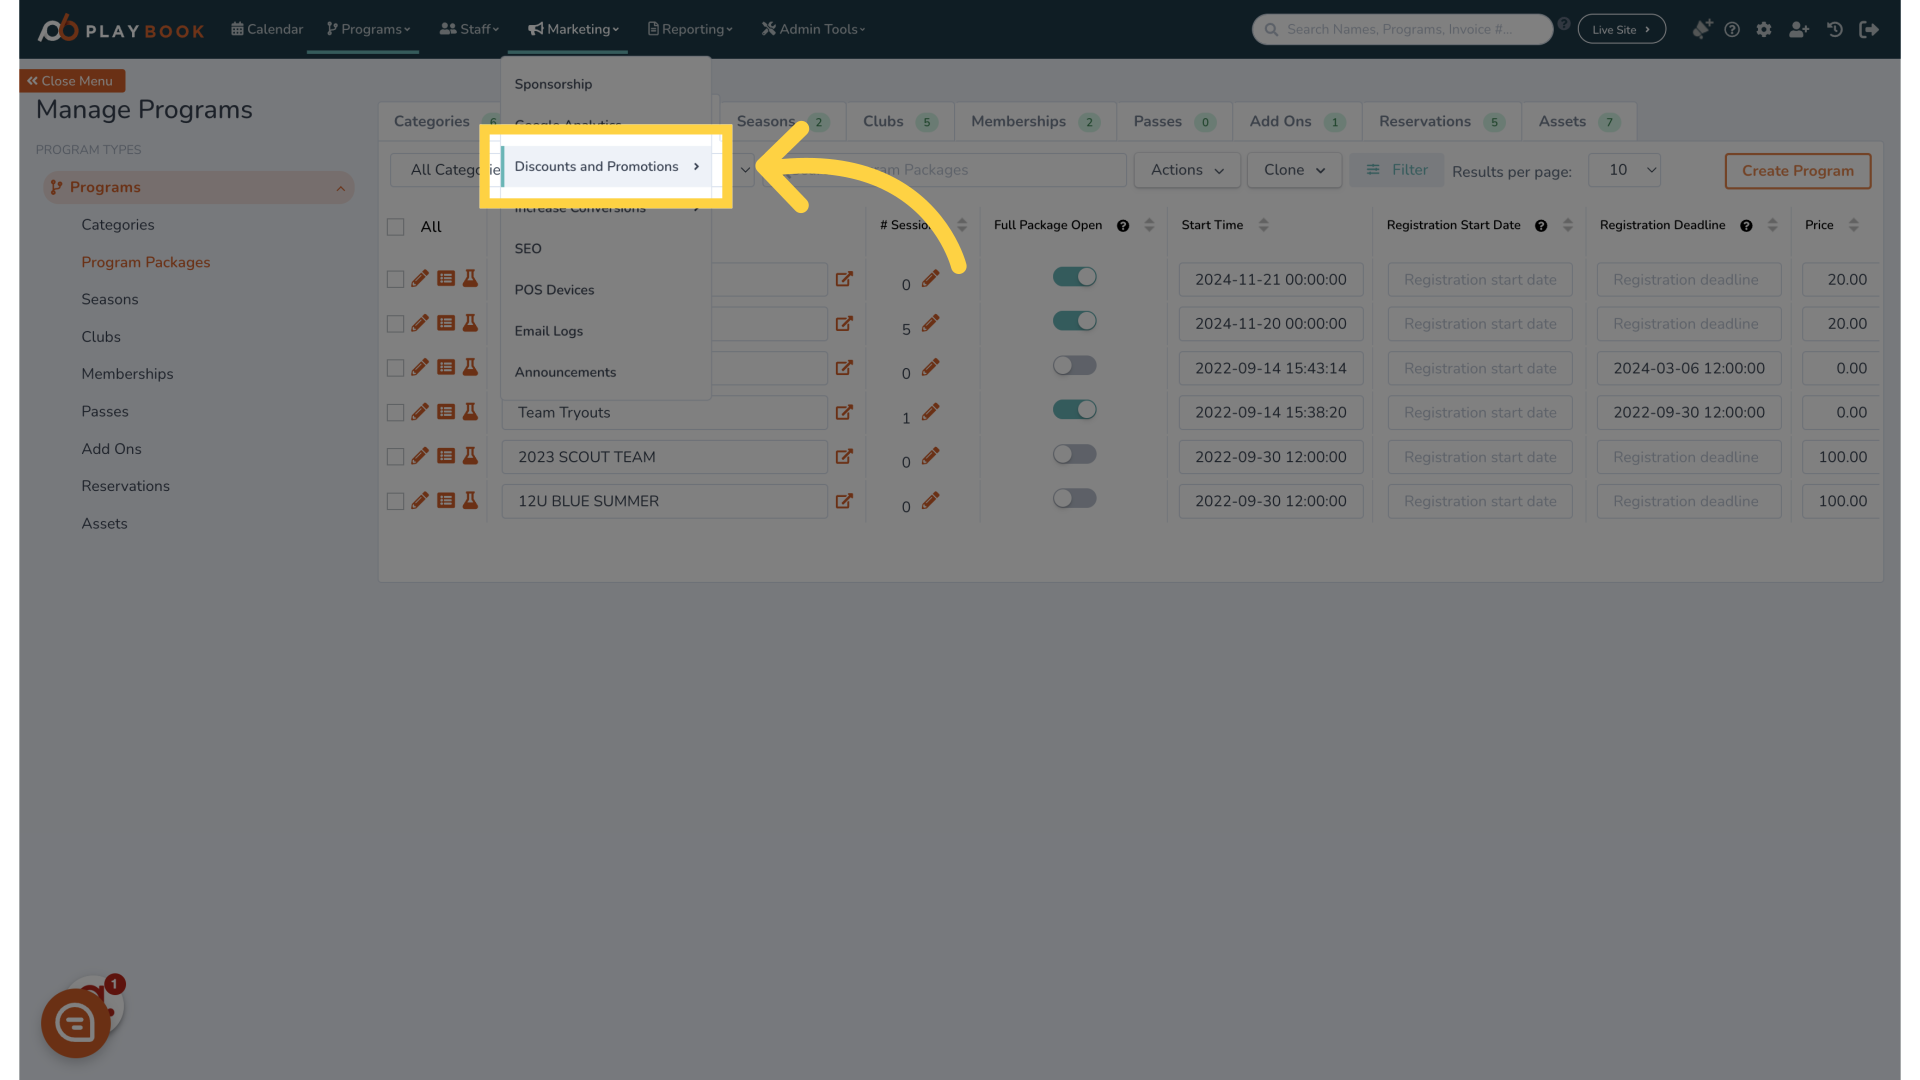
3. Click "Discounts and Promotions"
Select the discounts and promotions option to manage your offers
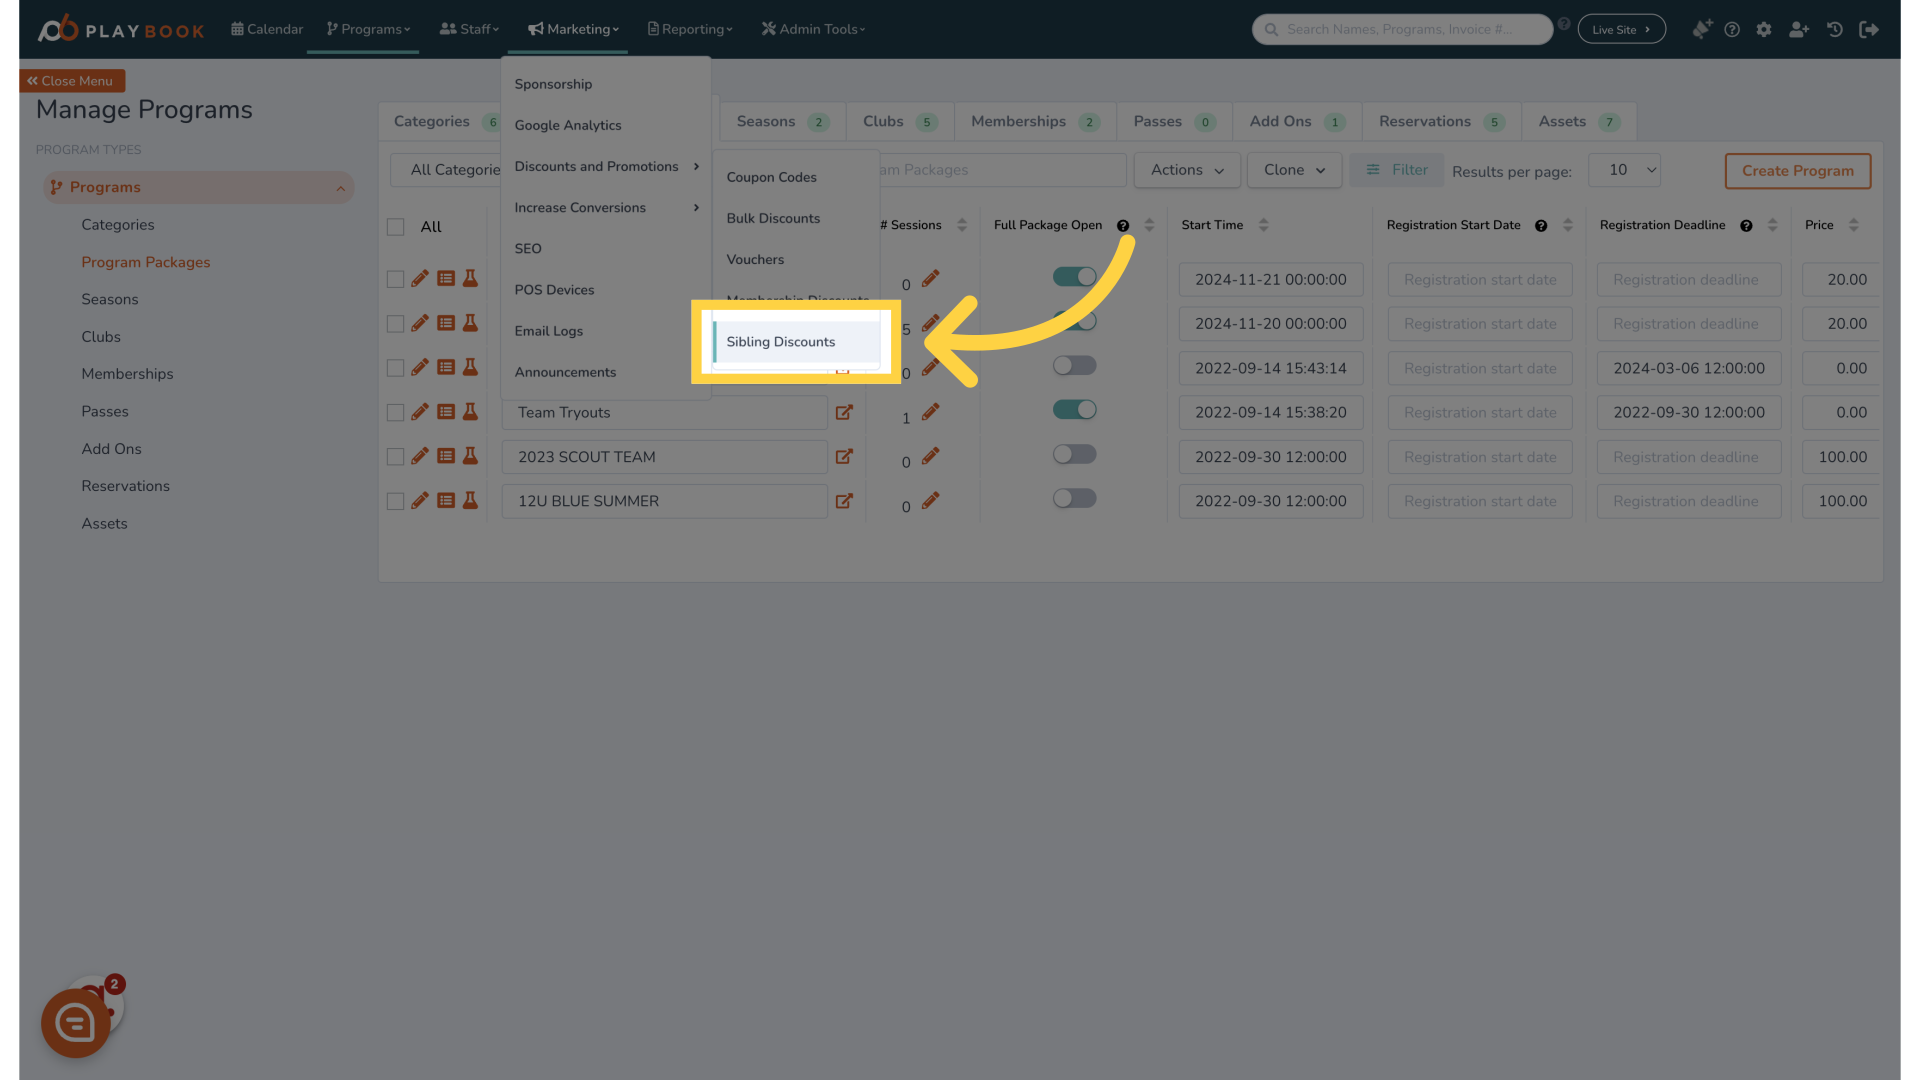
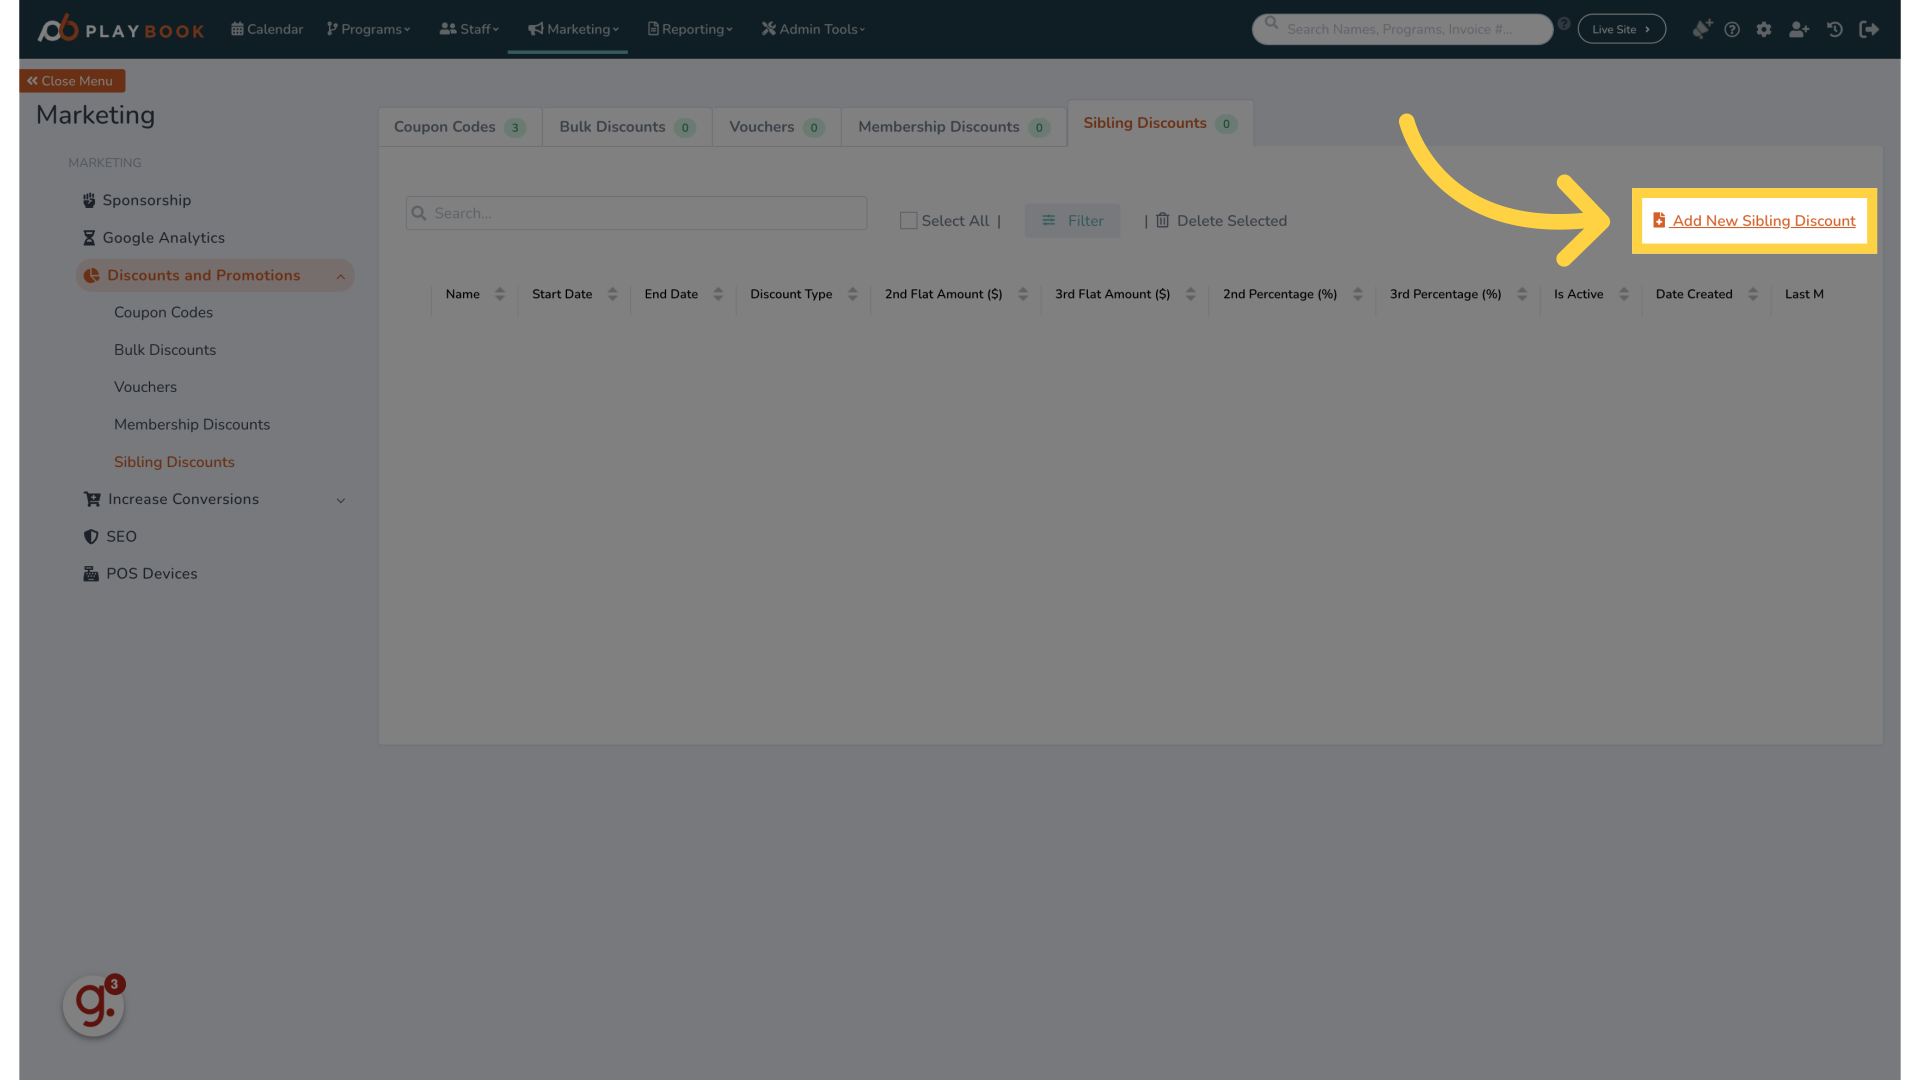
4. Click "Sibling Discounts"
Access the sibling discounts section to create or modify discount offers
5. Click "Add New Sibling Discount"
Begin the process of adding a new sibling discount
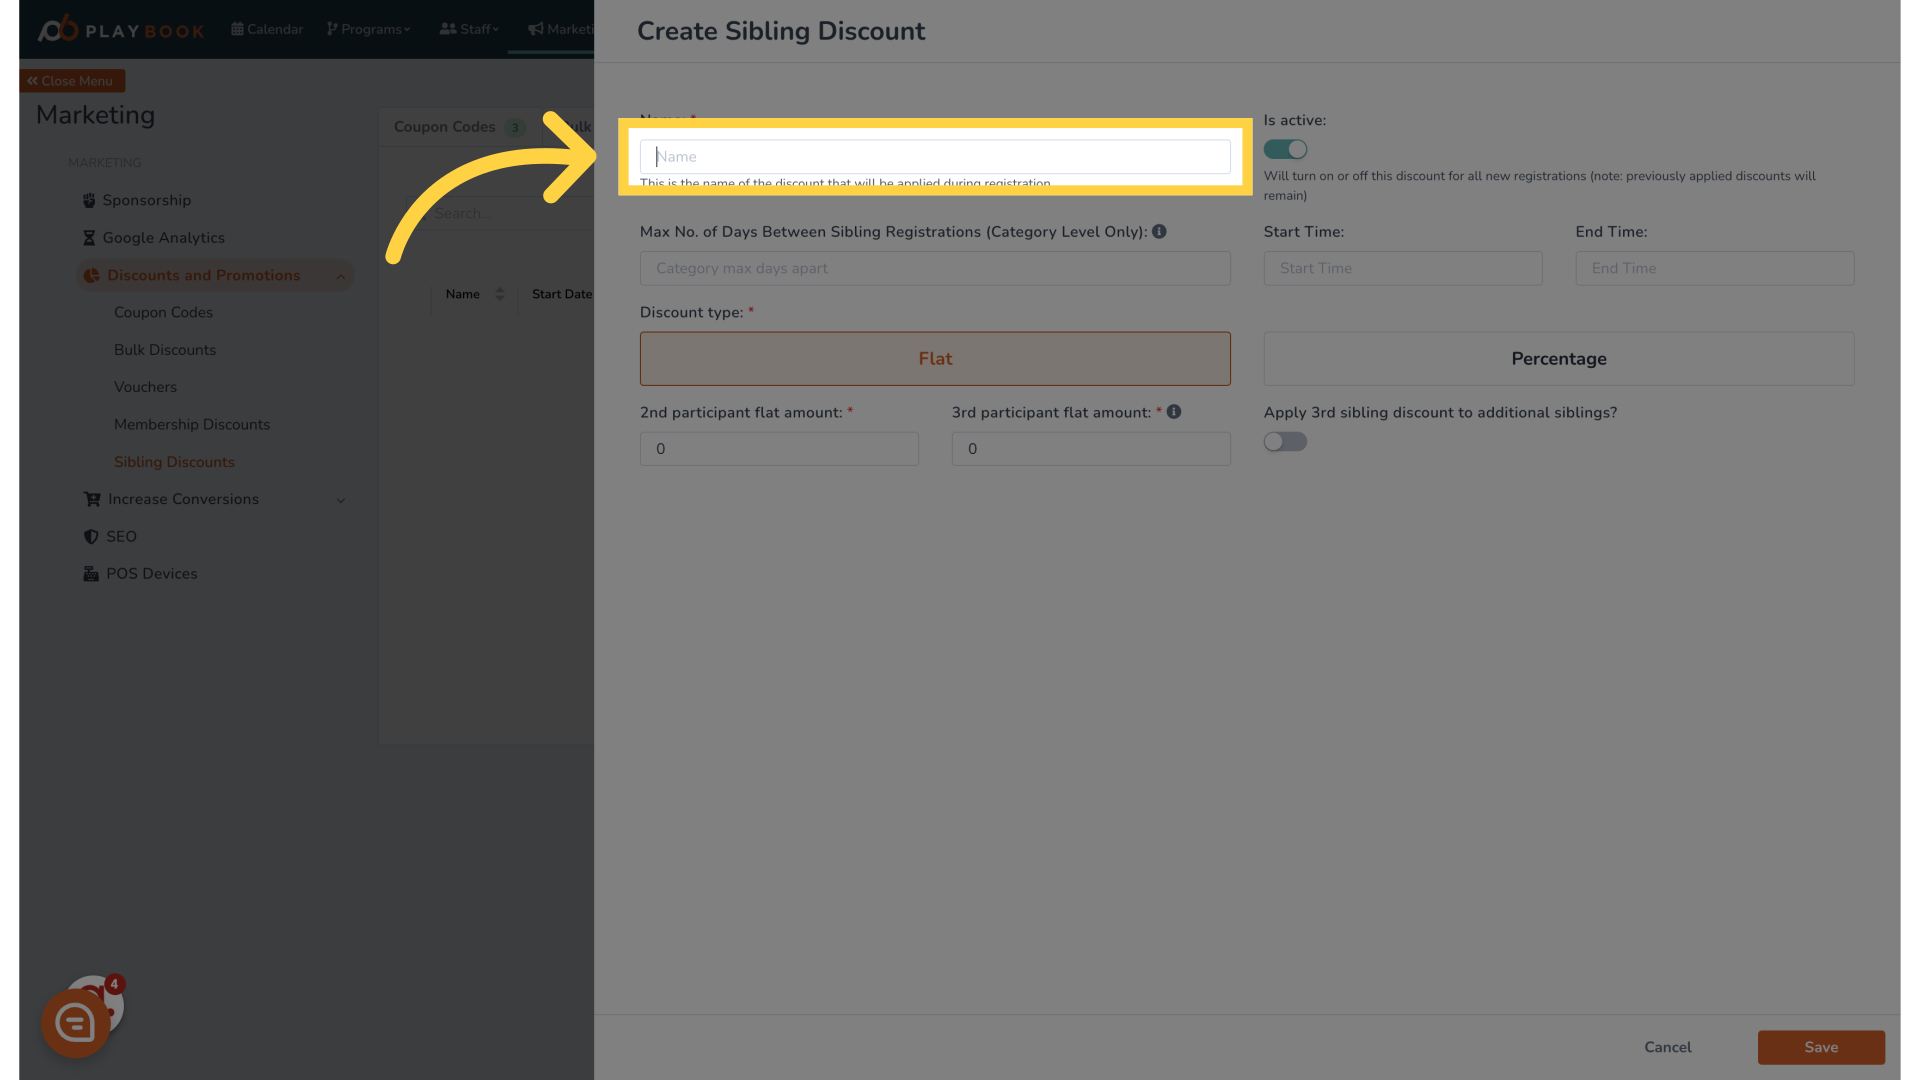
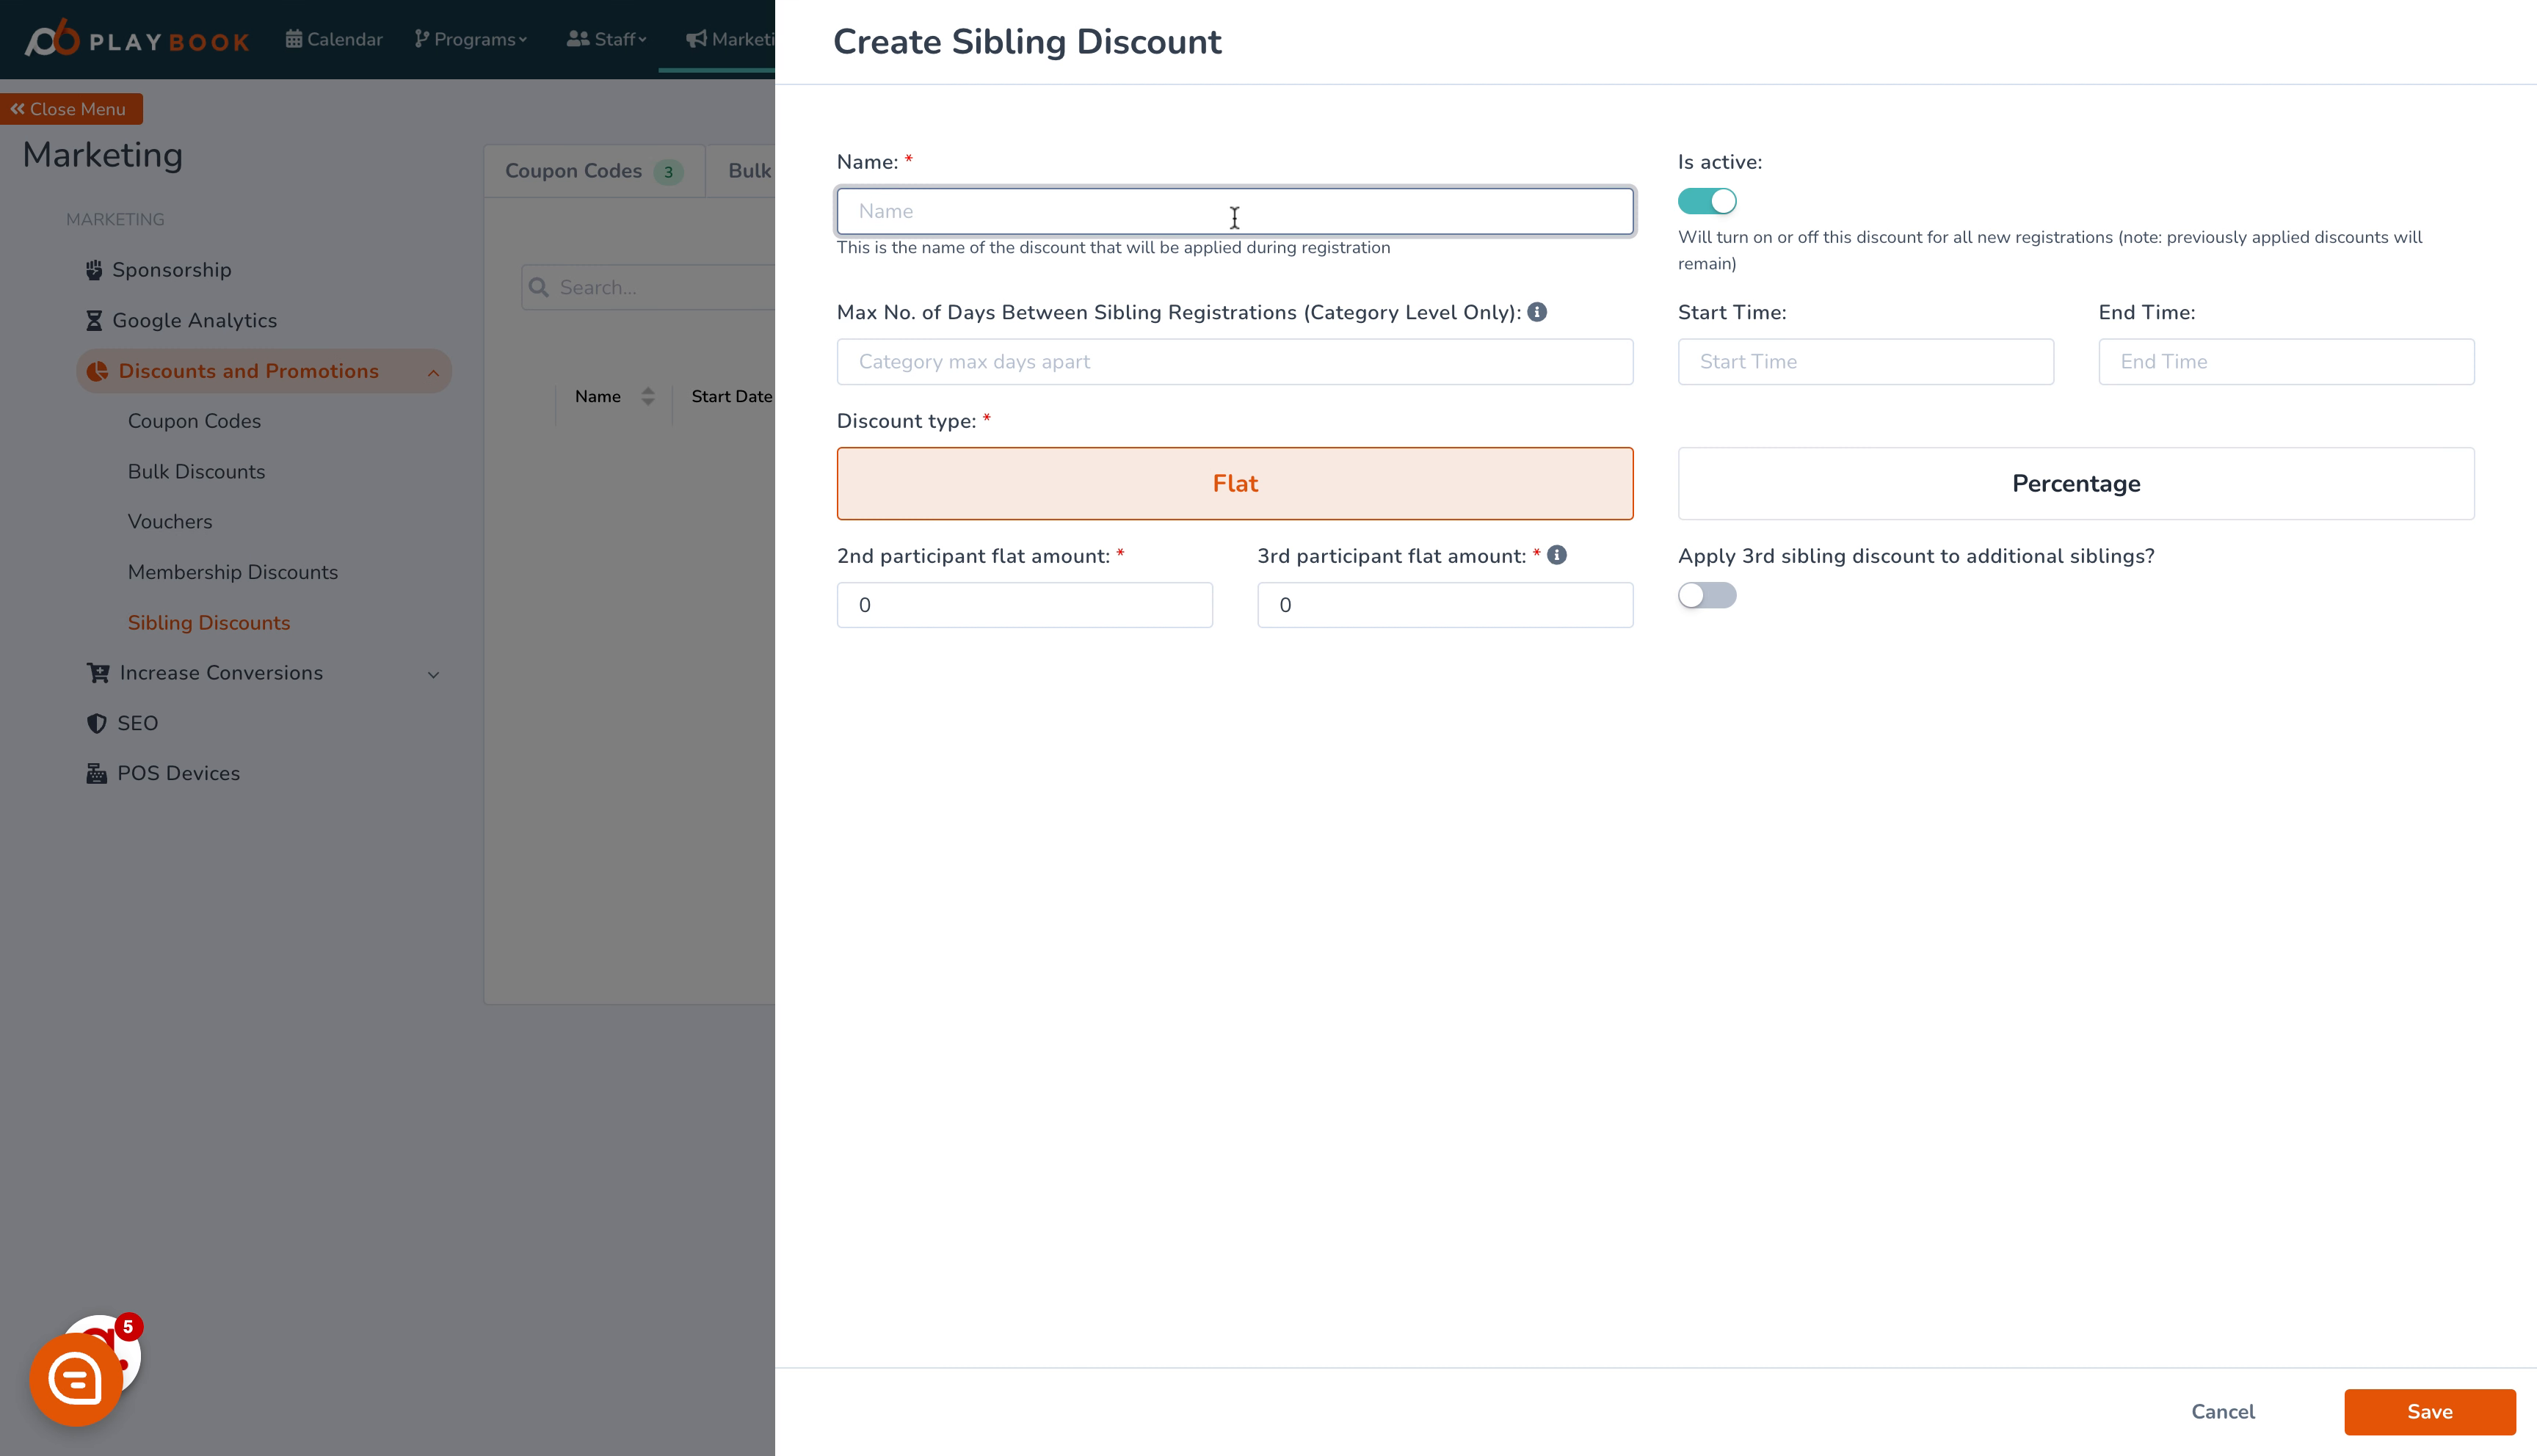
6. Click "Name"
Enter a descriptive name for your new discount to identify it easily
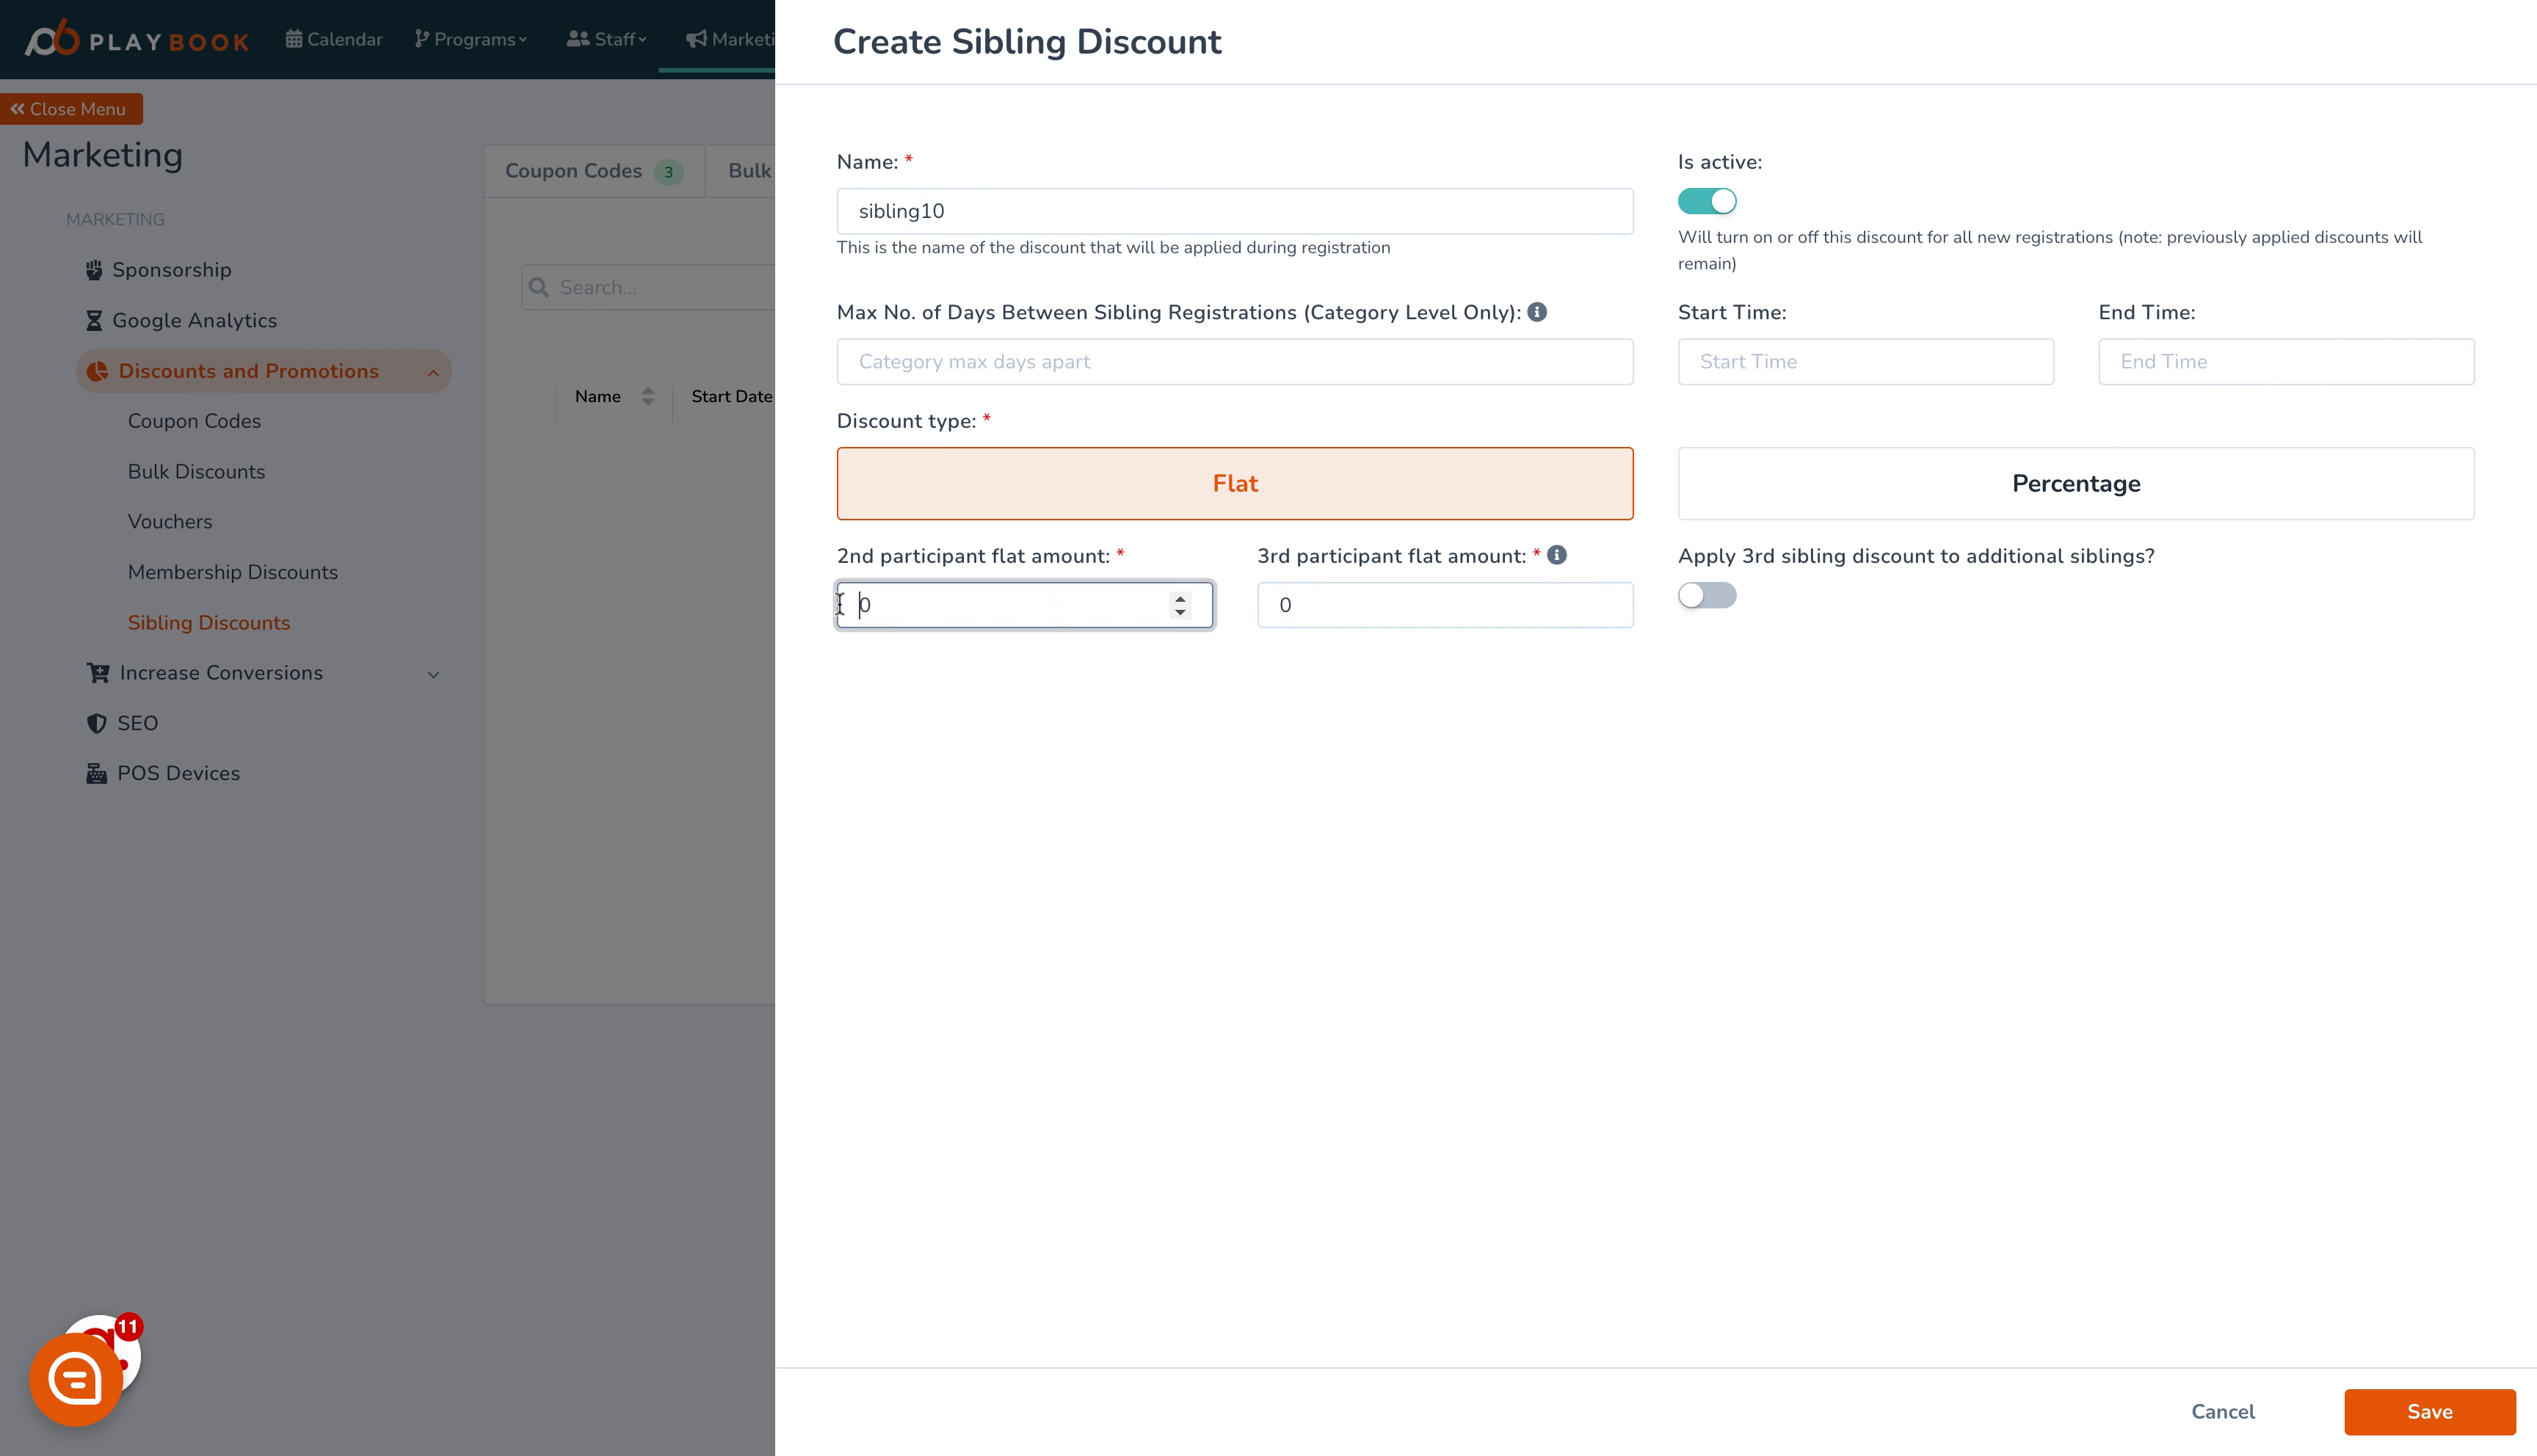
7. Fill "sibling10"
Fill in "sibling10"
8. Click here
Proceed to the next field for further details on the discount
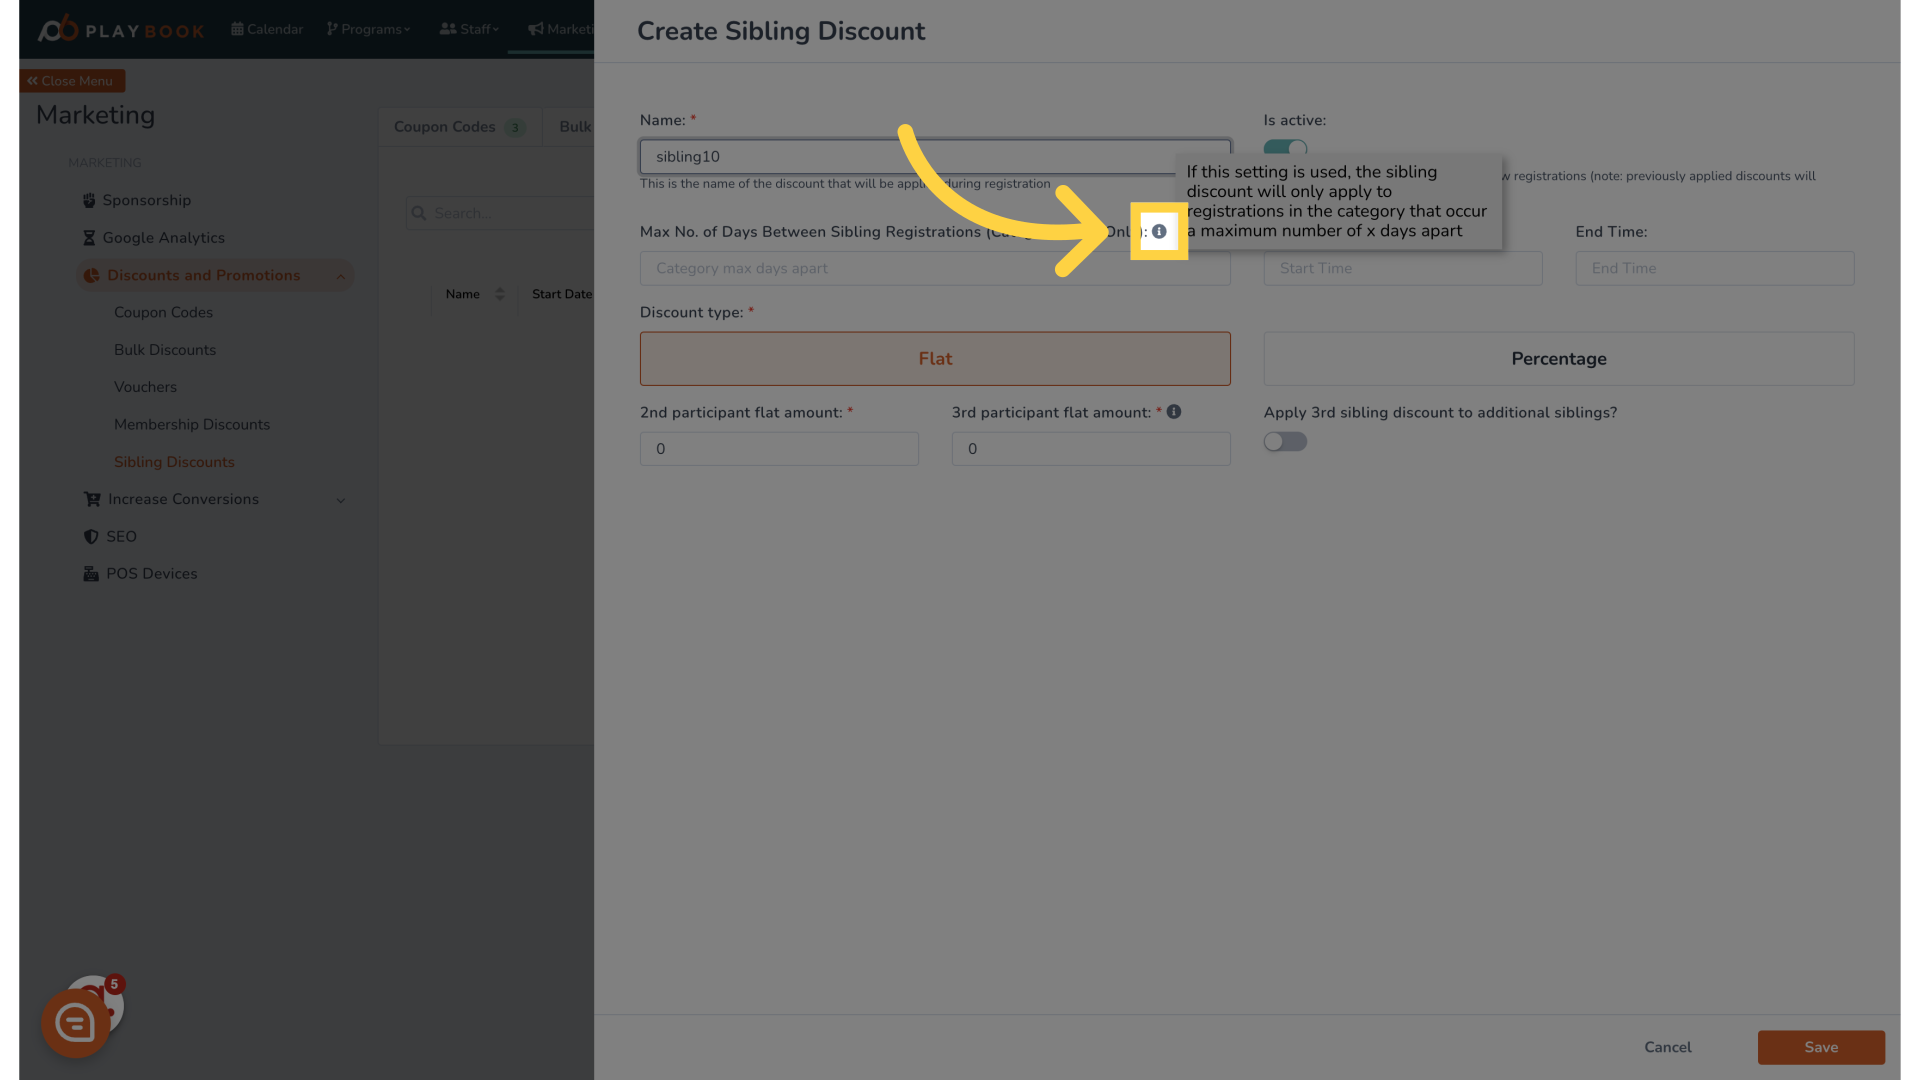
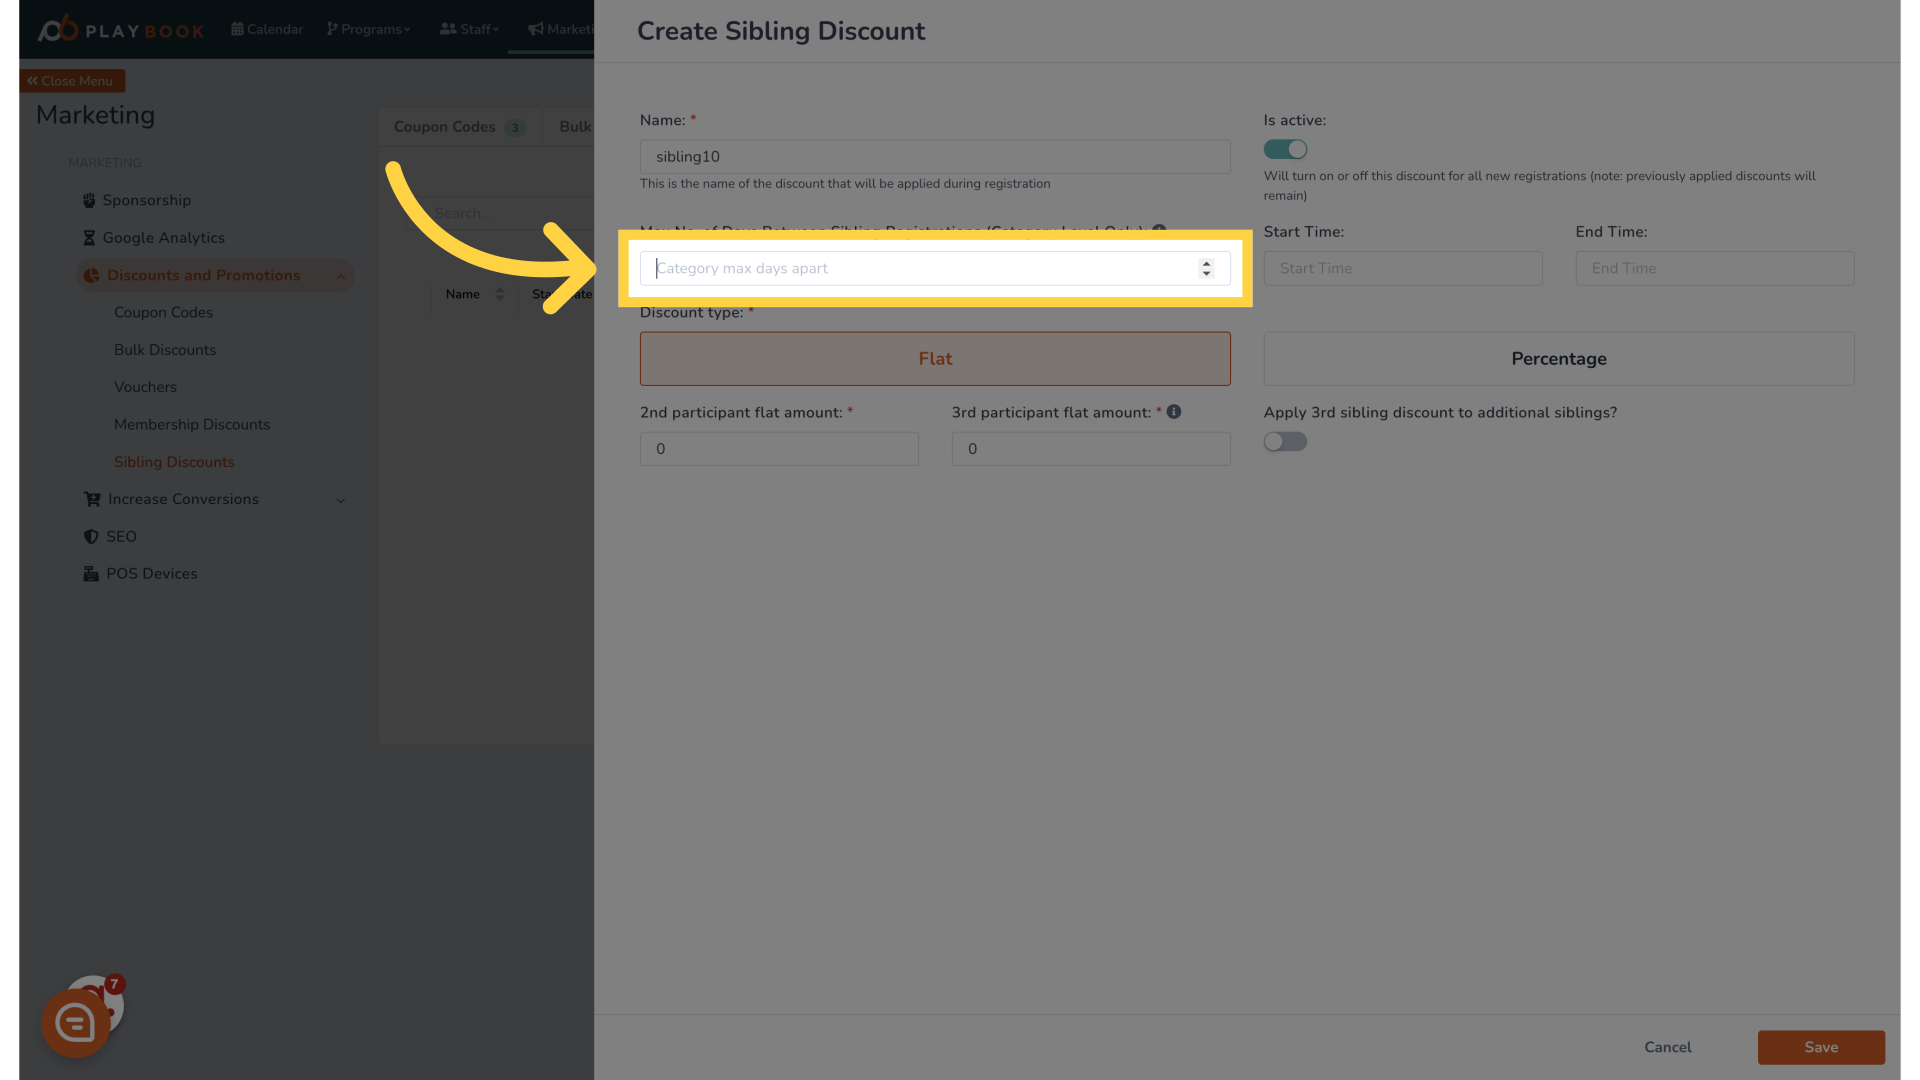
9. Click "Category max days apart"
Set the maximum days apart for siblings to qualify for the discount
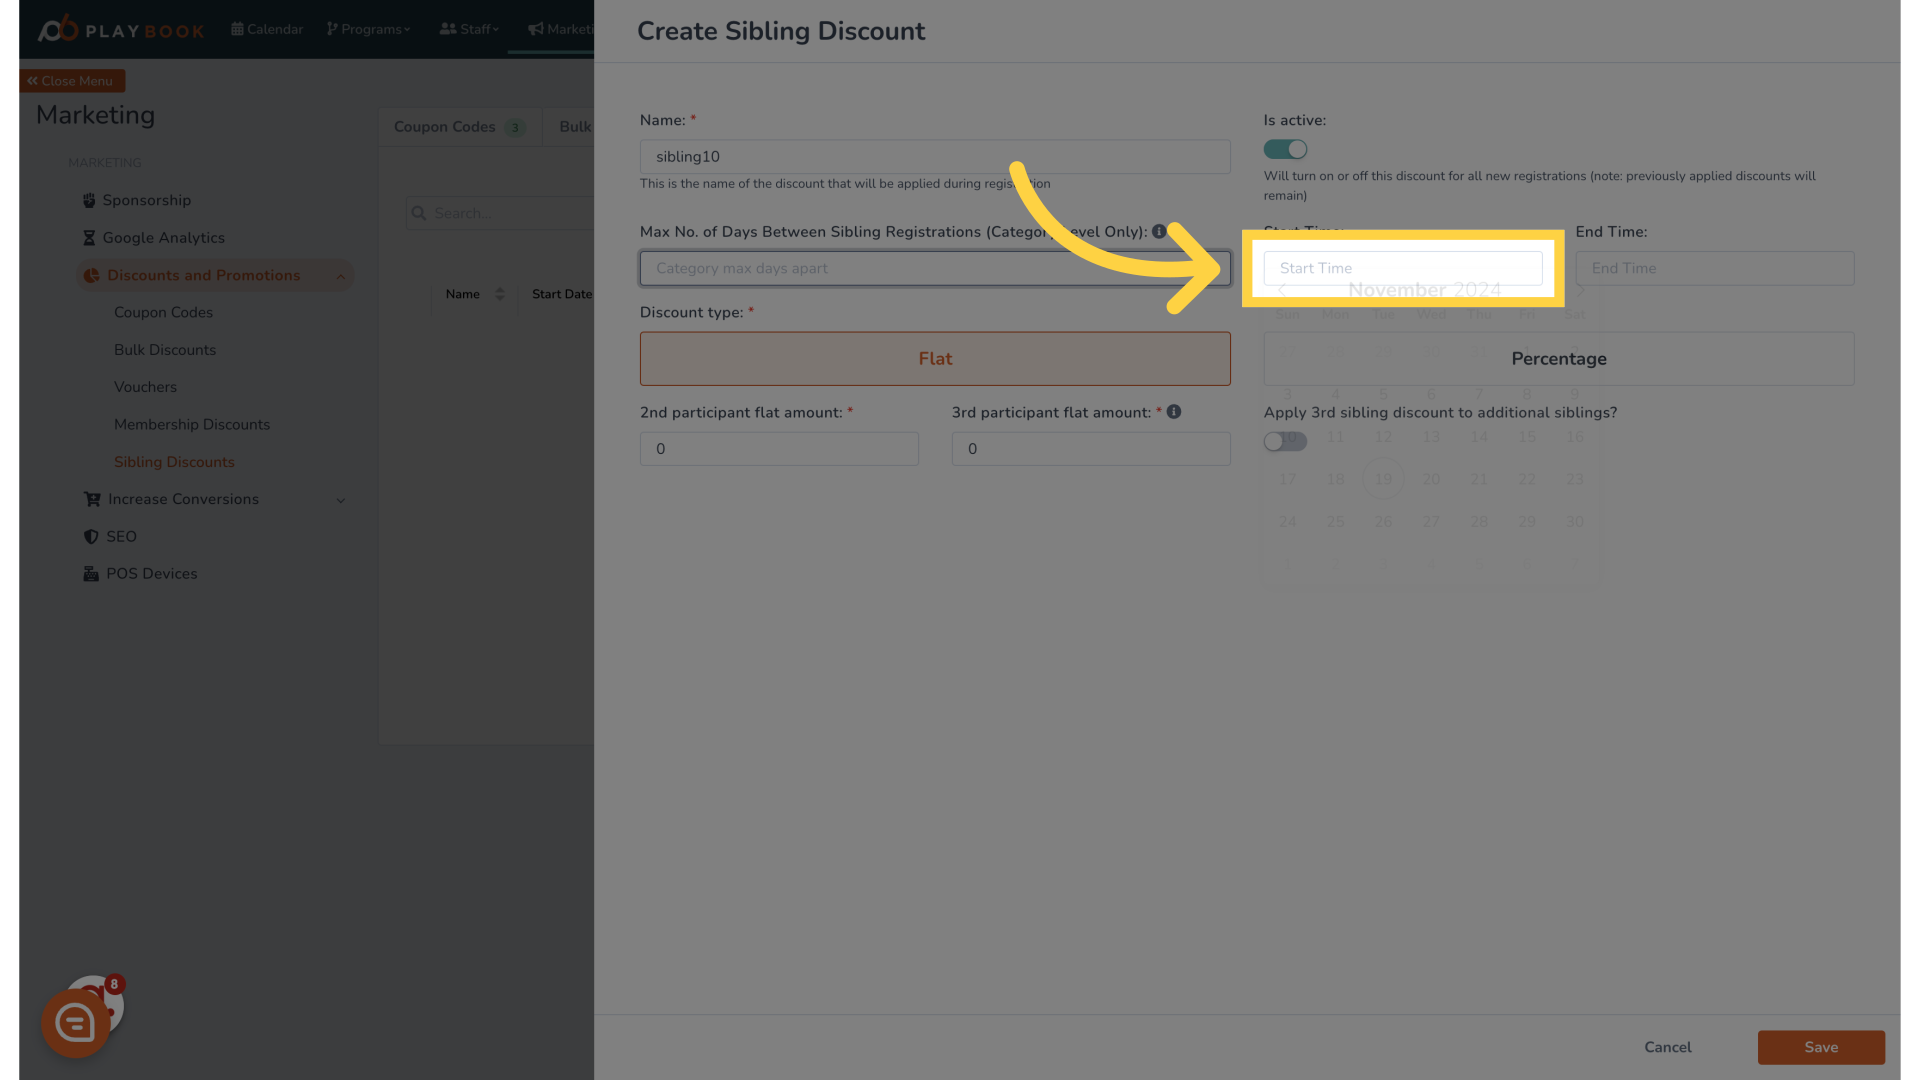
10. Click "Start Time"
Define the start time for when this discount will take effect
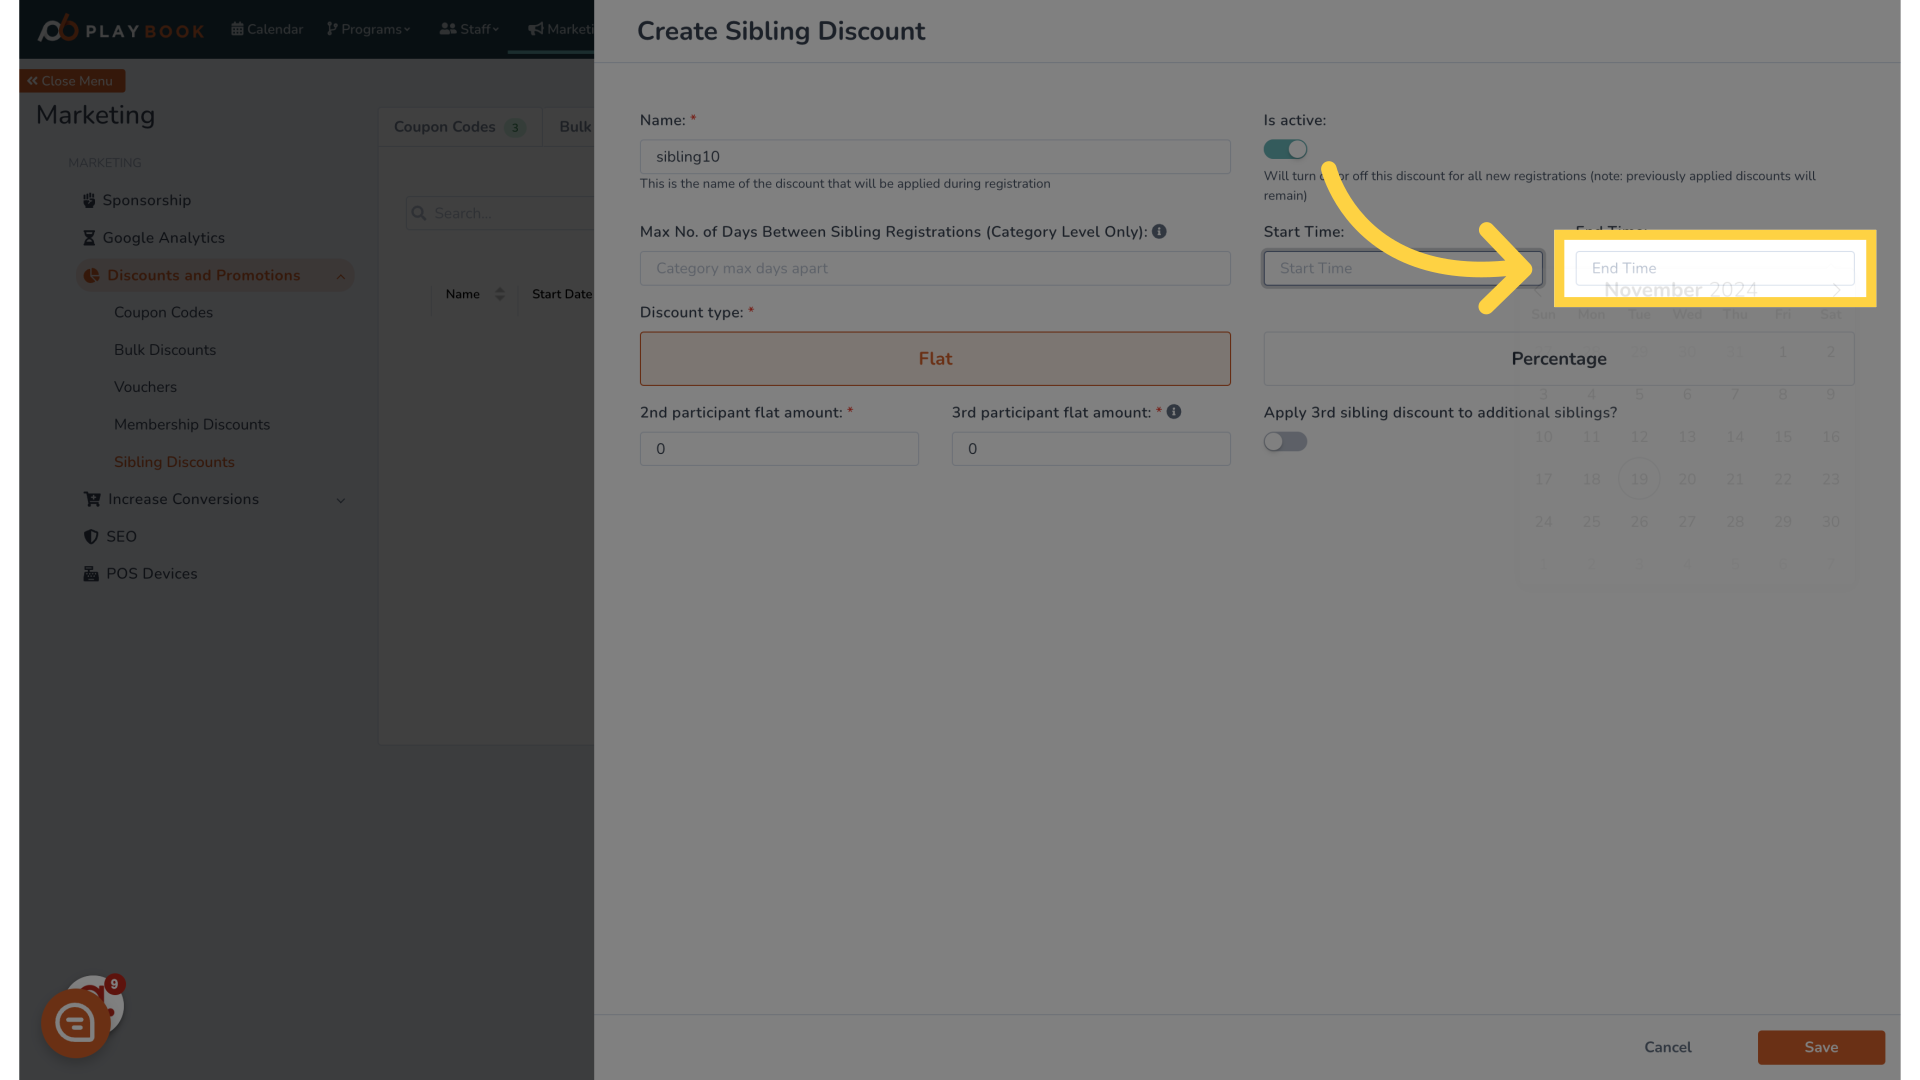
11. Click "End Time"
Specify when the discount will no longer be valid
12. Click "Name: * ..."
Reconfirm the name of the discount for clarity
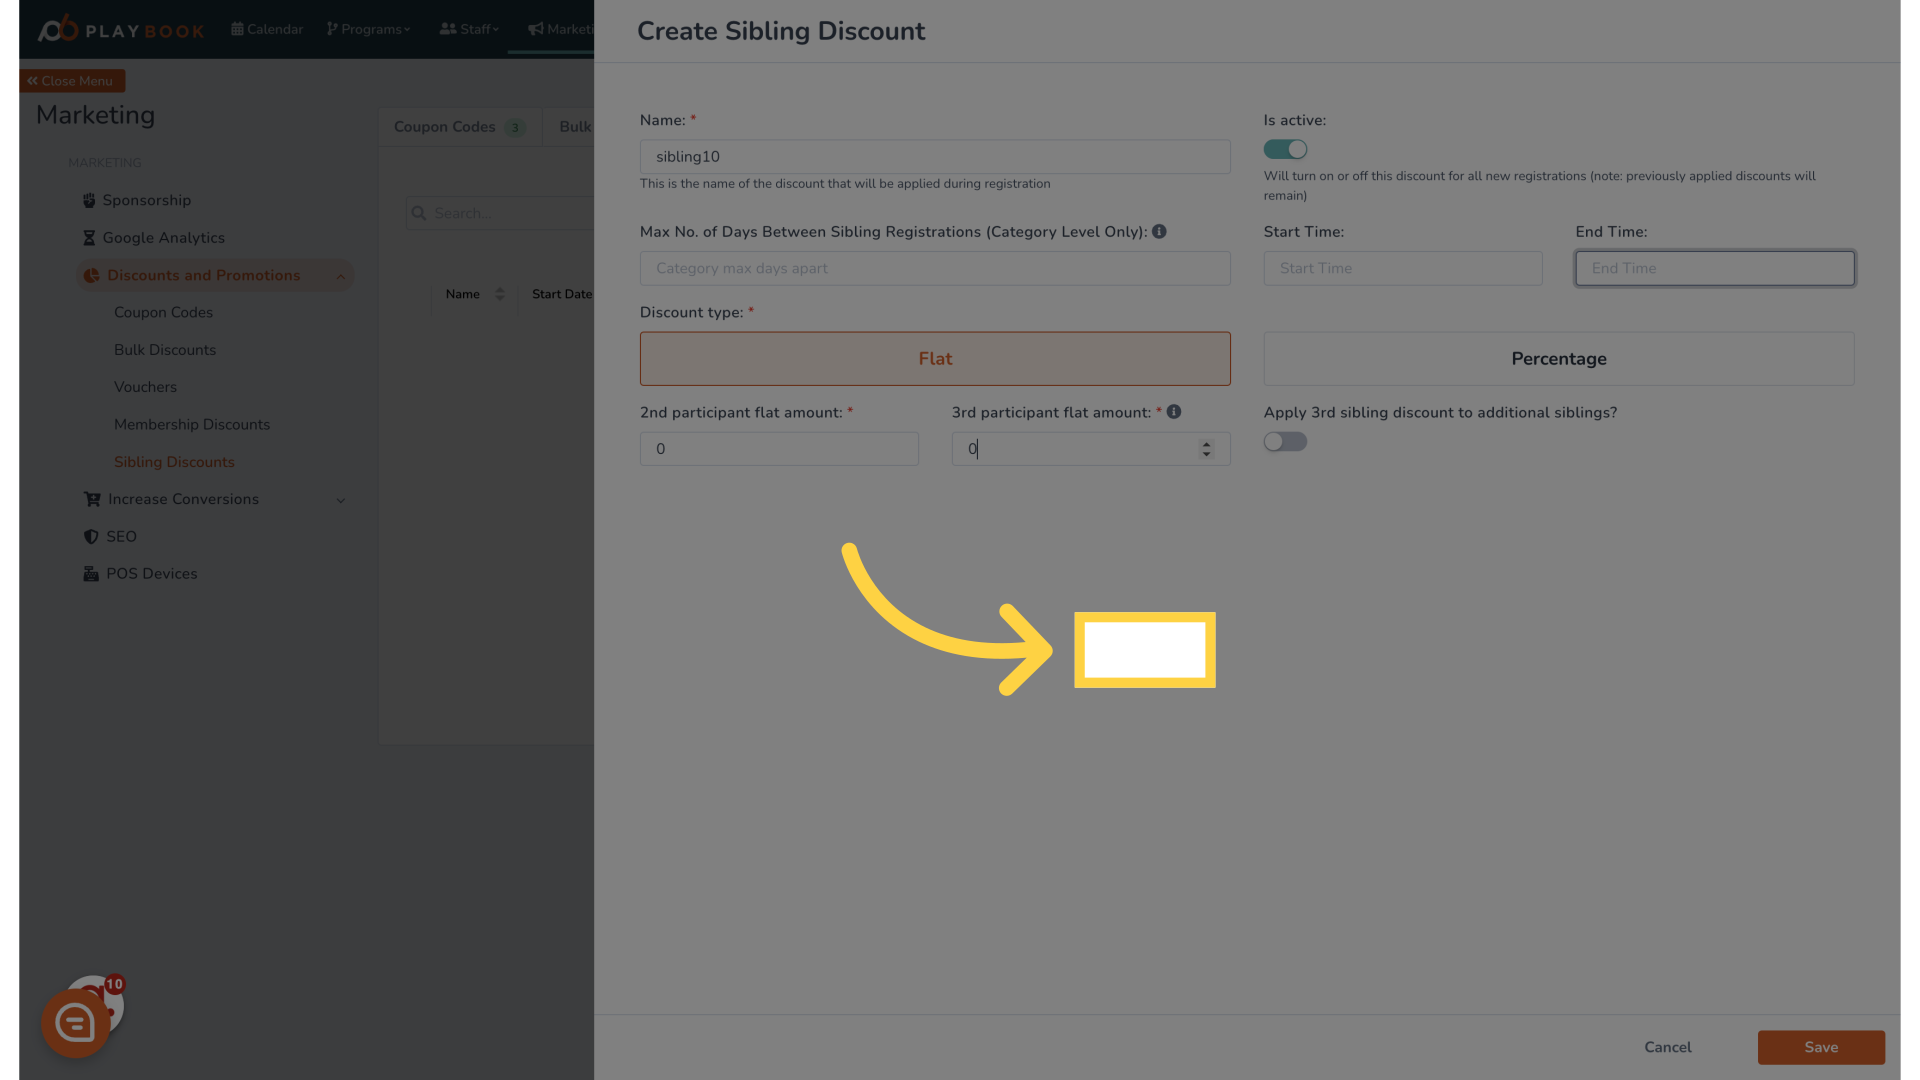
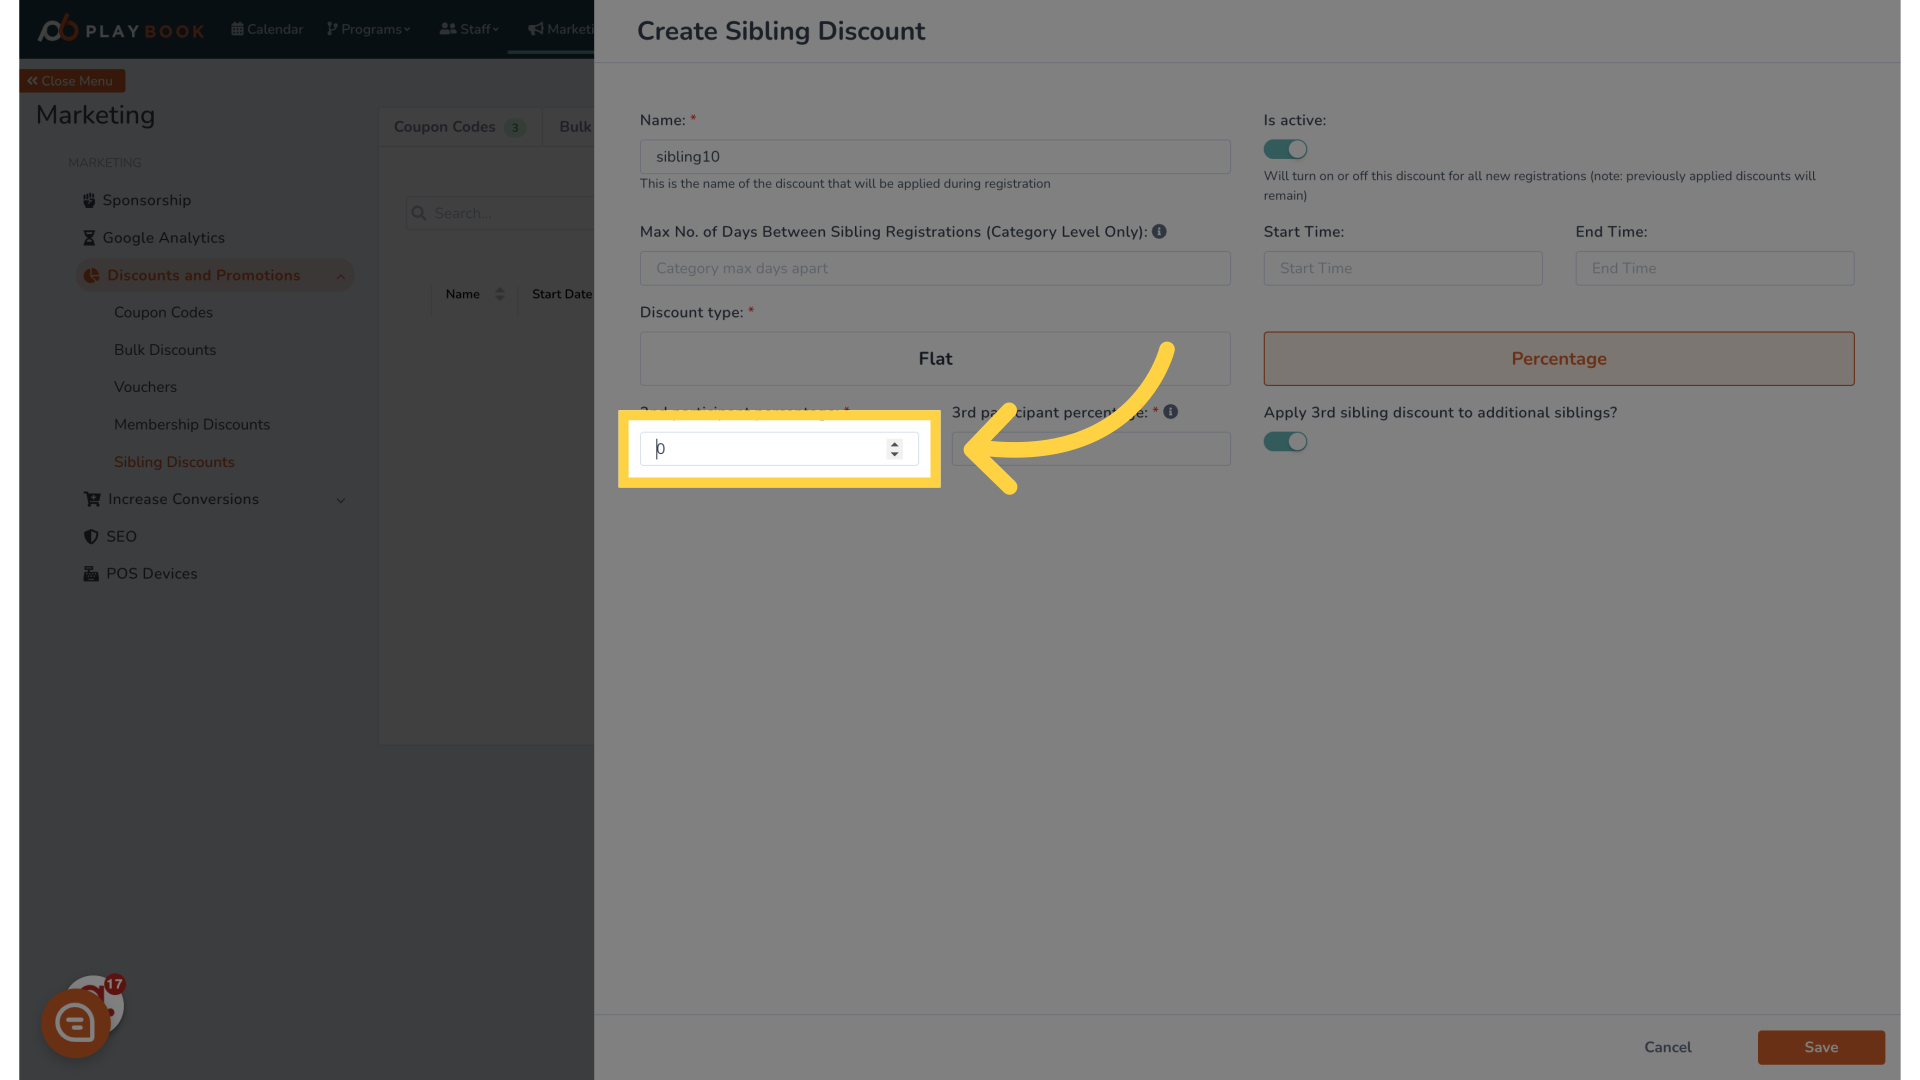
13. Click "0"
Designate the first qualifying number of siblings for the discount

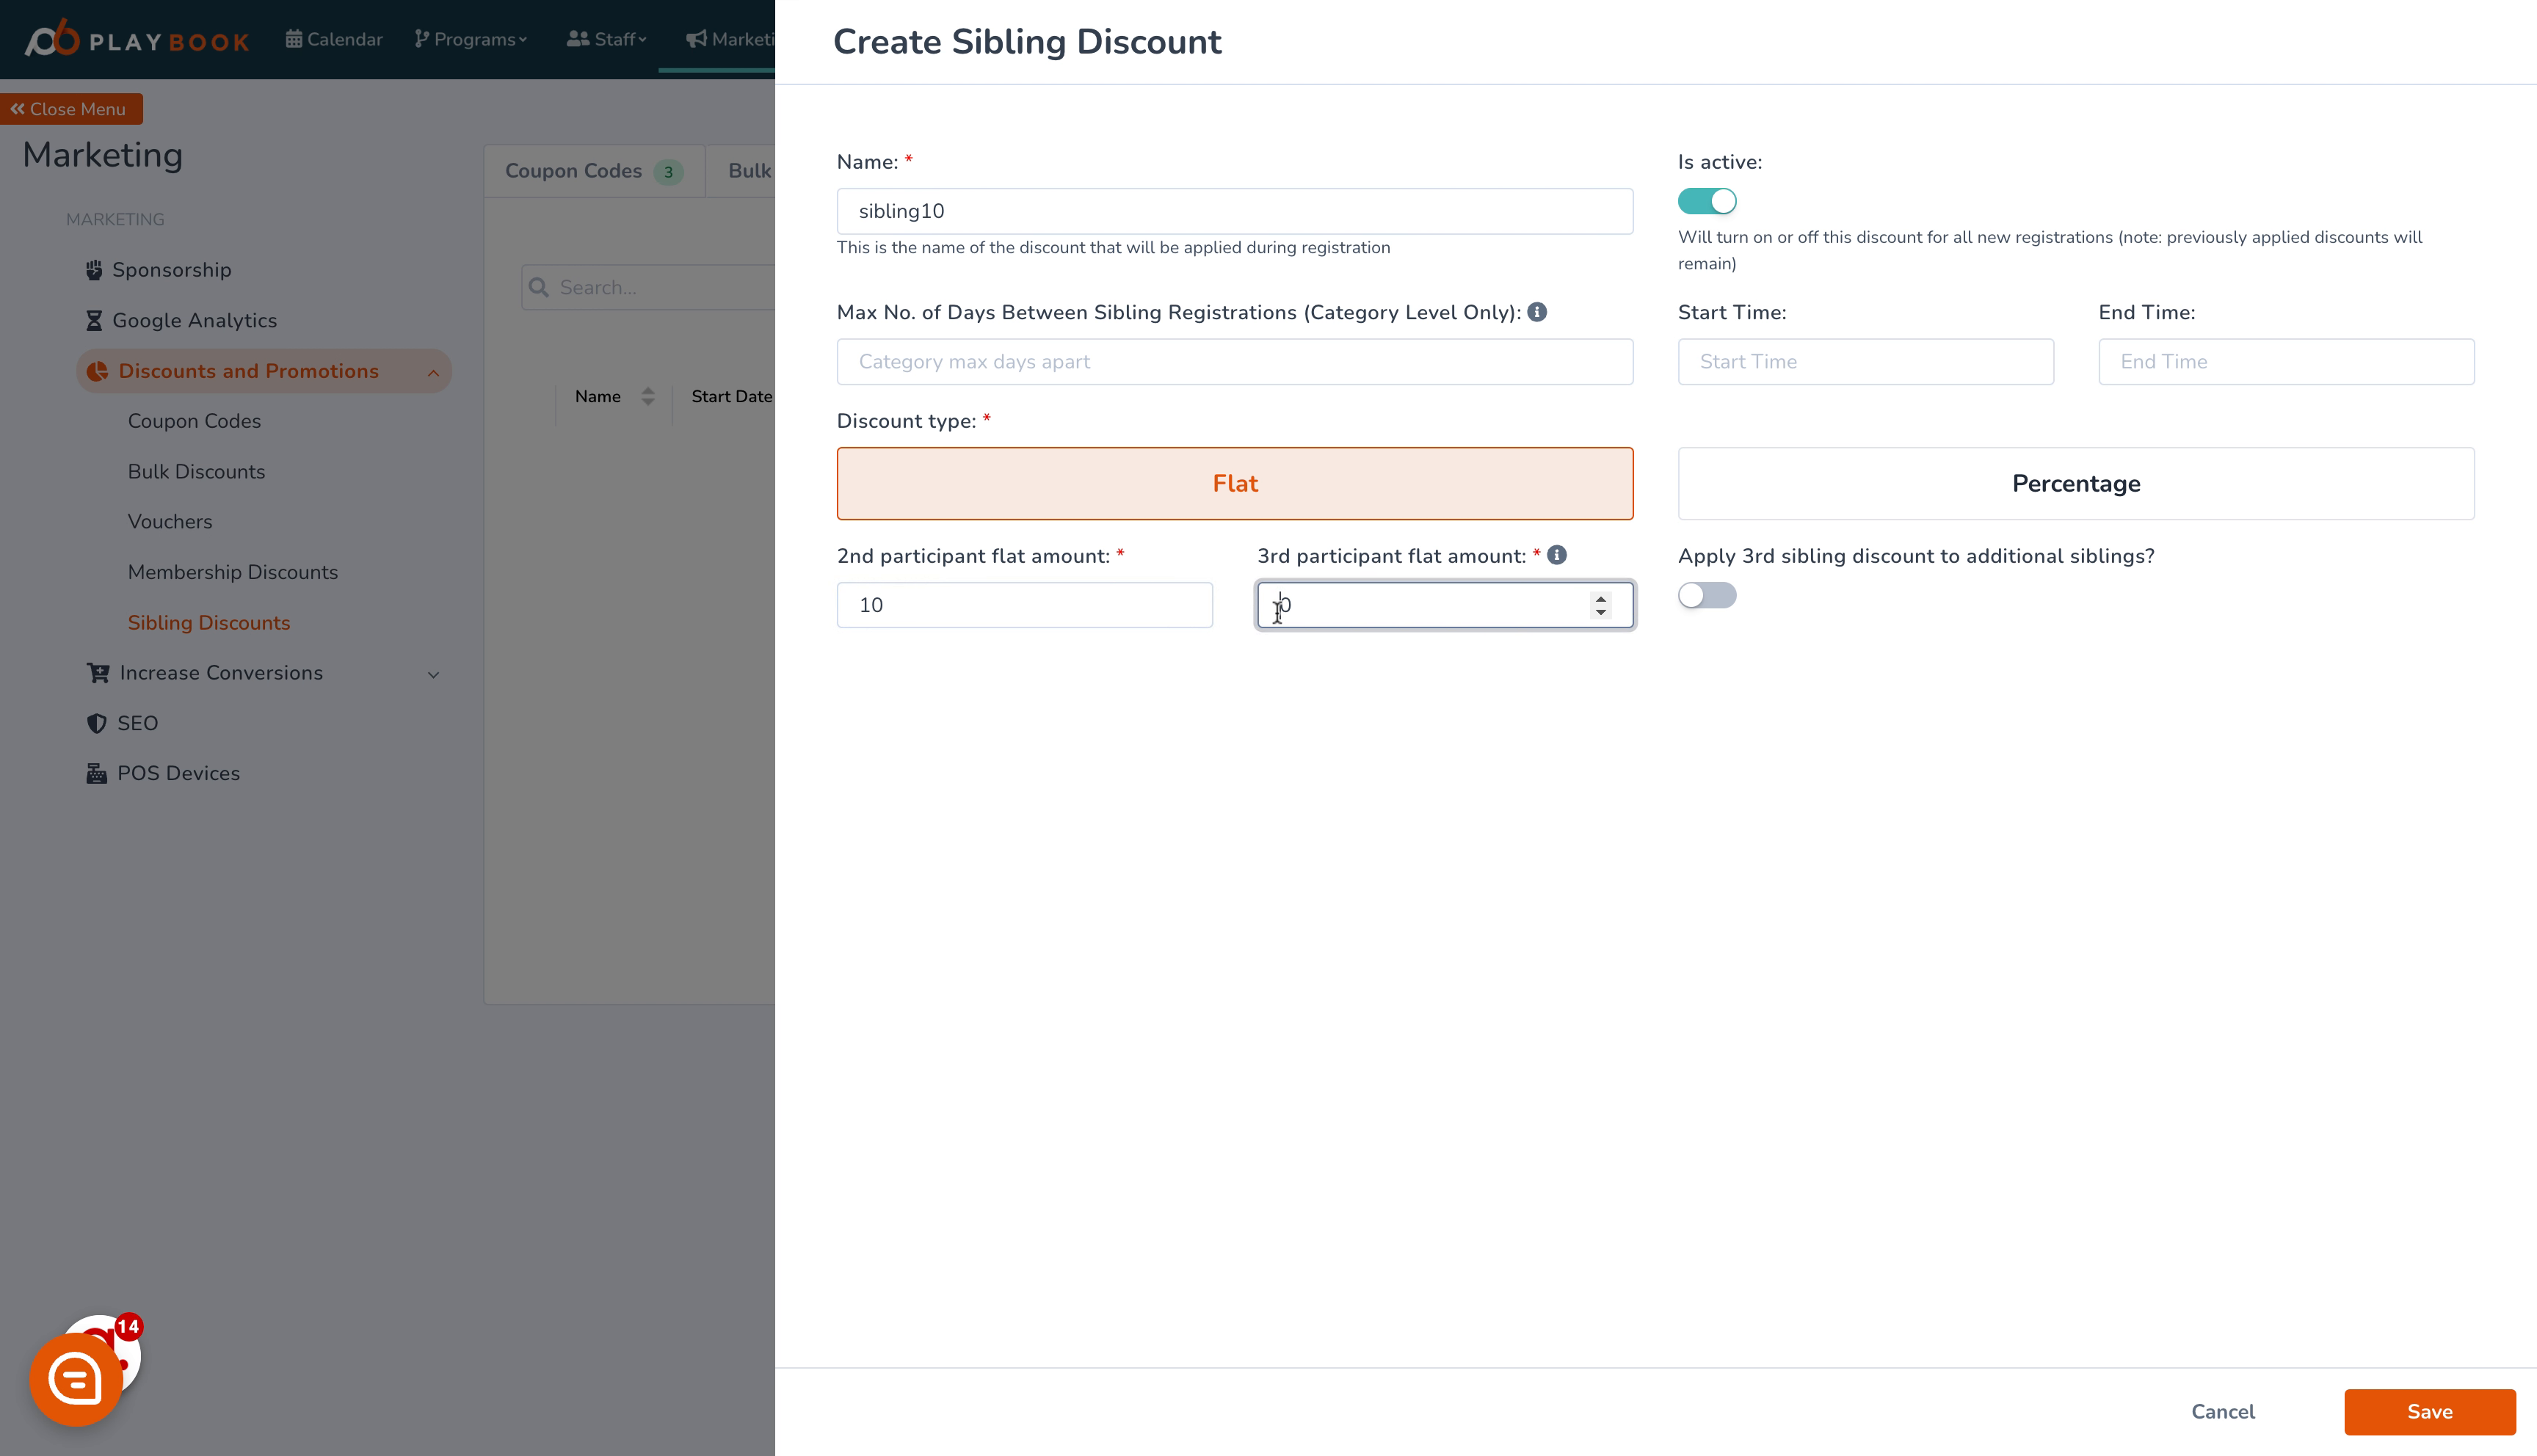
14. Fill "10"
Enter "10" in the provided field
15. Click "0"
Determine the second qualifying number to establish discount criteria

16. Fill "10"
Fill in the text box with "10"
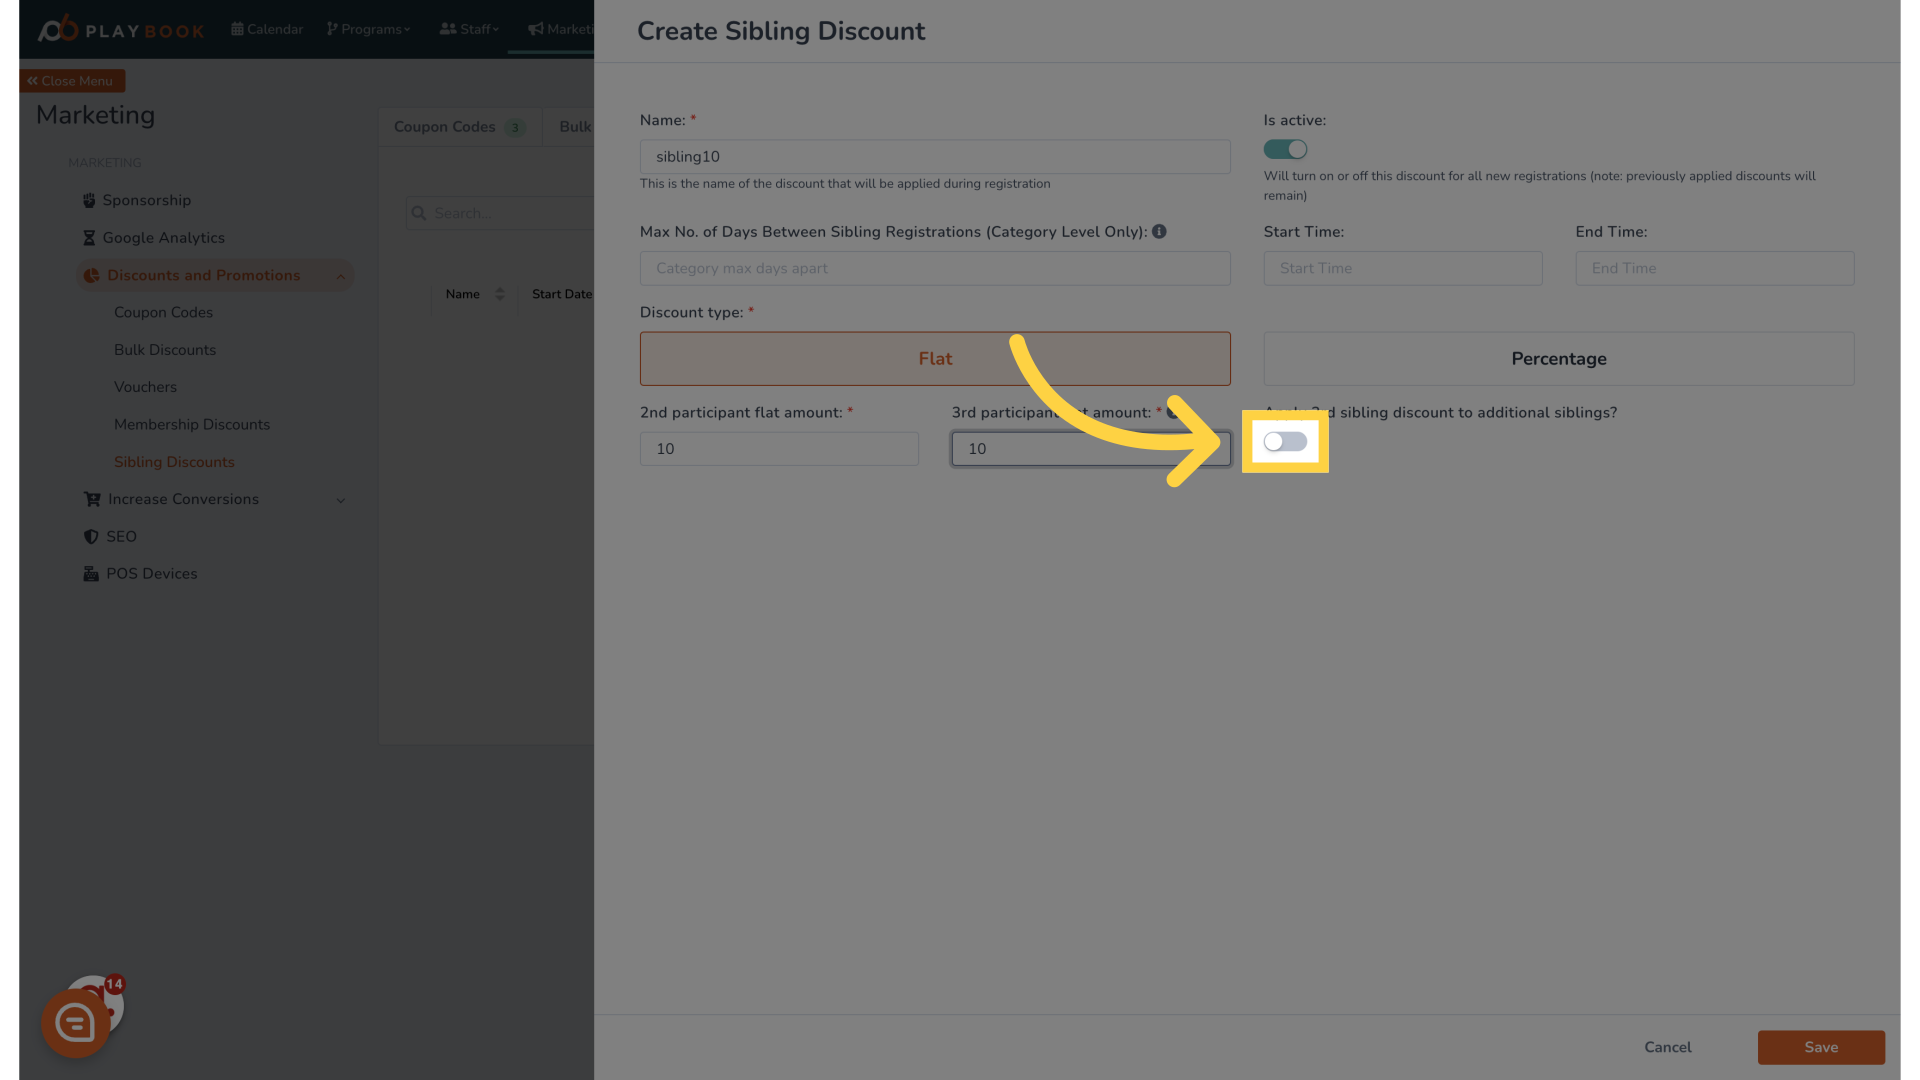
17. Click here
Continue to the next detail input for the discount configuration
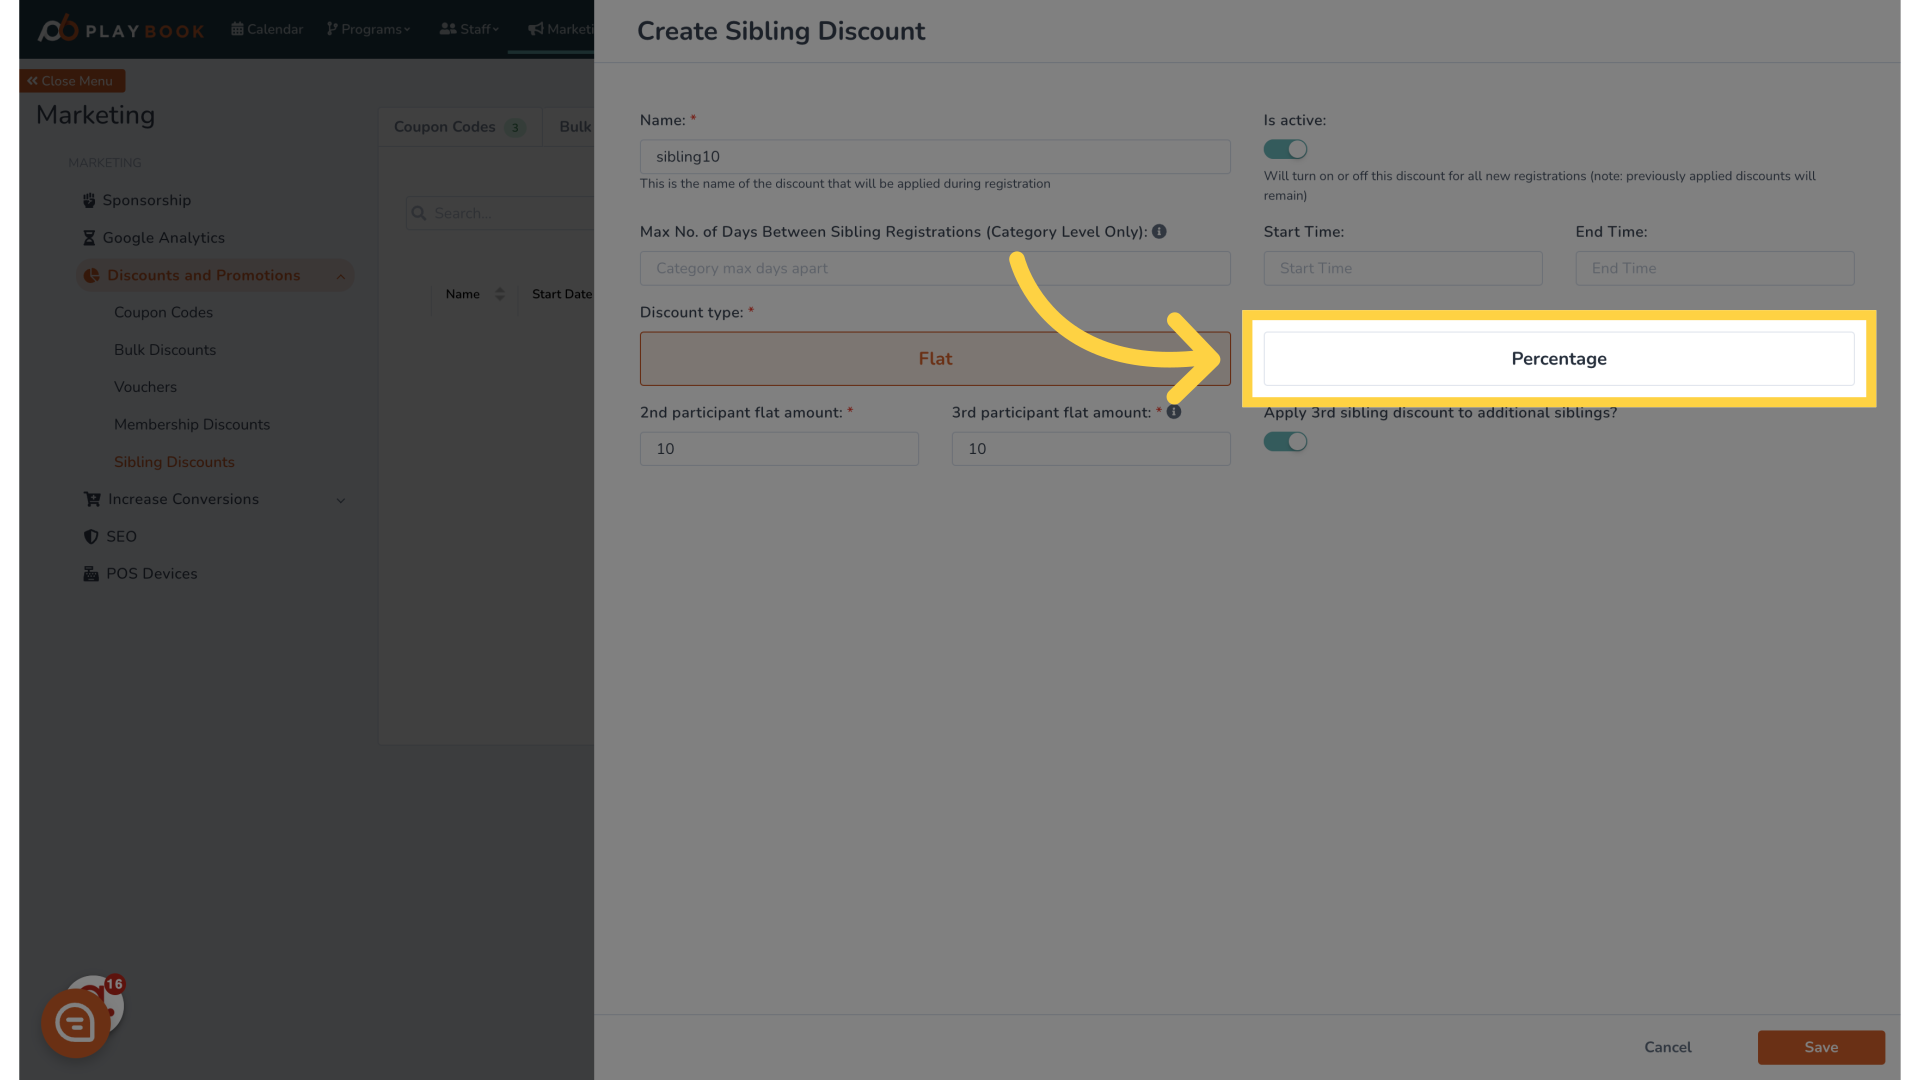
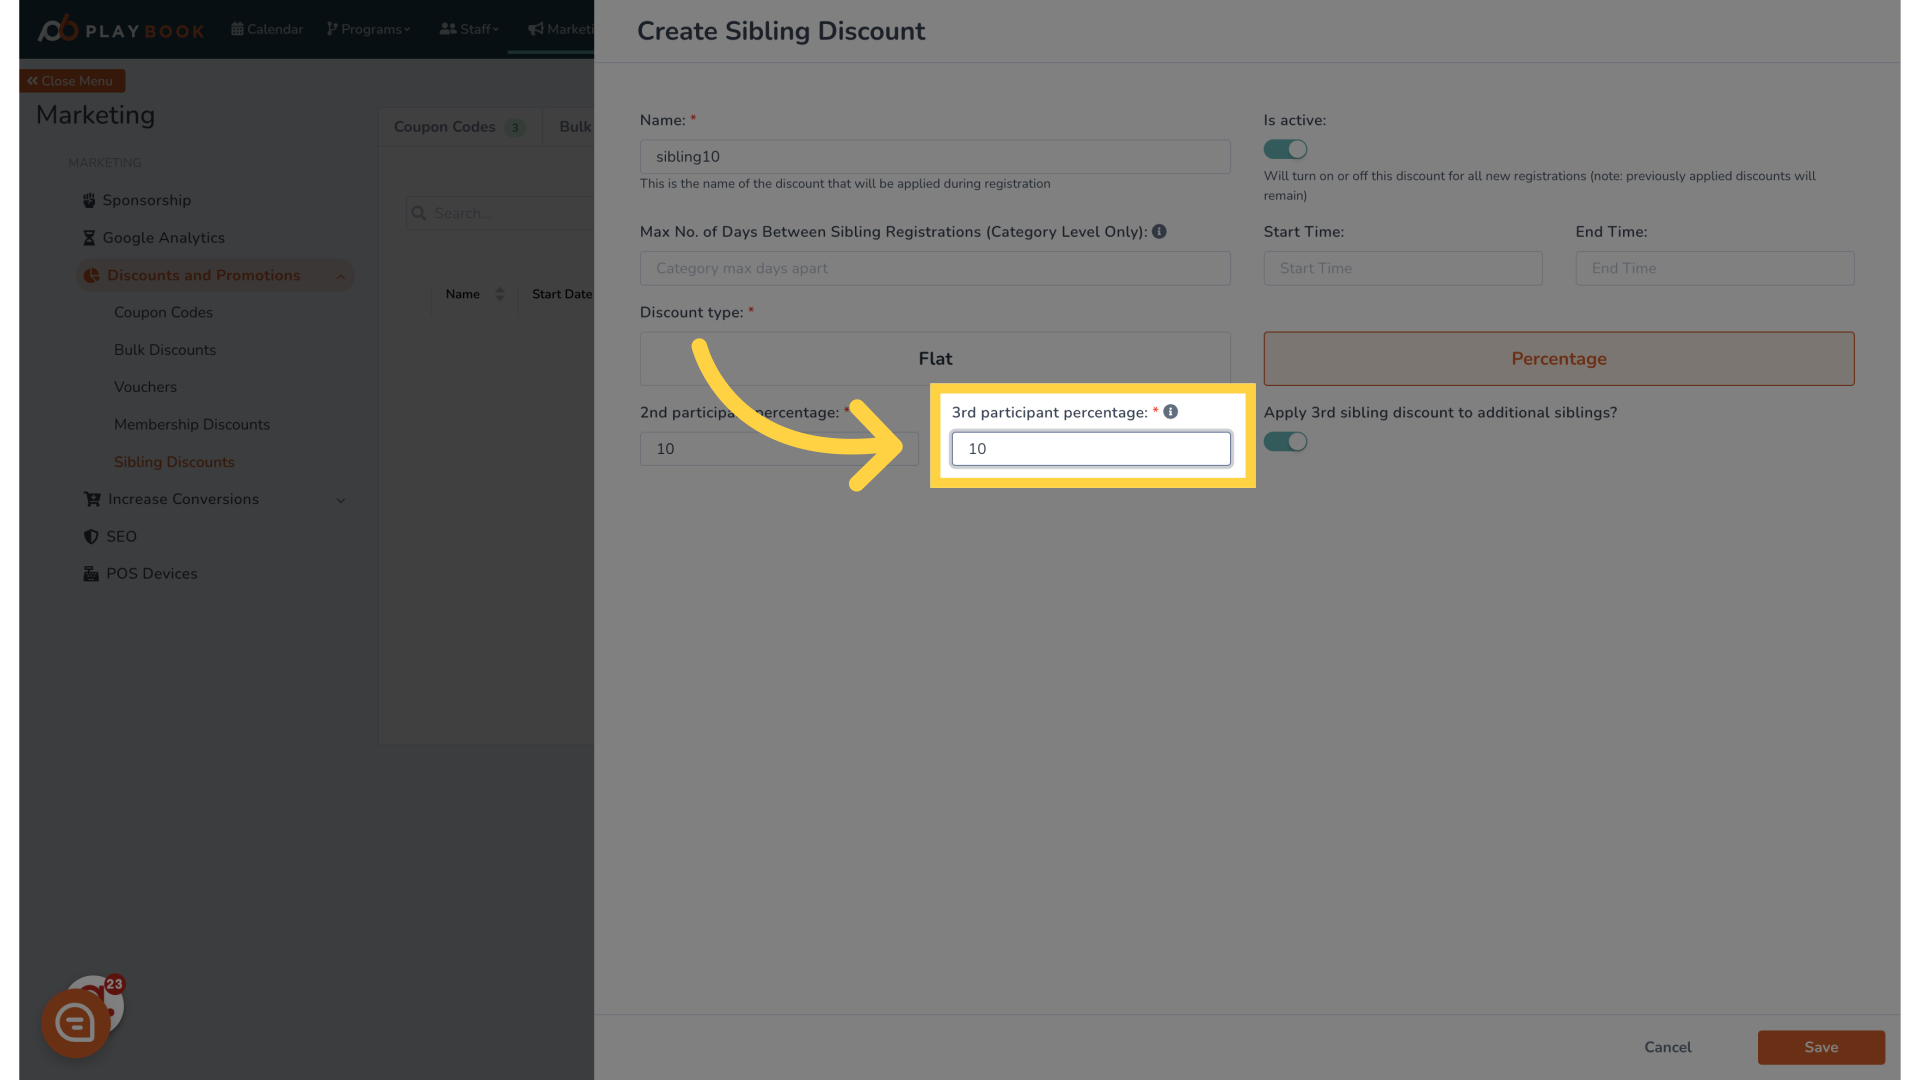
18. Click "Percentage"
Choose the percentage rate that will be applied as a discount
19. Click "0"
Input the percentage value that represents the discount
20. Click "Name: * ..."
Provide a final name for the discount to ensure it is properly categorized
21. Click "Save"
Save your new sibling discount to finalize the setup

22. Click here
Proceed to the next section for additional configurations
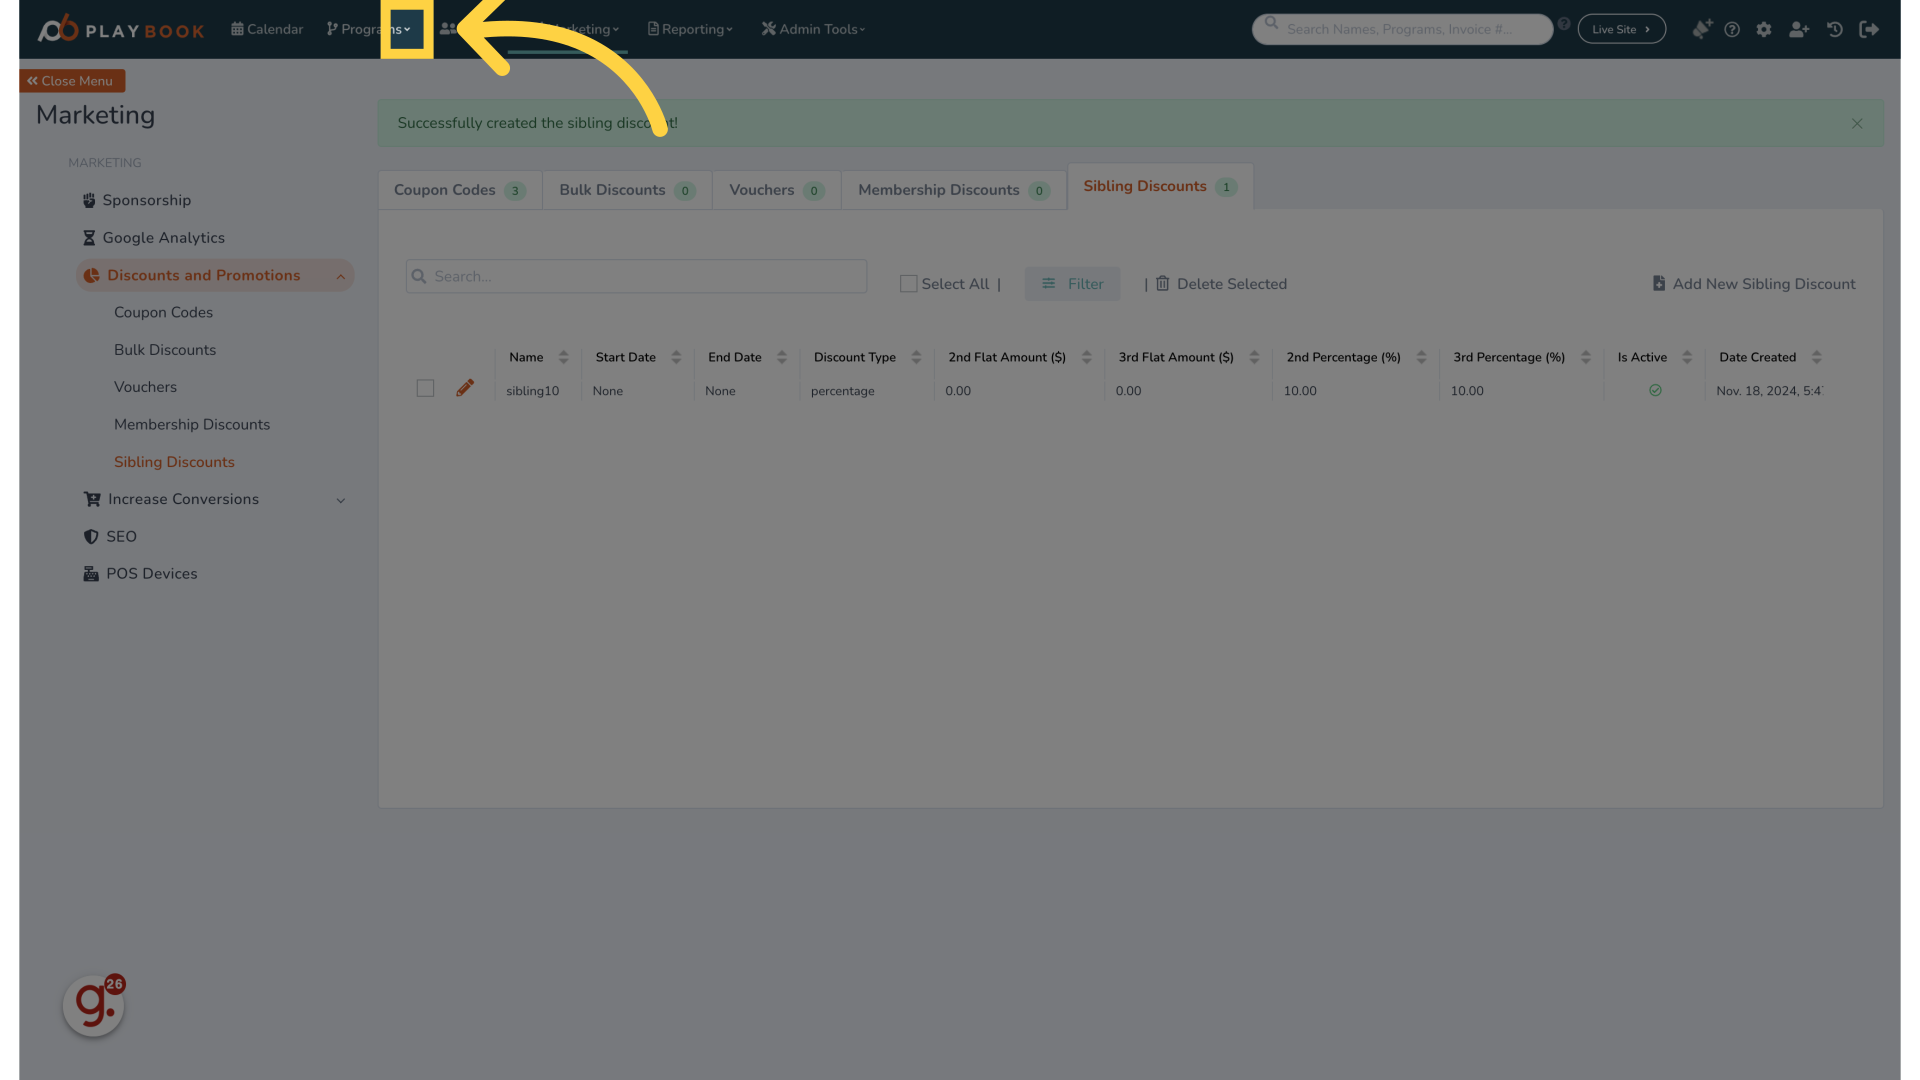
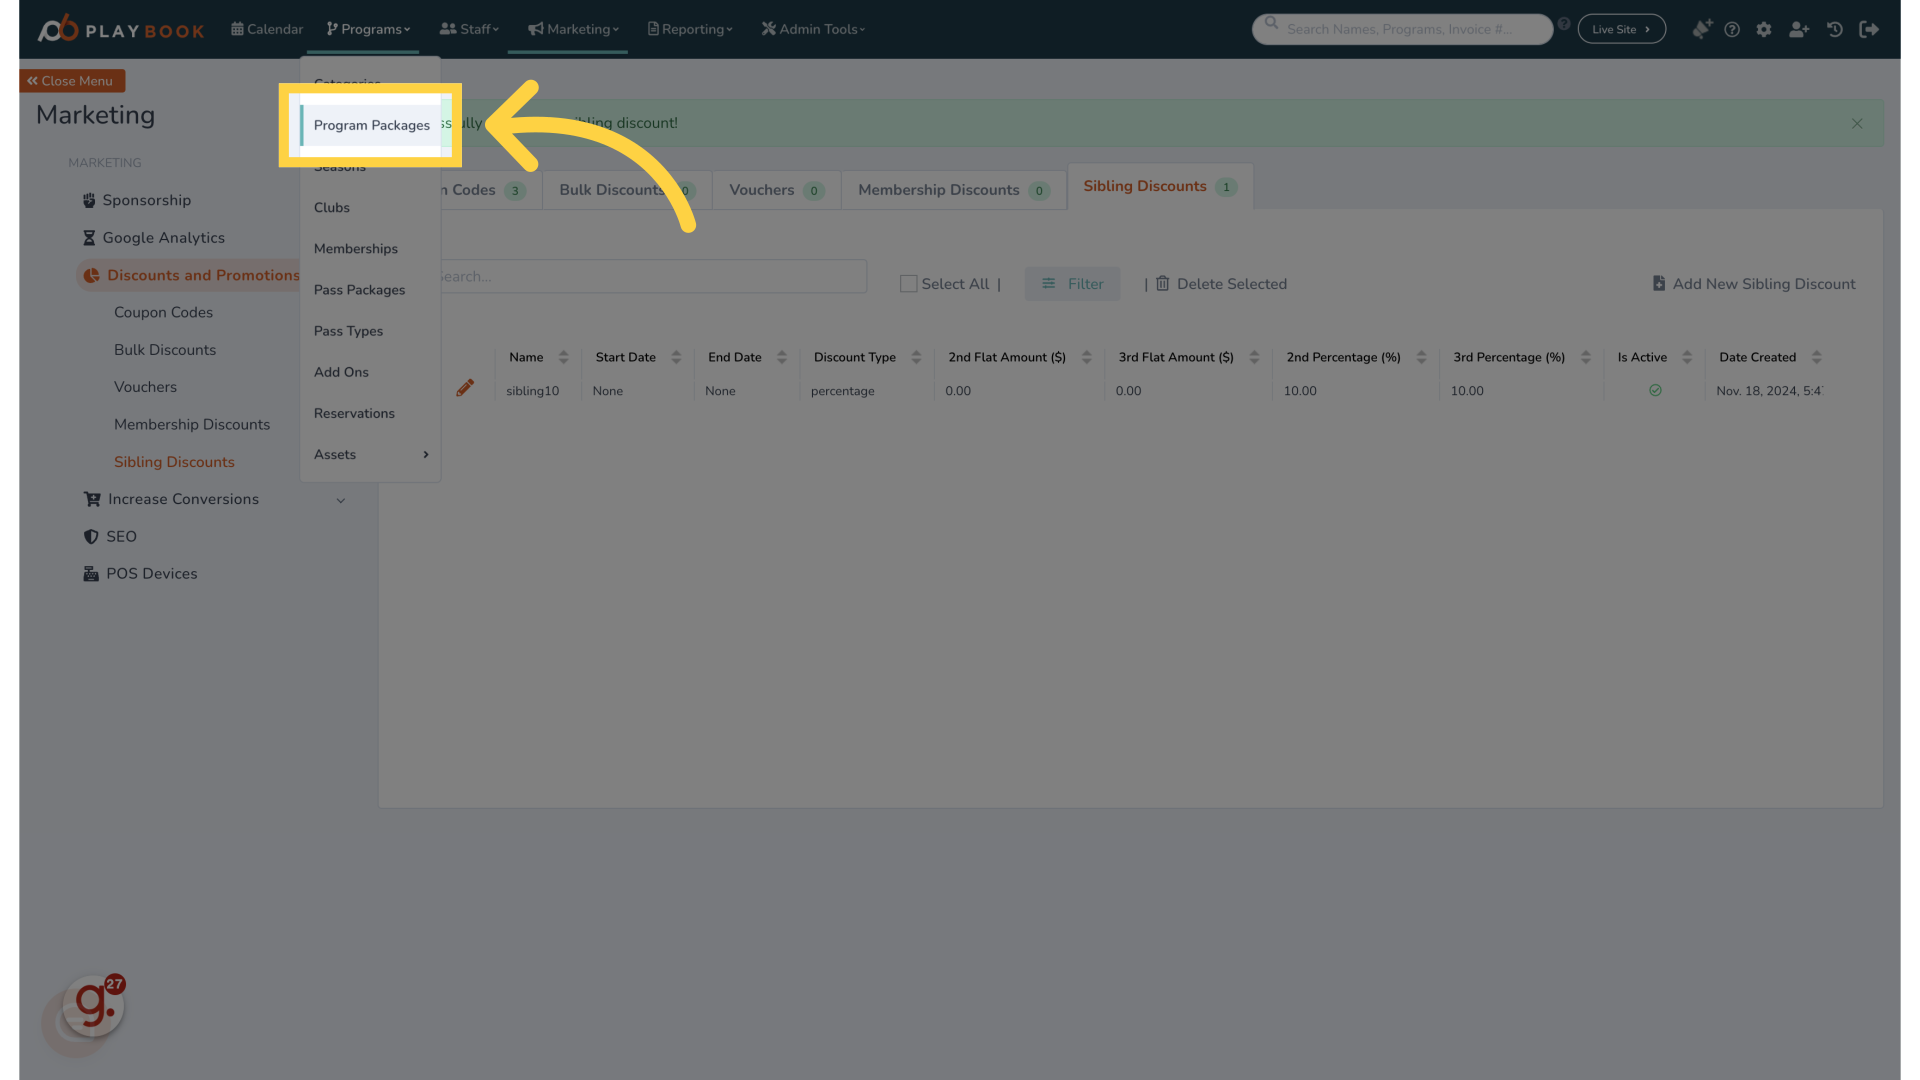
23. Click "Program Packages"
Access the program packages to link your discount accordingly
24. Click here
Move forward to further personalize the discount package
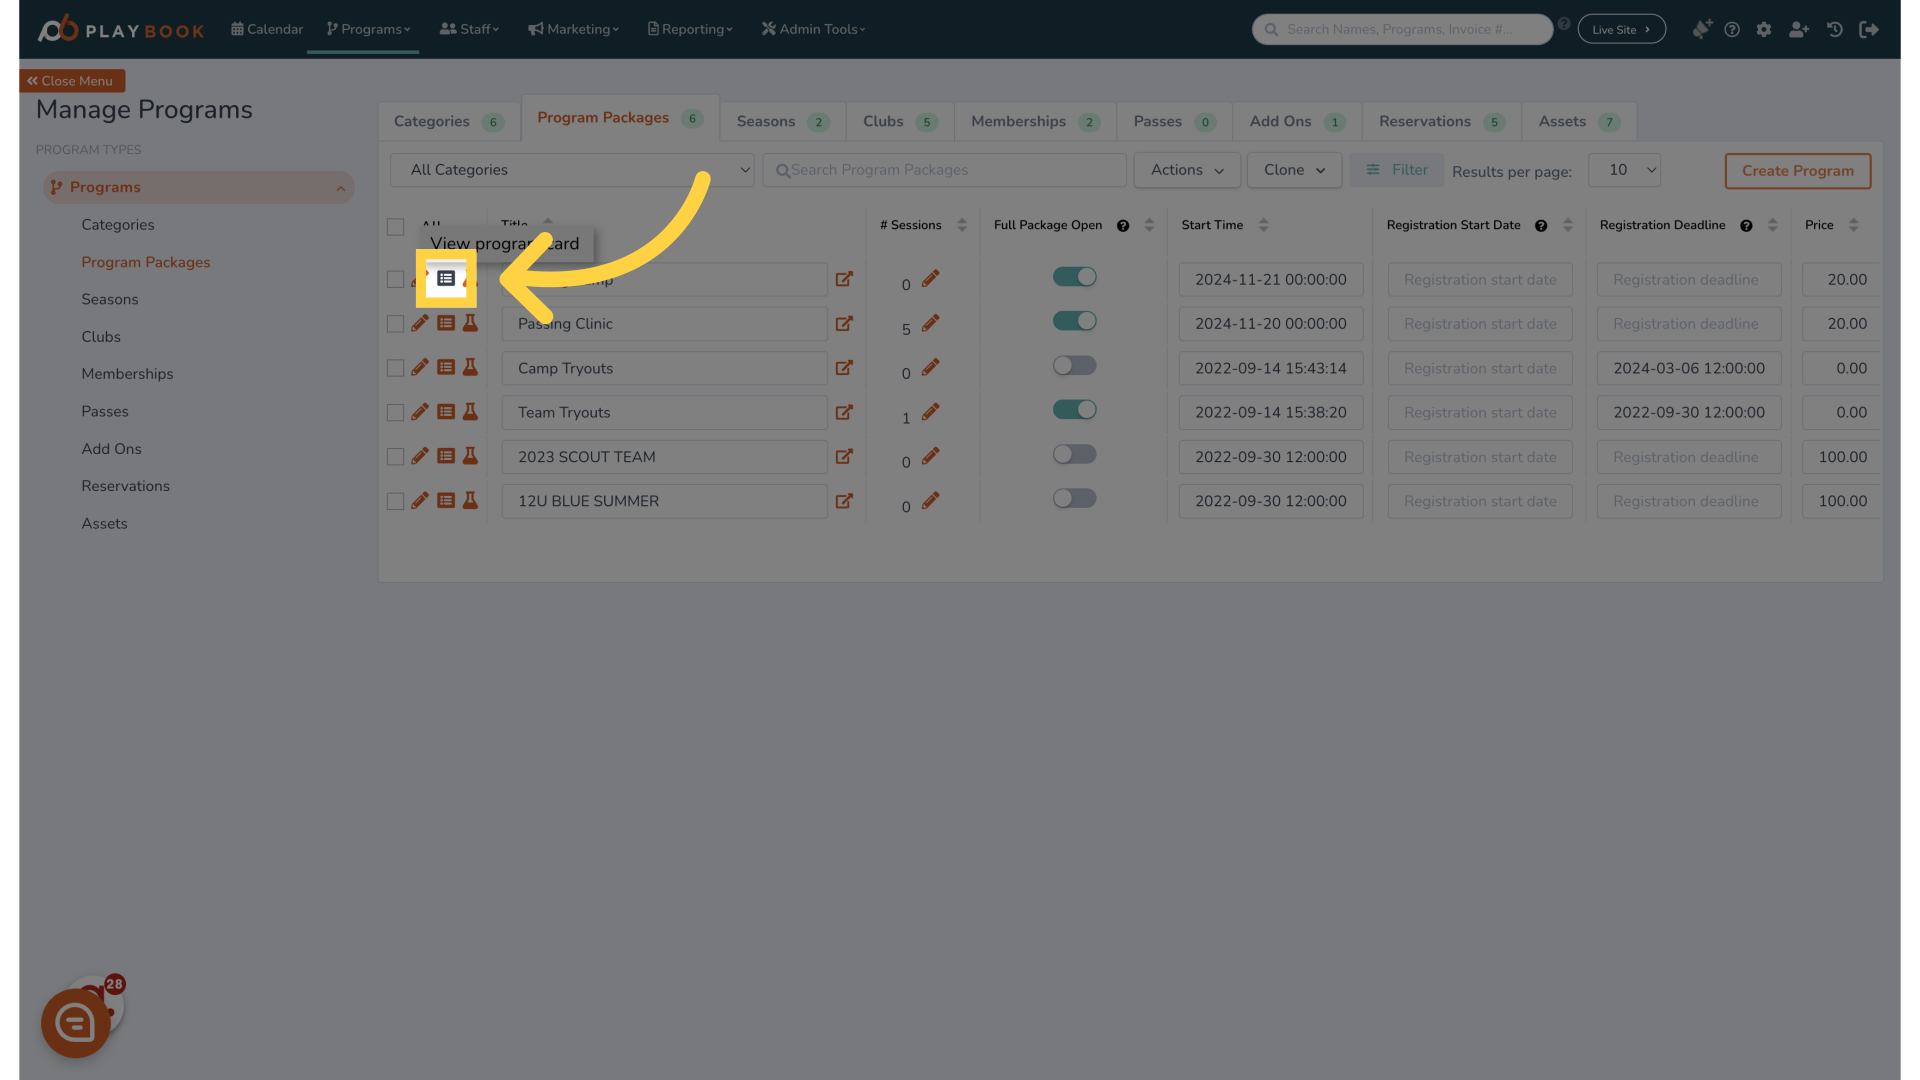
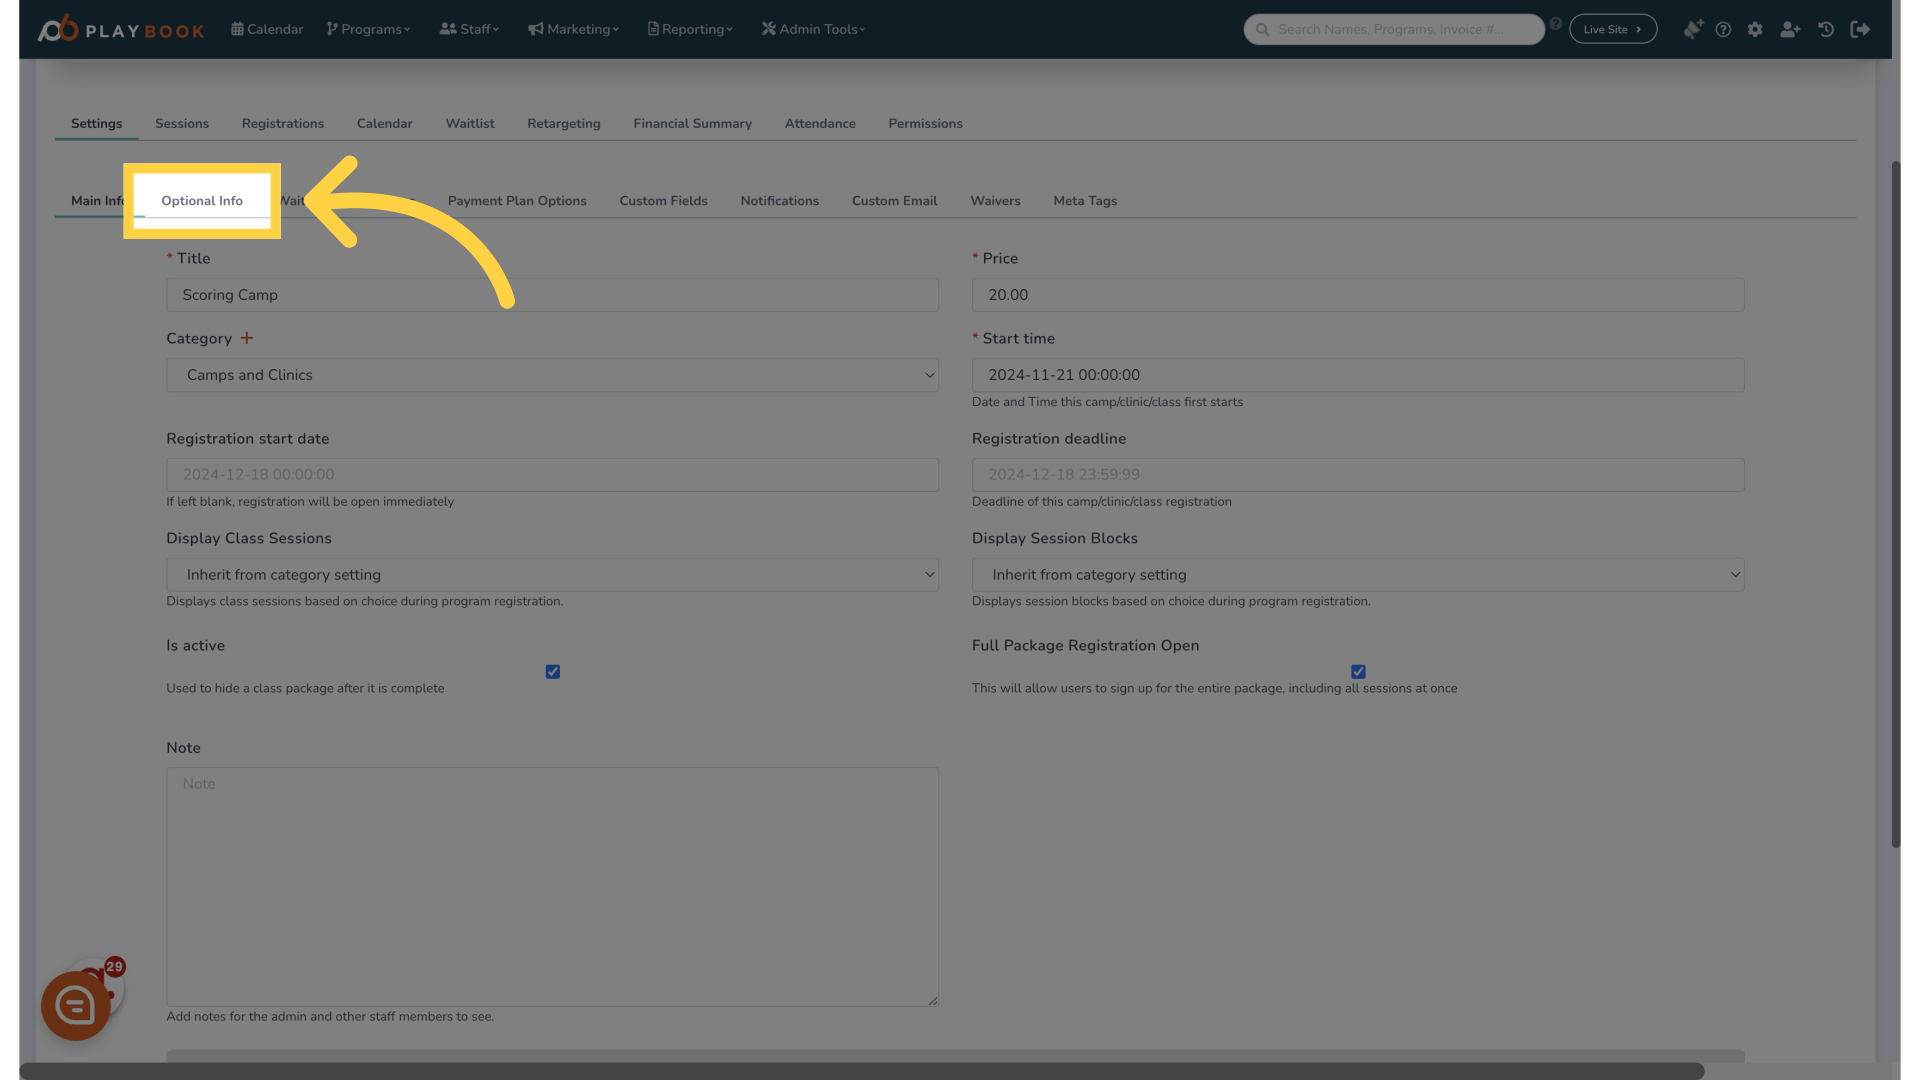
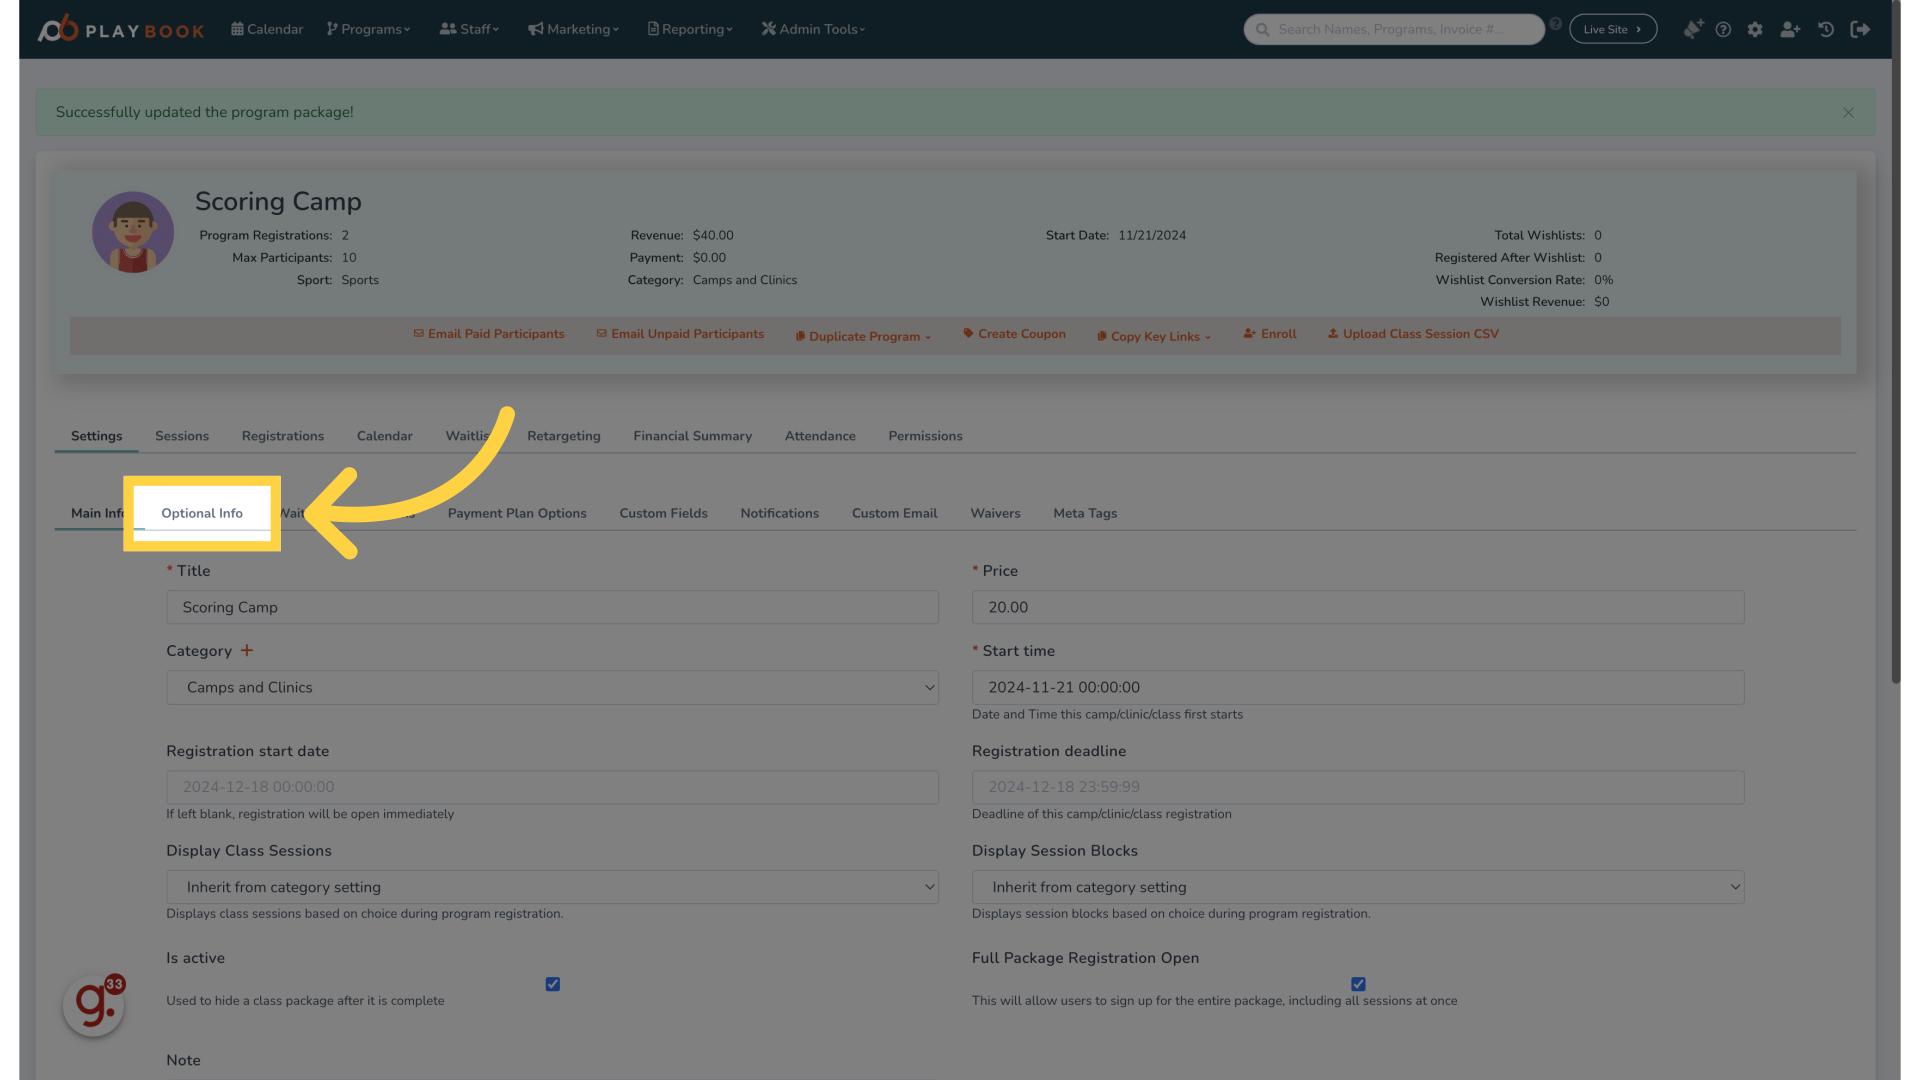
25. Click "Optional Info"
Expand the optional information section for further inputs
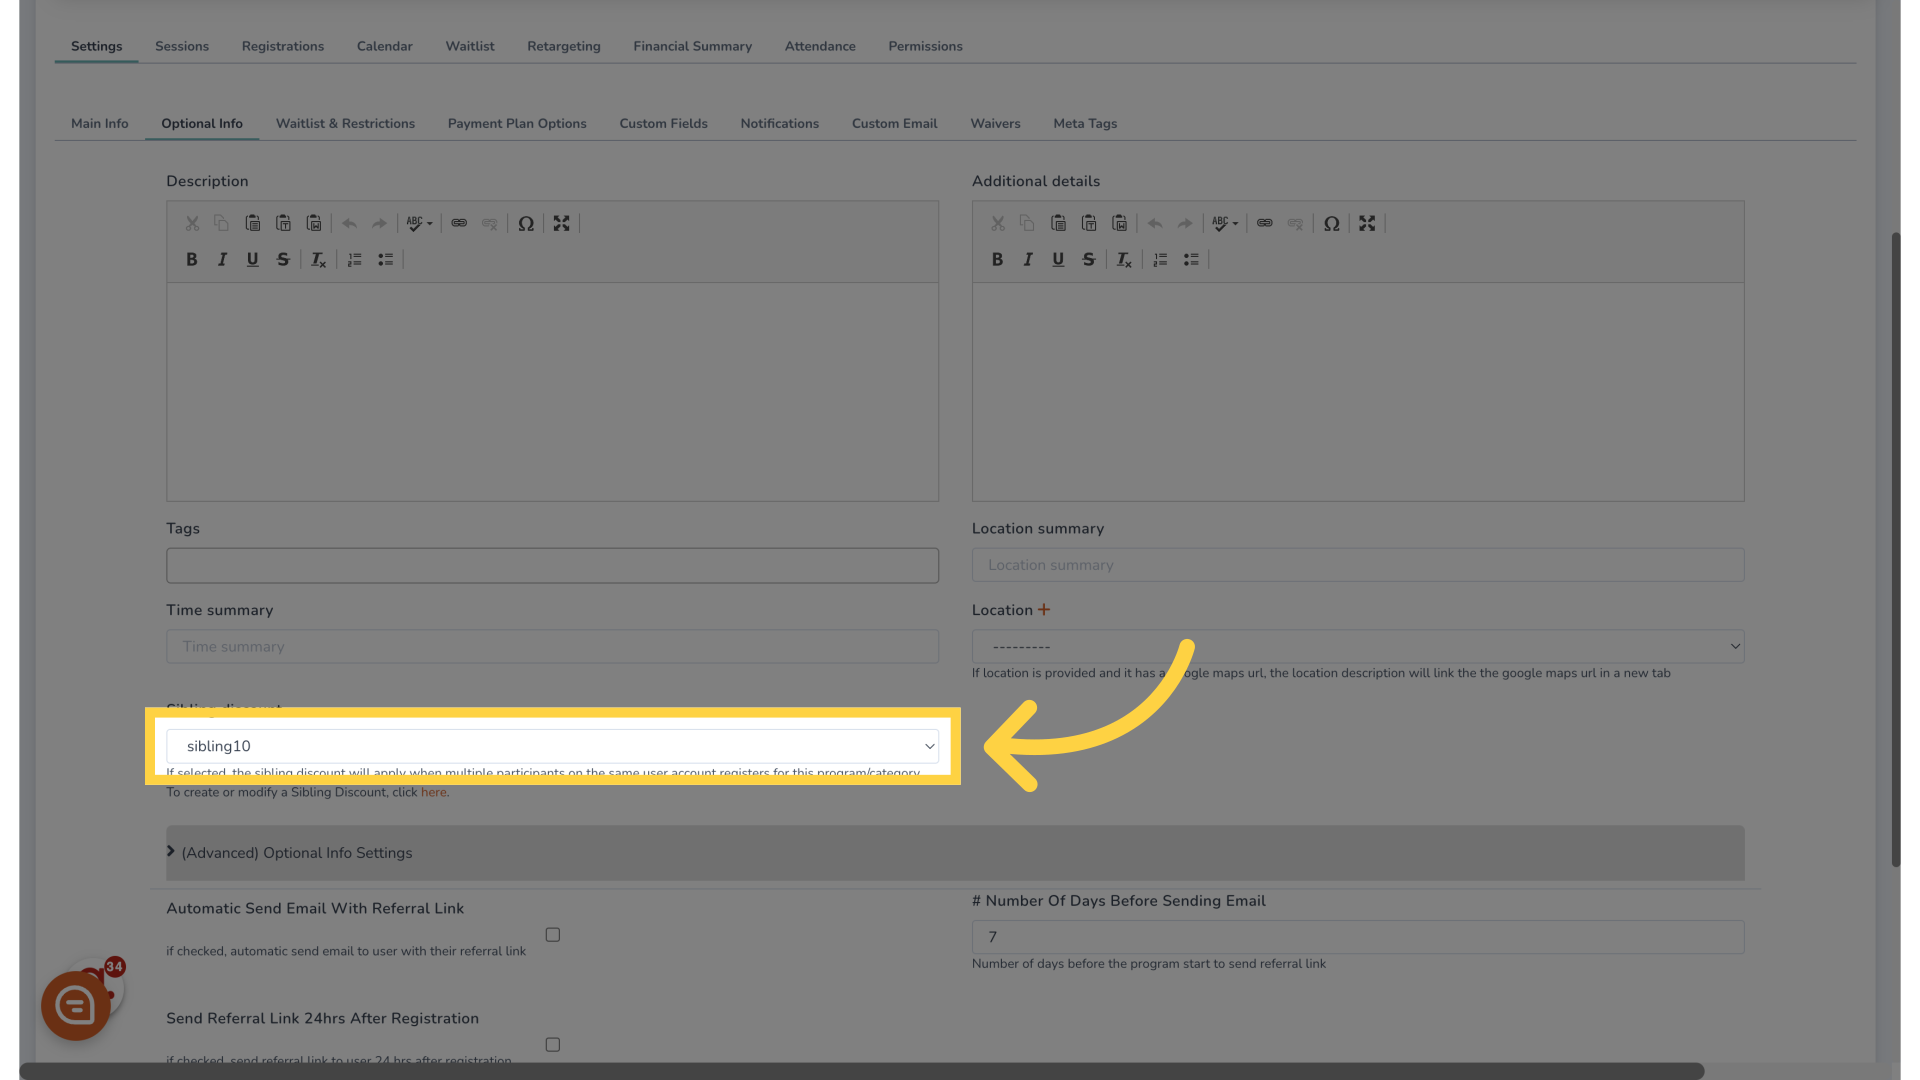
26. Scroll to find the sibling discount dropdown
Select the designated sibling discount package for configuration
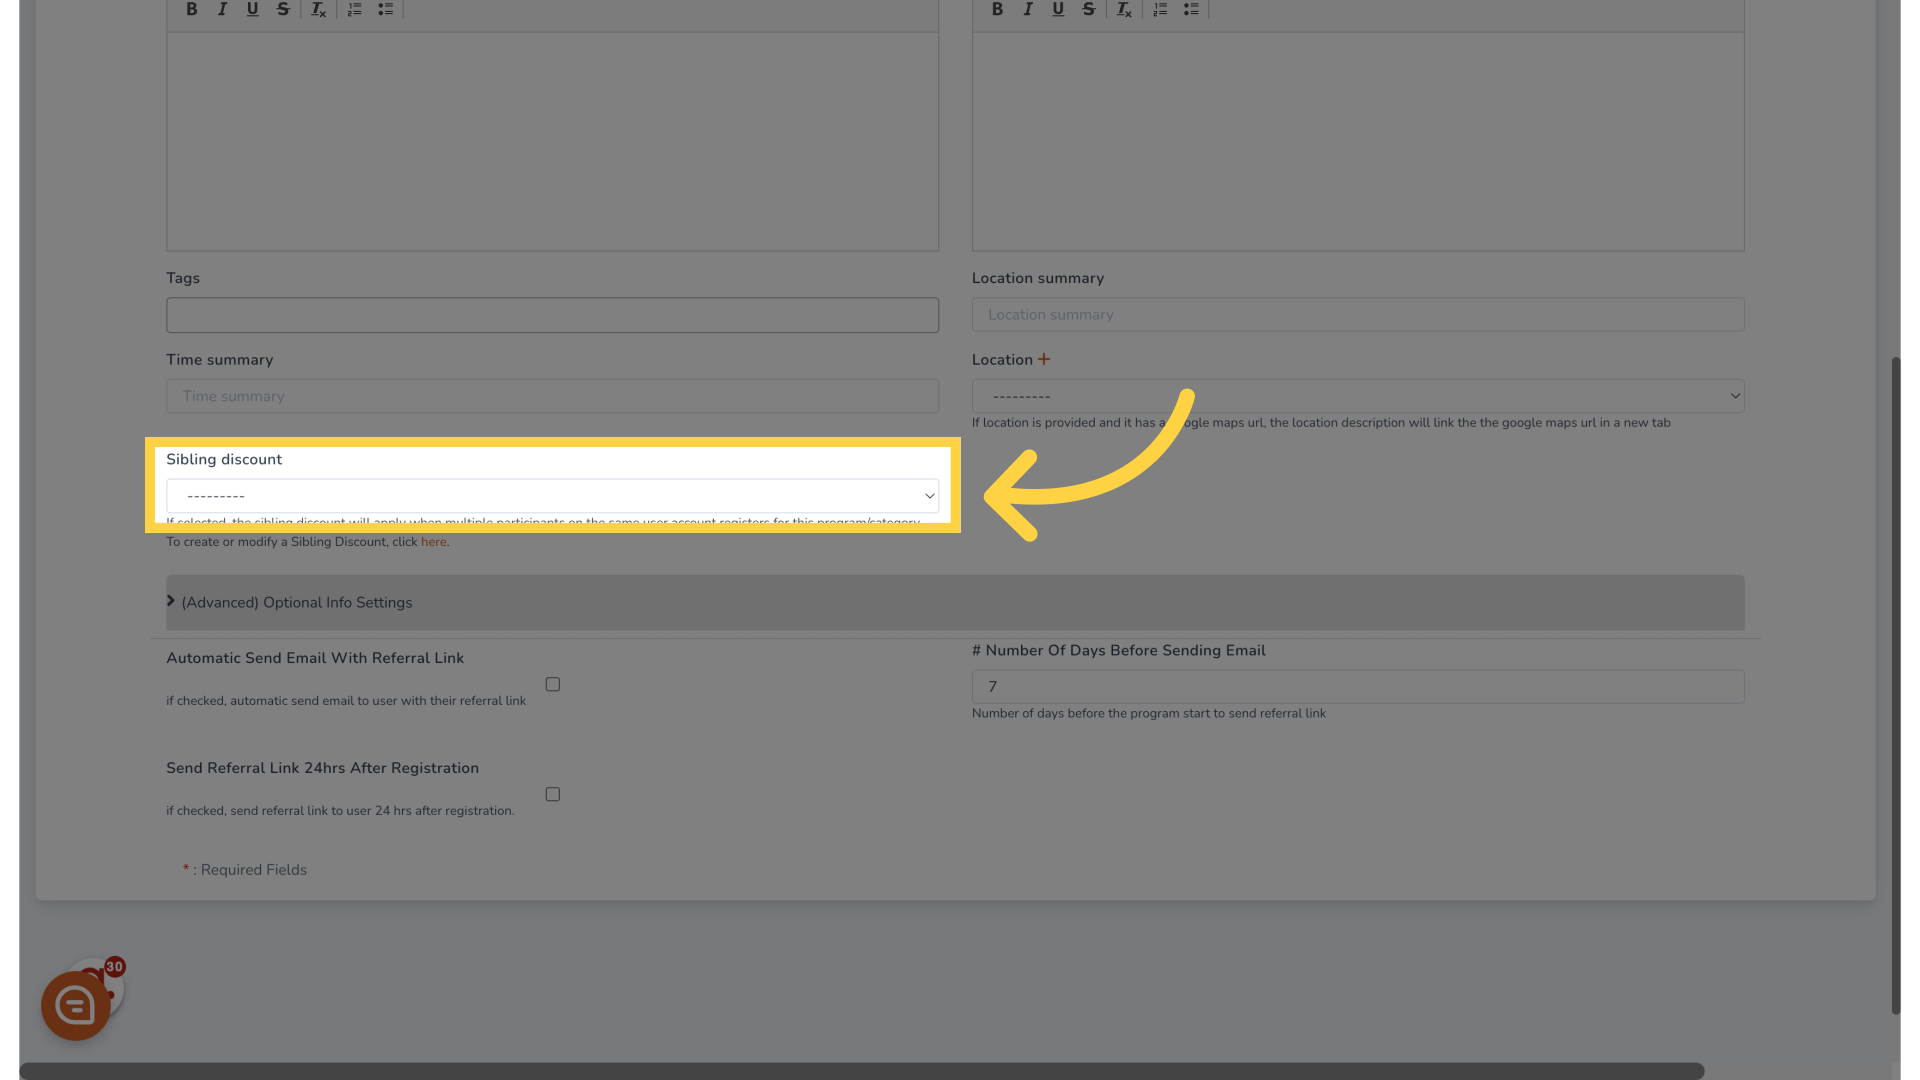
27. Fill "--------- sibling10"
Provide additional details for the sibling discount package
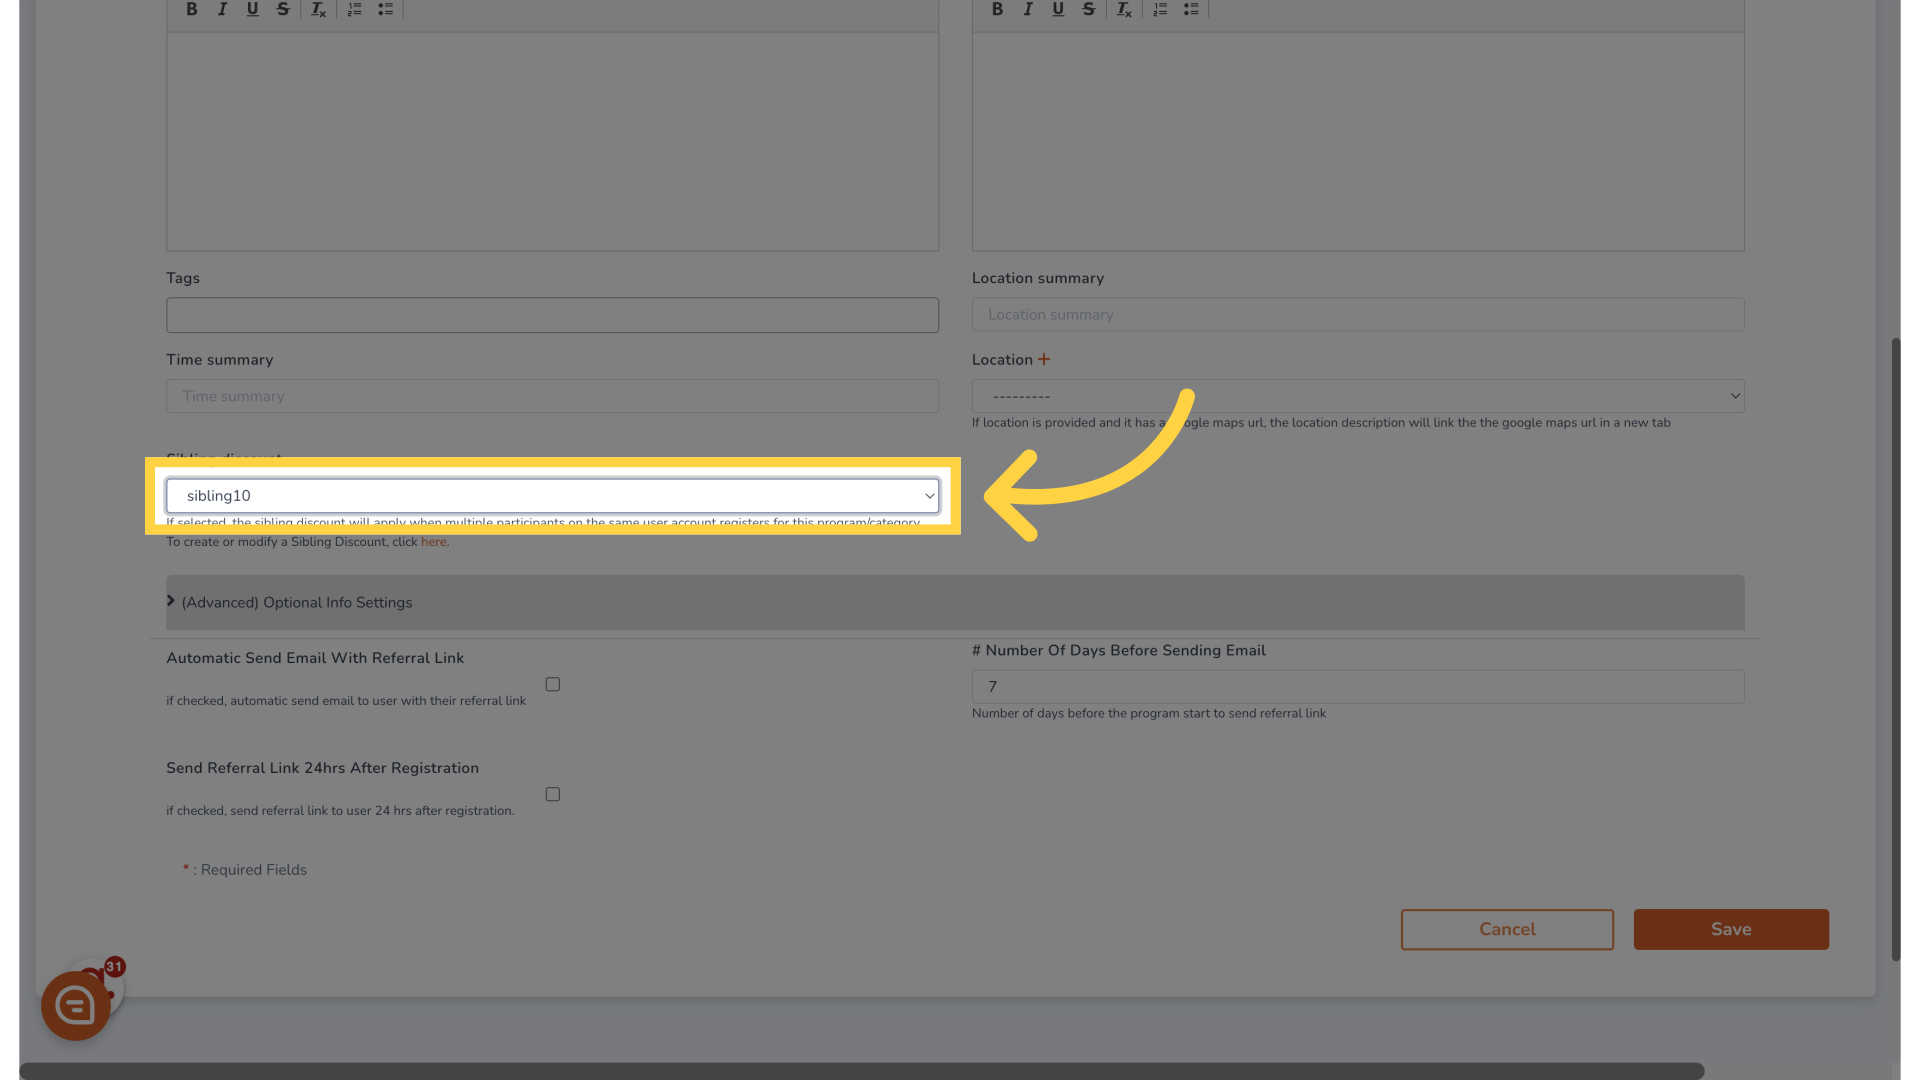
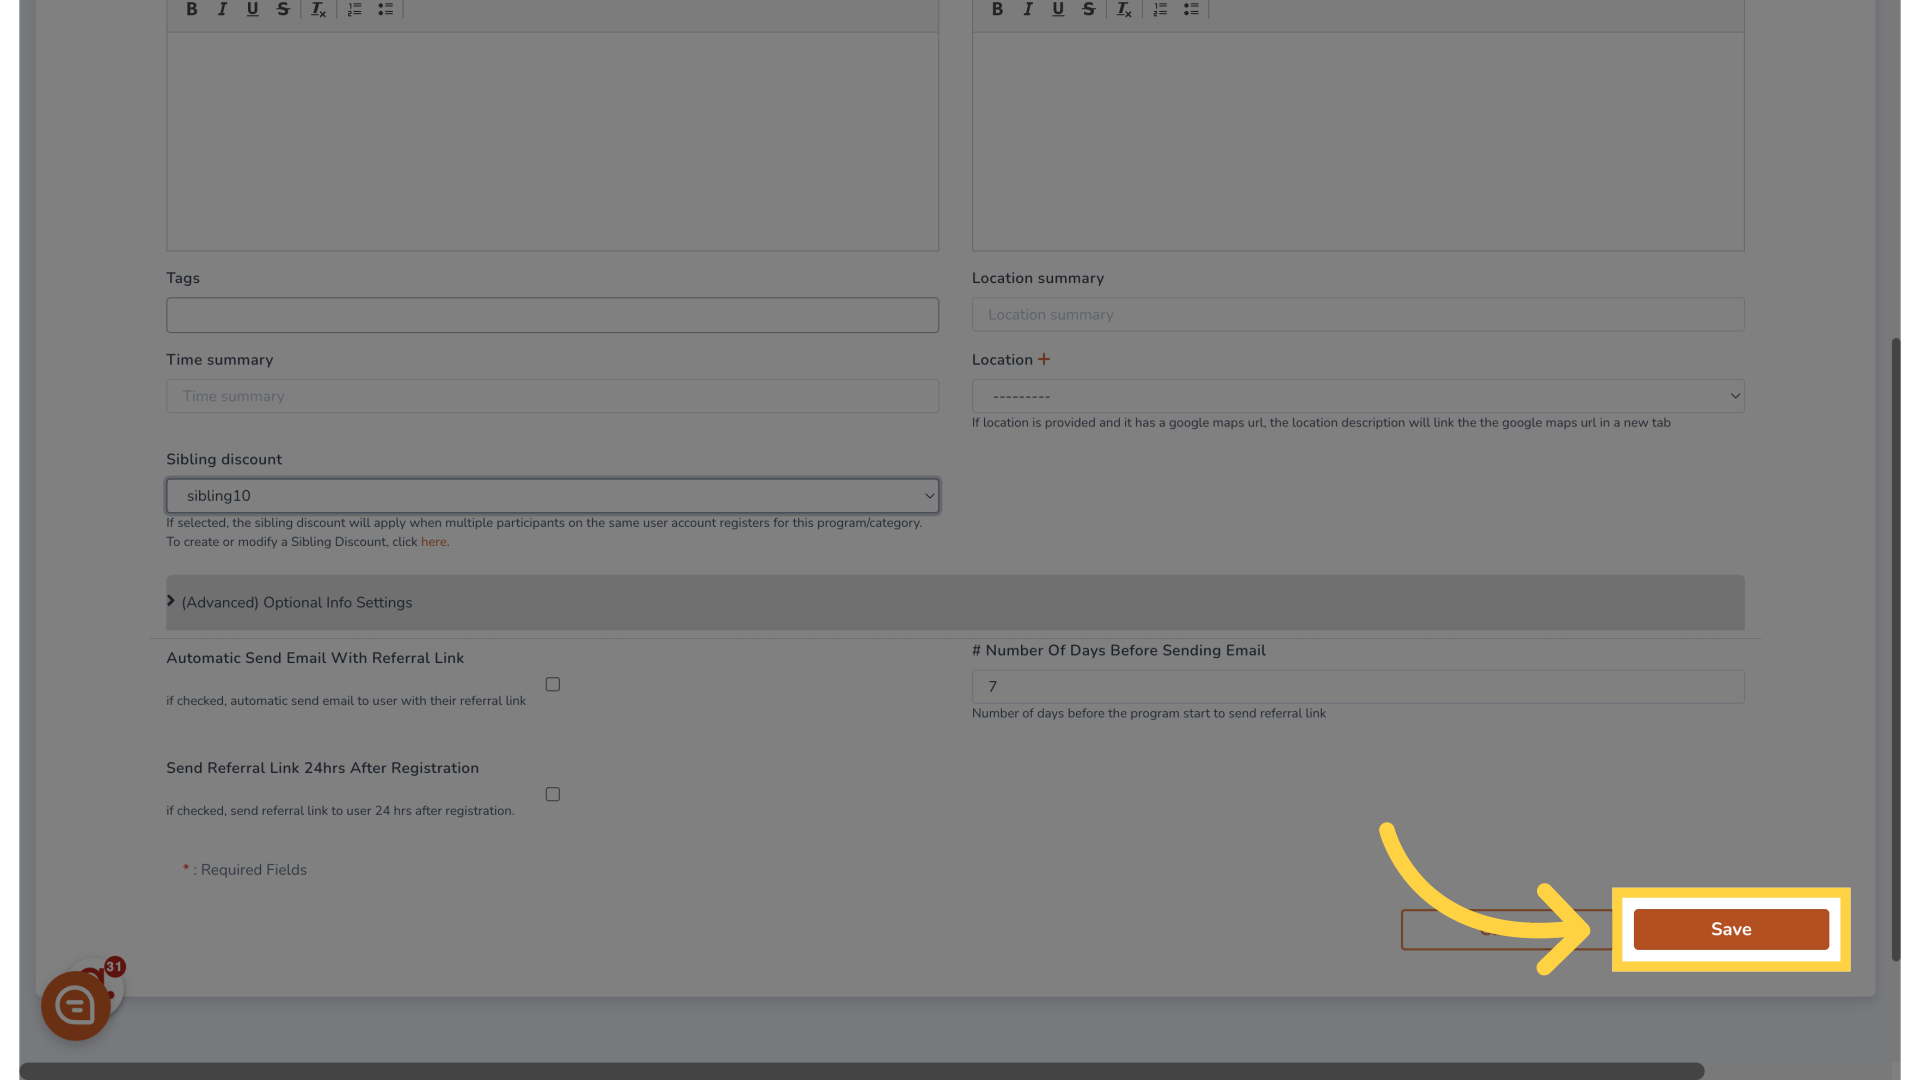
28. Click "Save"
Save the changes made to the optional information
29. Click "Optional Info"
Return to the optional information for any final adjustments
30. Click "--------- sibling10"
Revisit the sibling discount package to confirm details
This guide covered the process of adding and configuring sibling discounts, including setting discount criteria, defining duration, and linking to program packages