How Do I Add New Locations?

Locations allow you to give your Users information on where your programs, seasons, and more take place.

  1. To create a Location, you will need to log in to the Playbook Back End of your website. (mywebsite.playbookapi.com/control_panel)
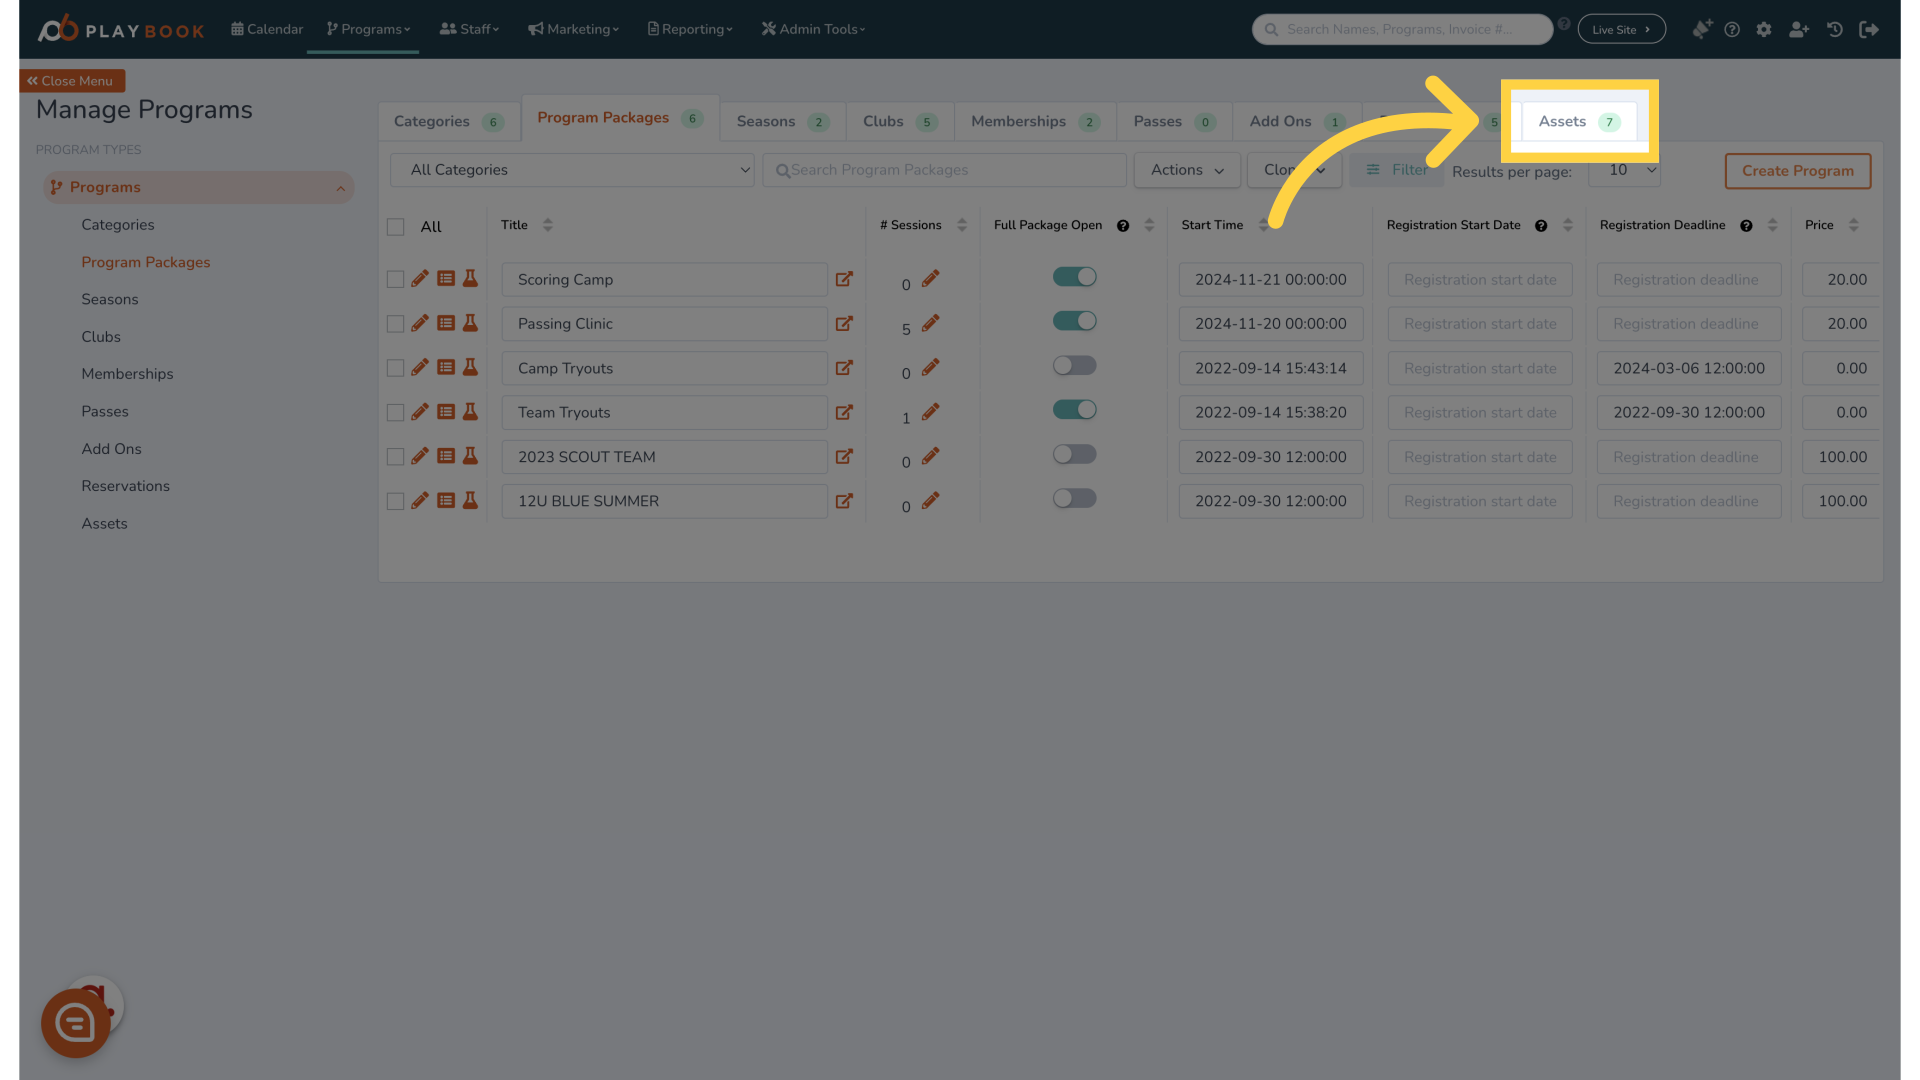
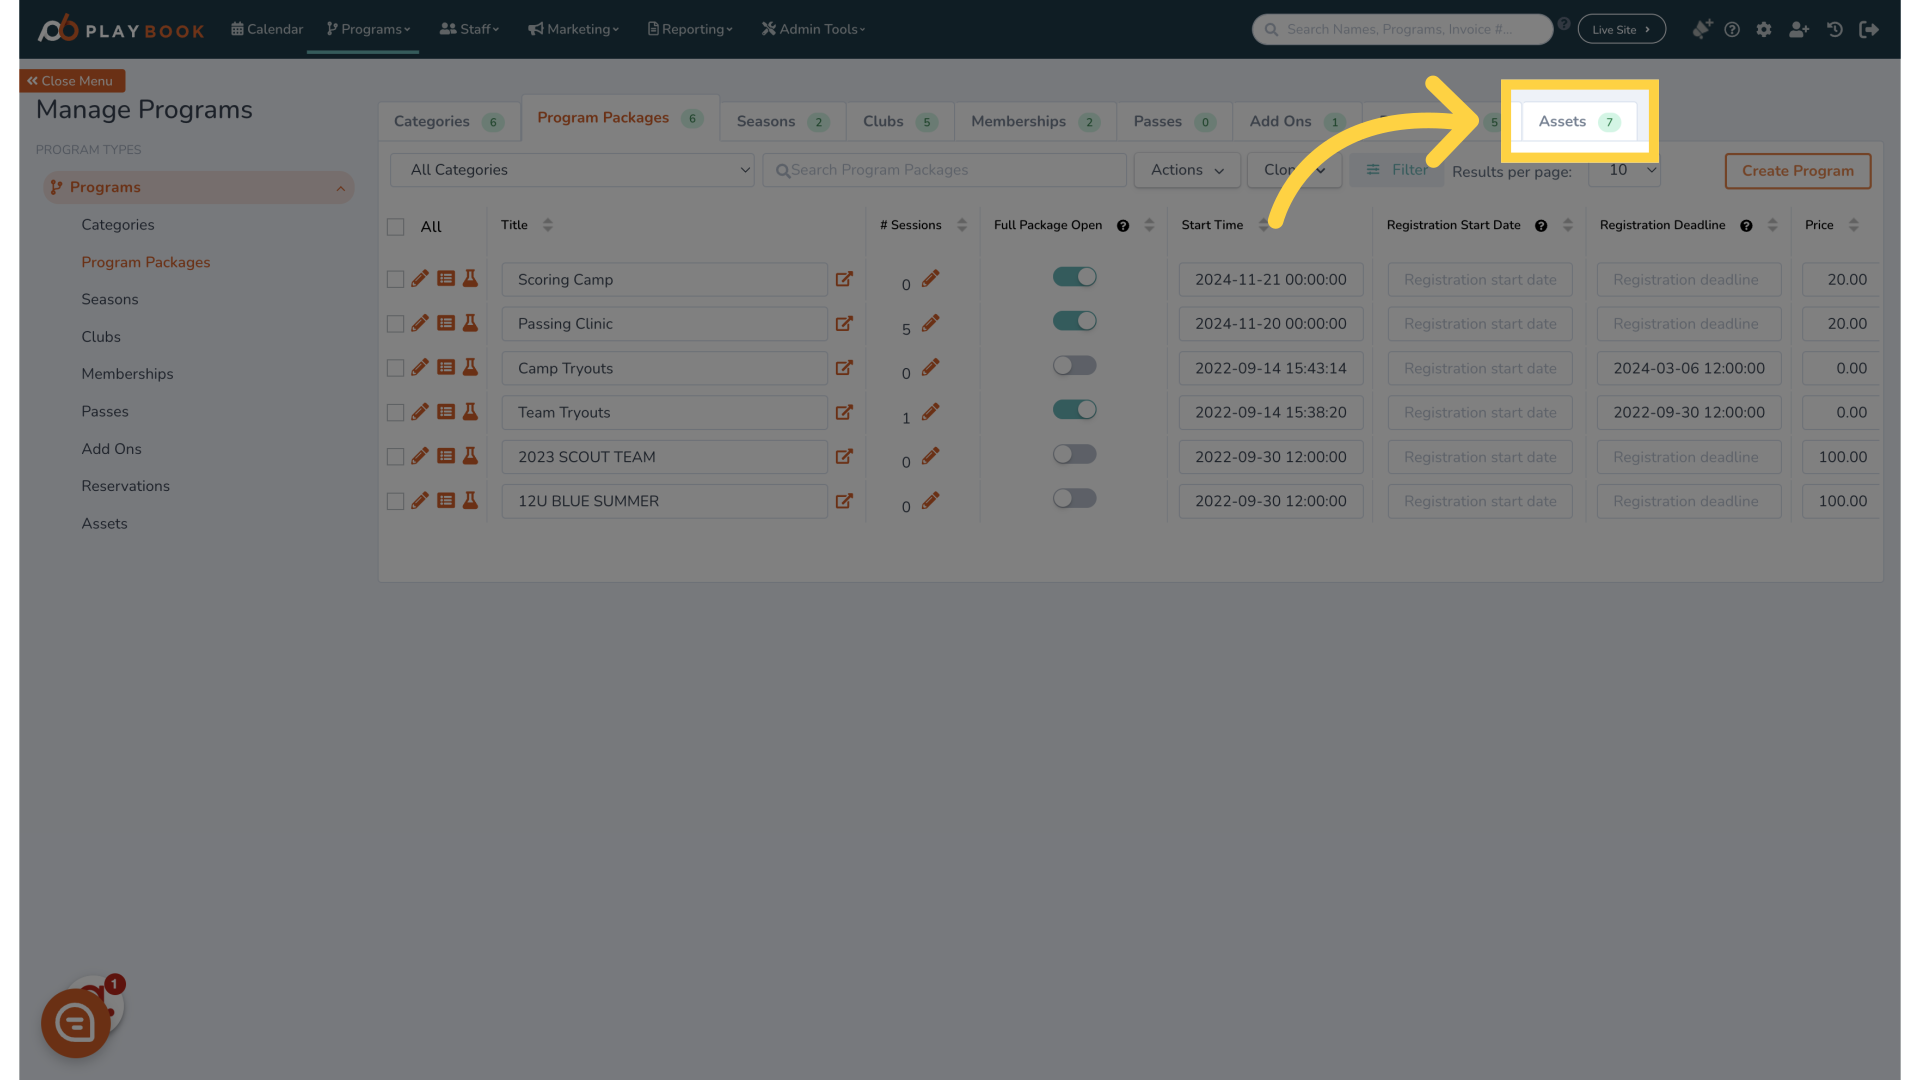
  2. From the top navigation bar select Programs and then Assets. Once the page has loaded make sure you are on Locations
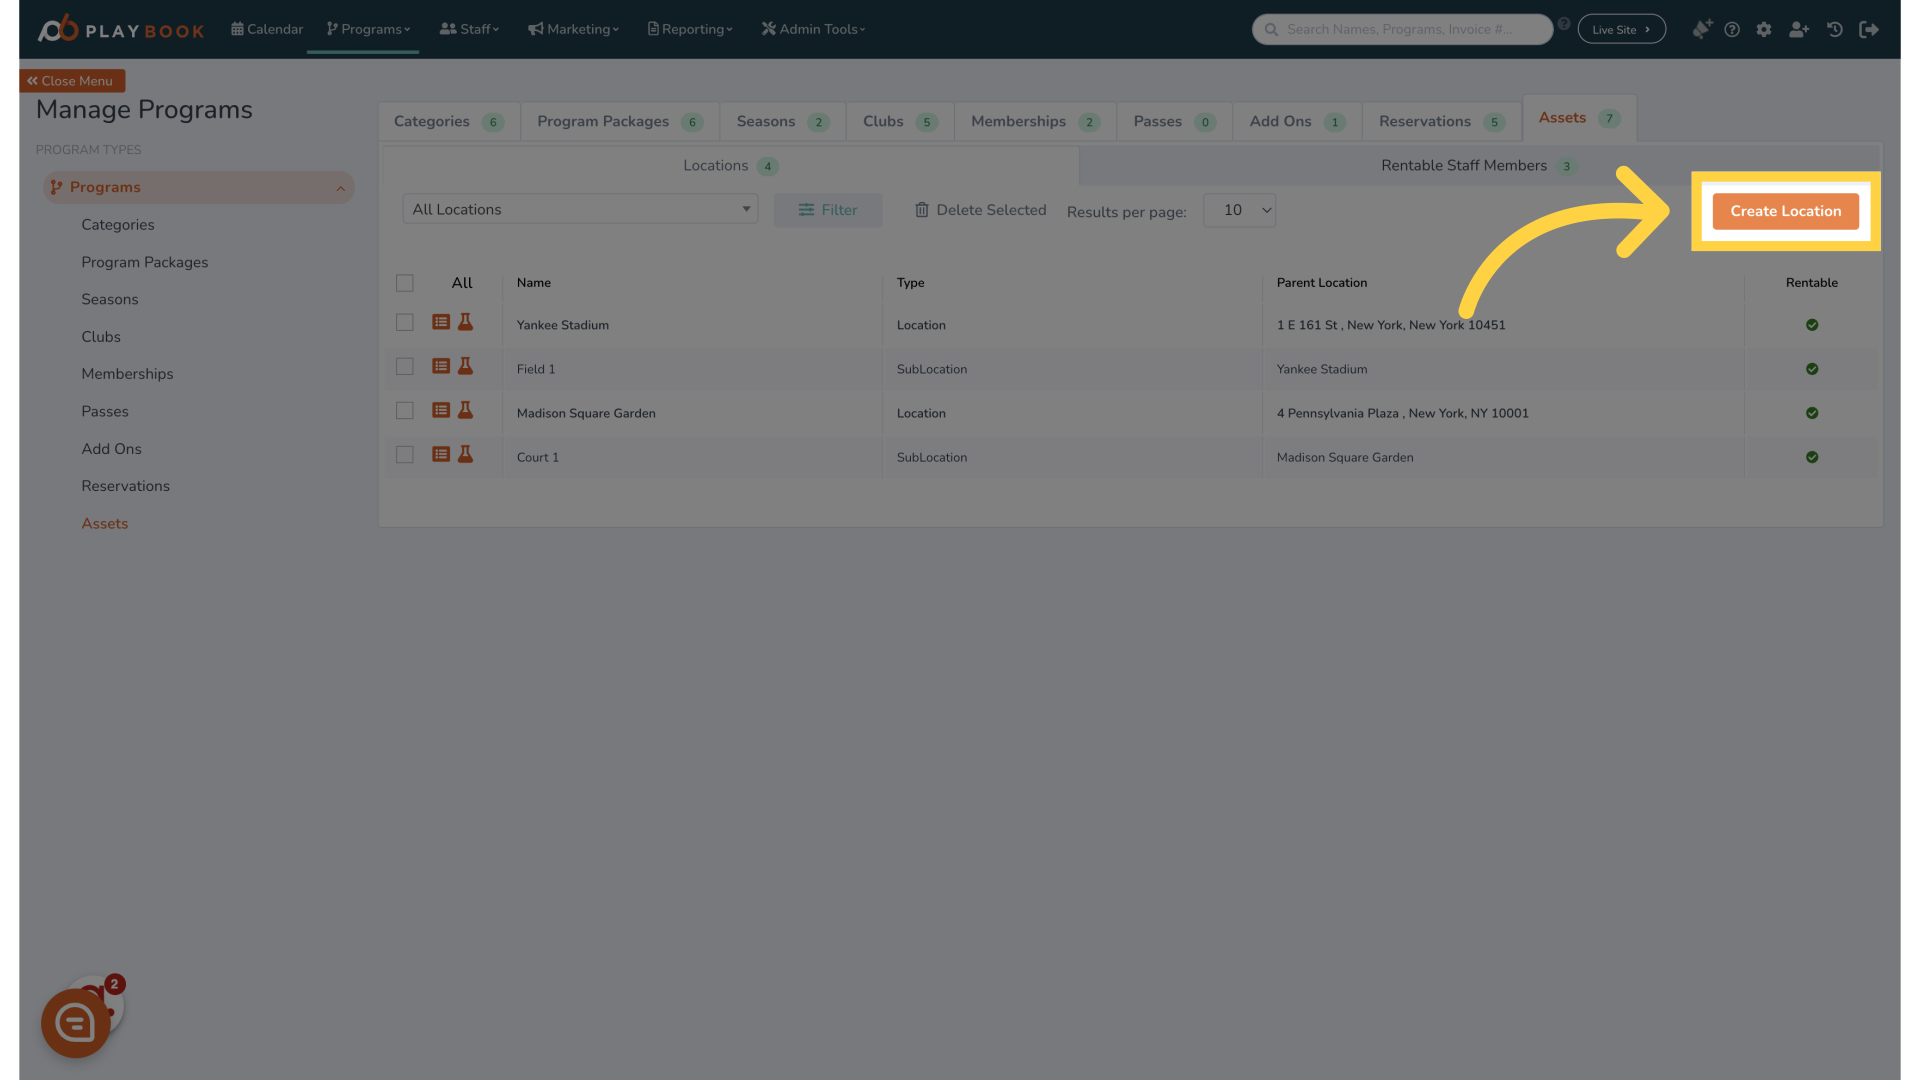
  3. Here, you can see the current list of locations. You can click the Create Location button on the top right to get started with your new location
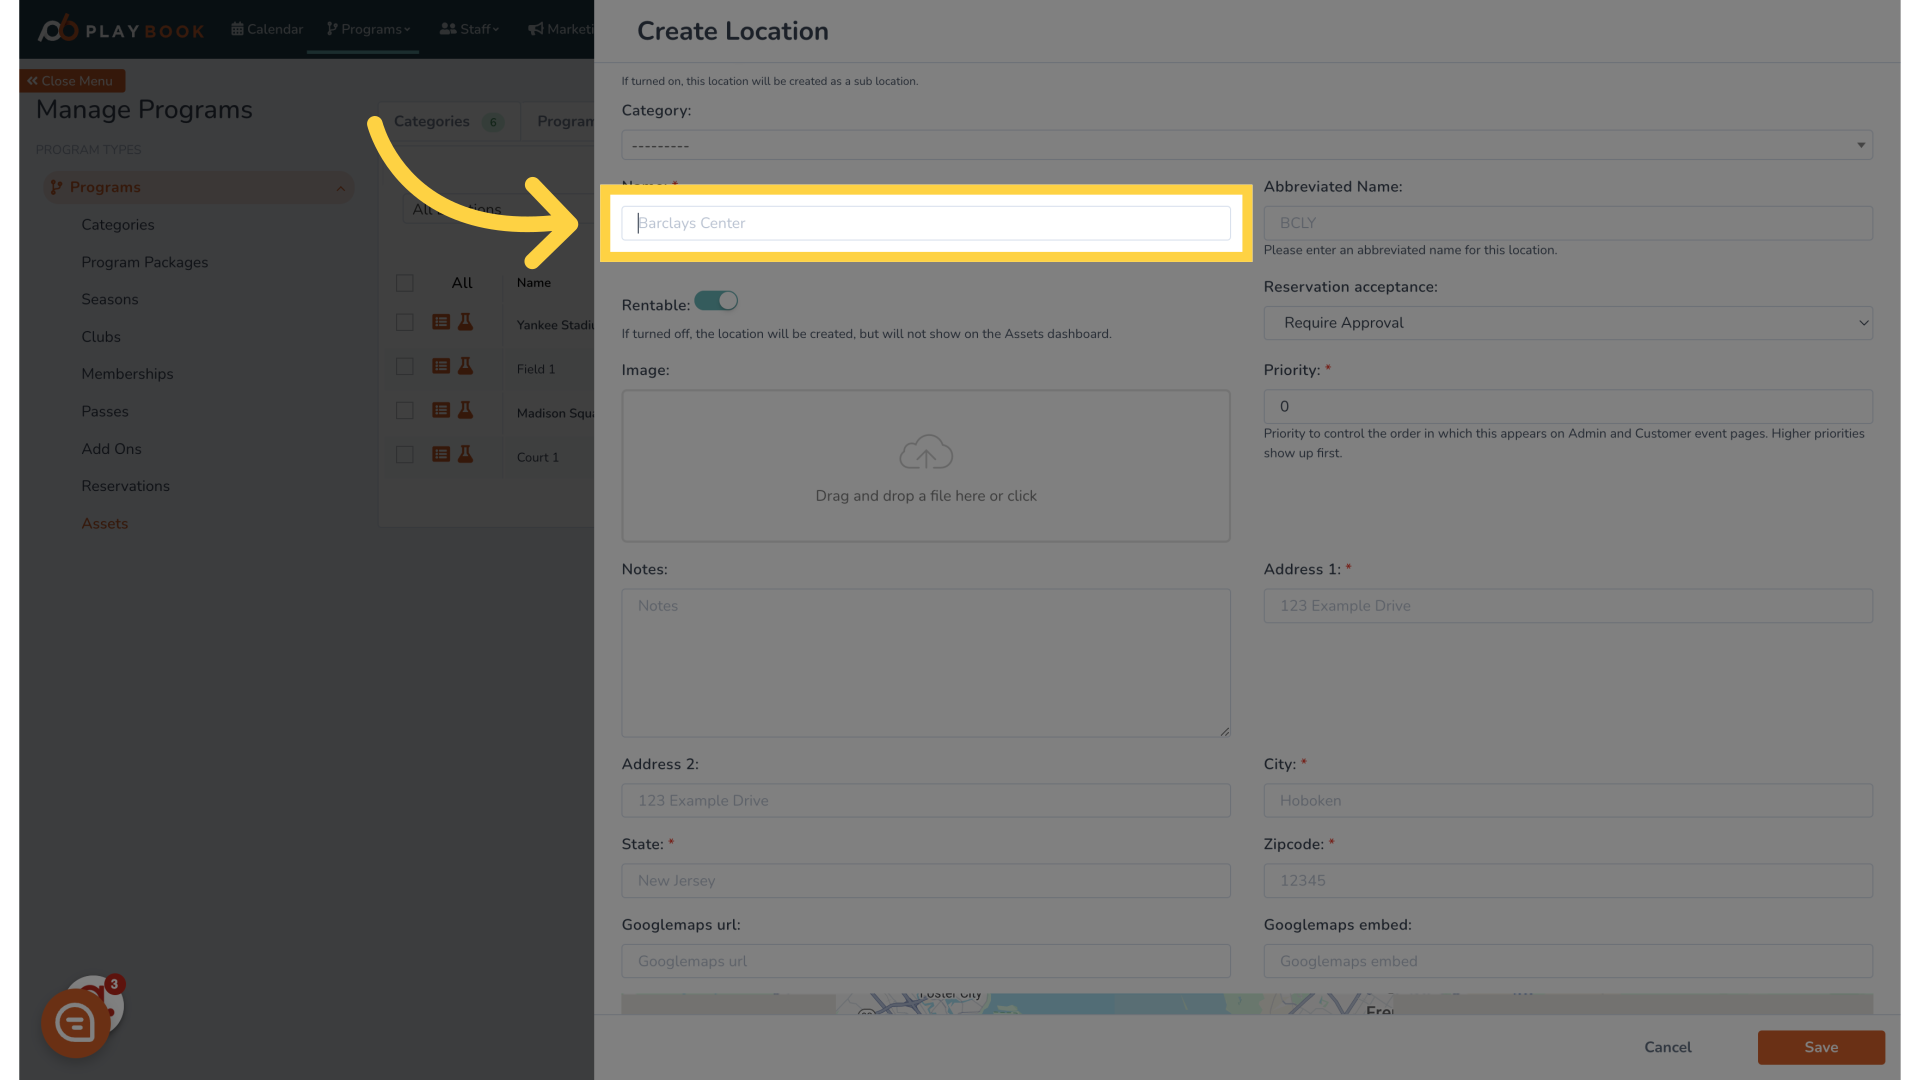
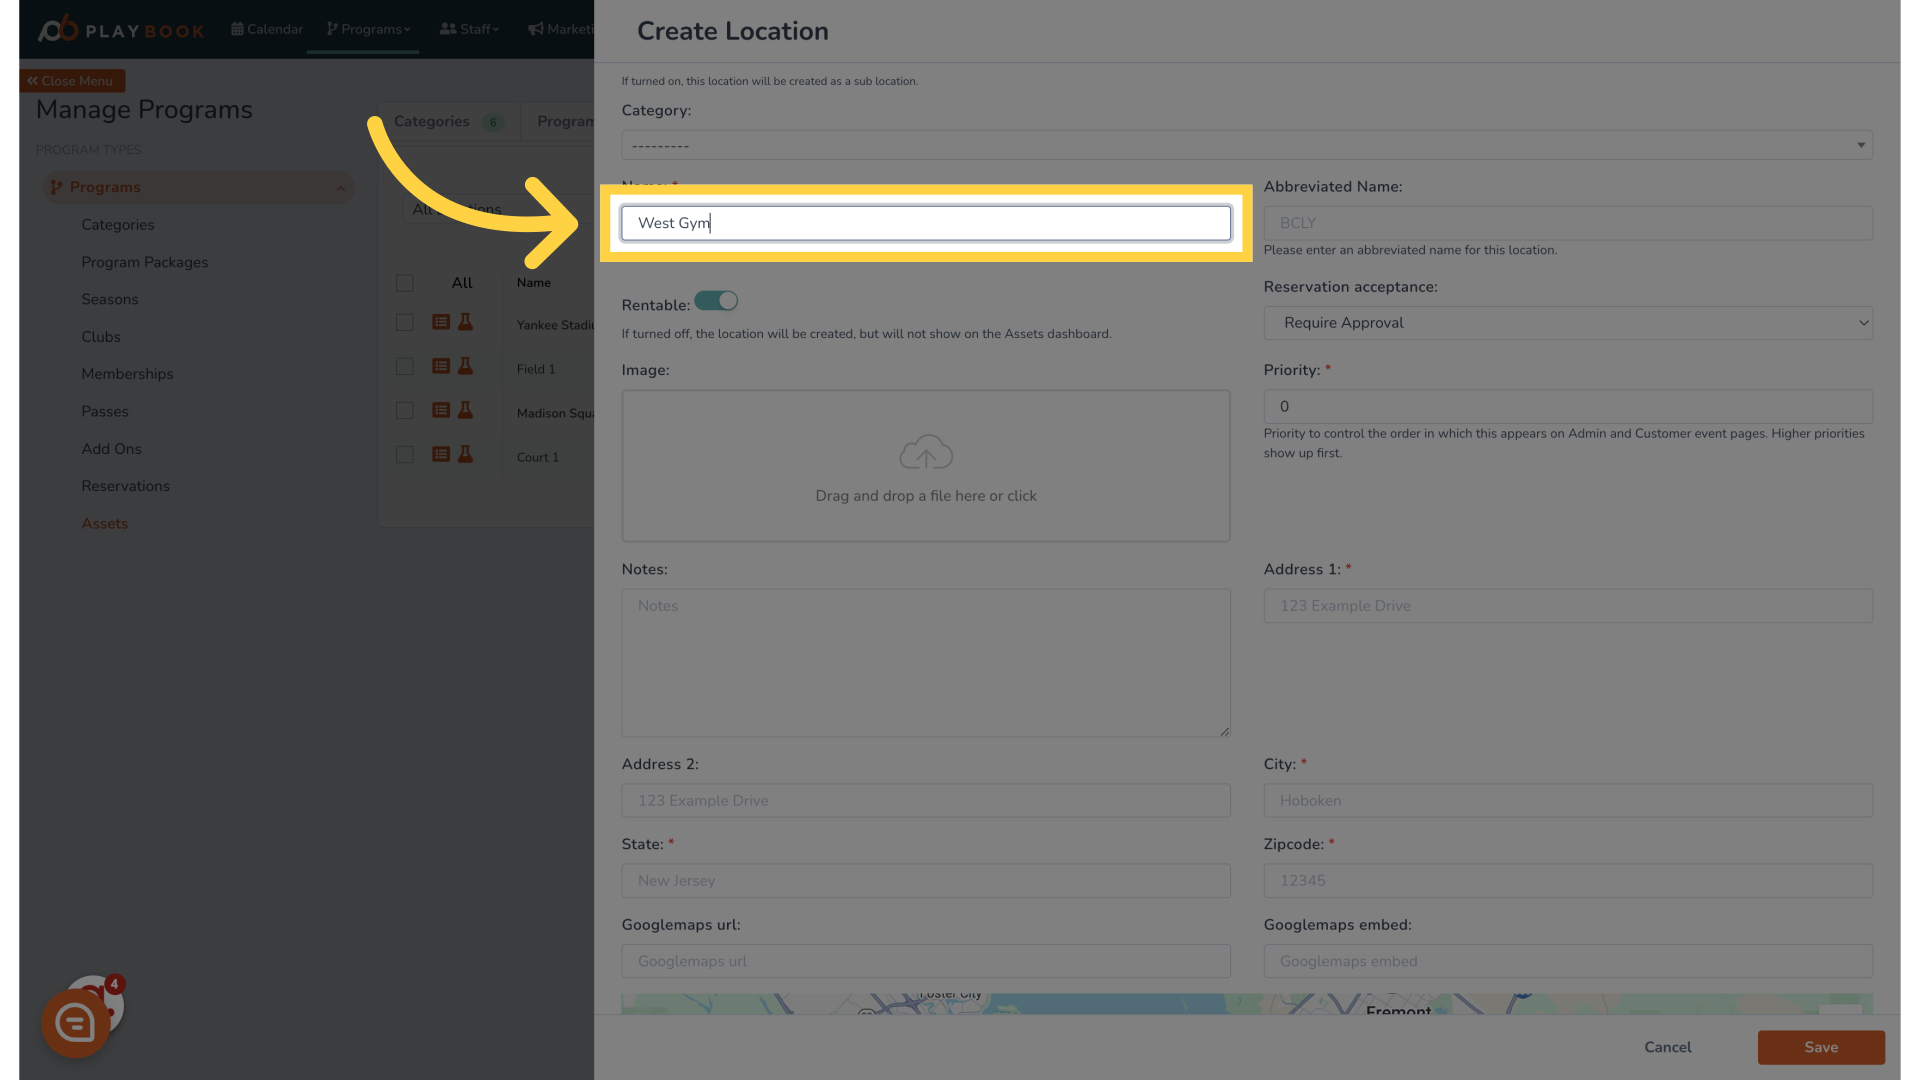
  4. A pop-up window will open where you can start to set up all relevant information
    1. You will see an Is Sub Location toggle, set this off for now.
    2. Name can be whatever you want to call your location
    3. Abbreviated Name is a 4 letter code you can give your location
    4. Hours of Operation is where you can list the location’s hours, if you desire.
    5. The Rentable toggle will give you the option of making your location available for rentals to the publict
    6. Notes are for backend administrators only, and front-end customers will not be able to see them
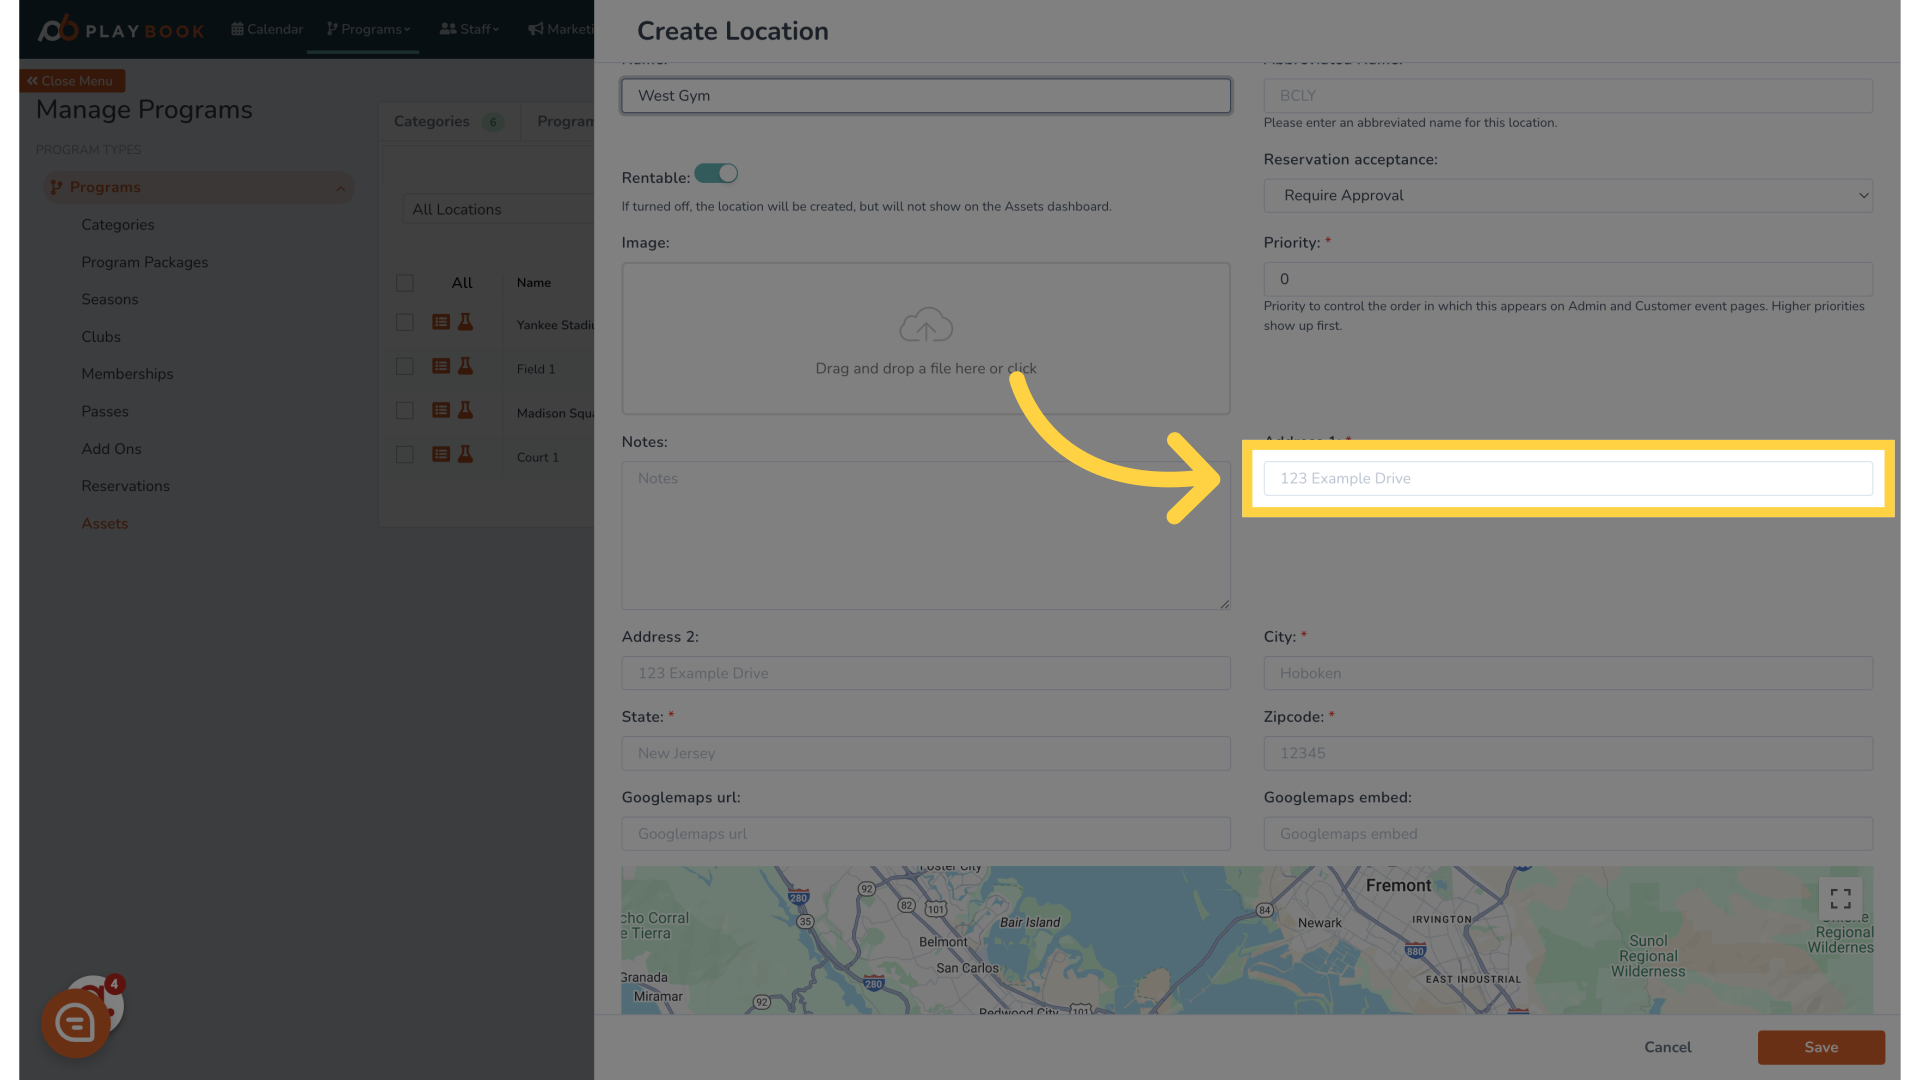
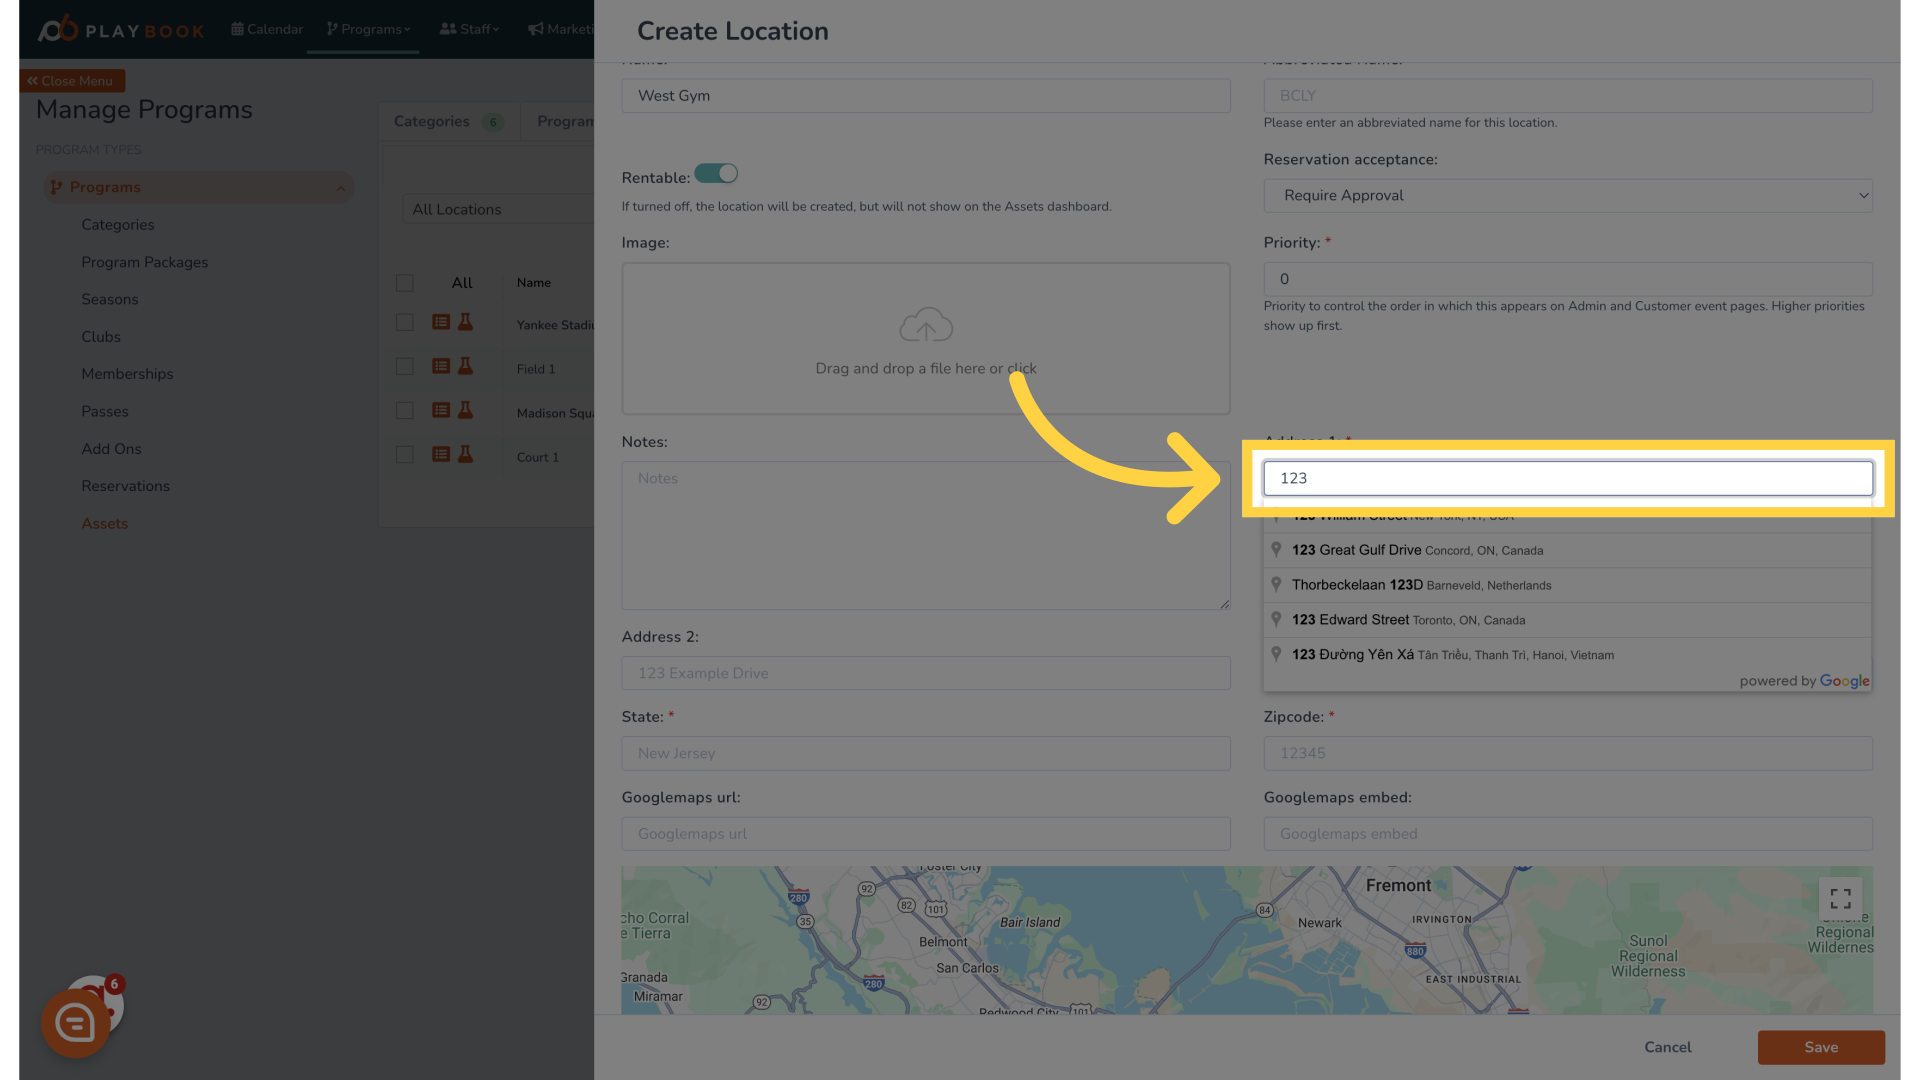
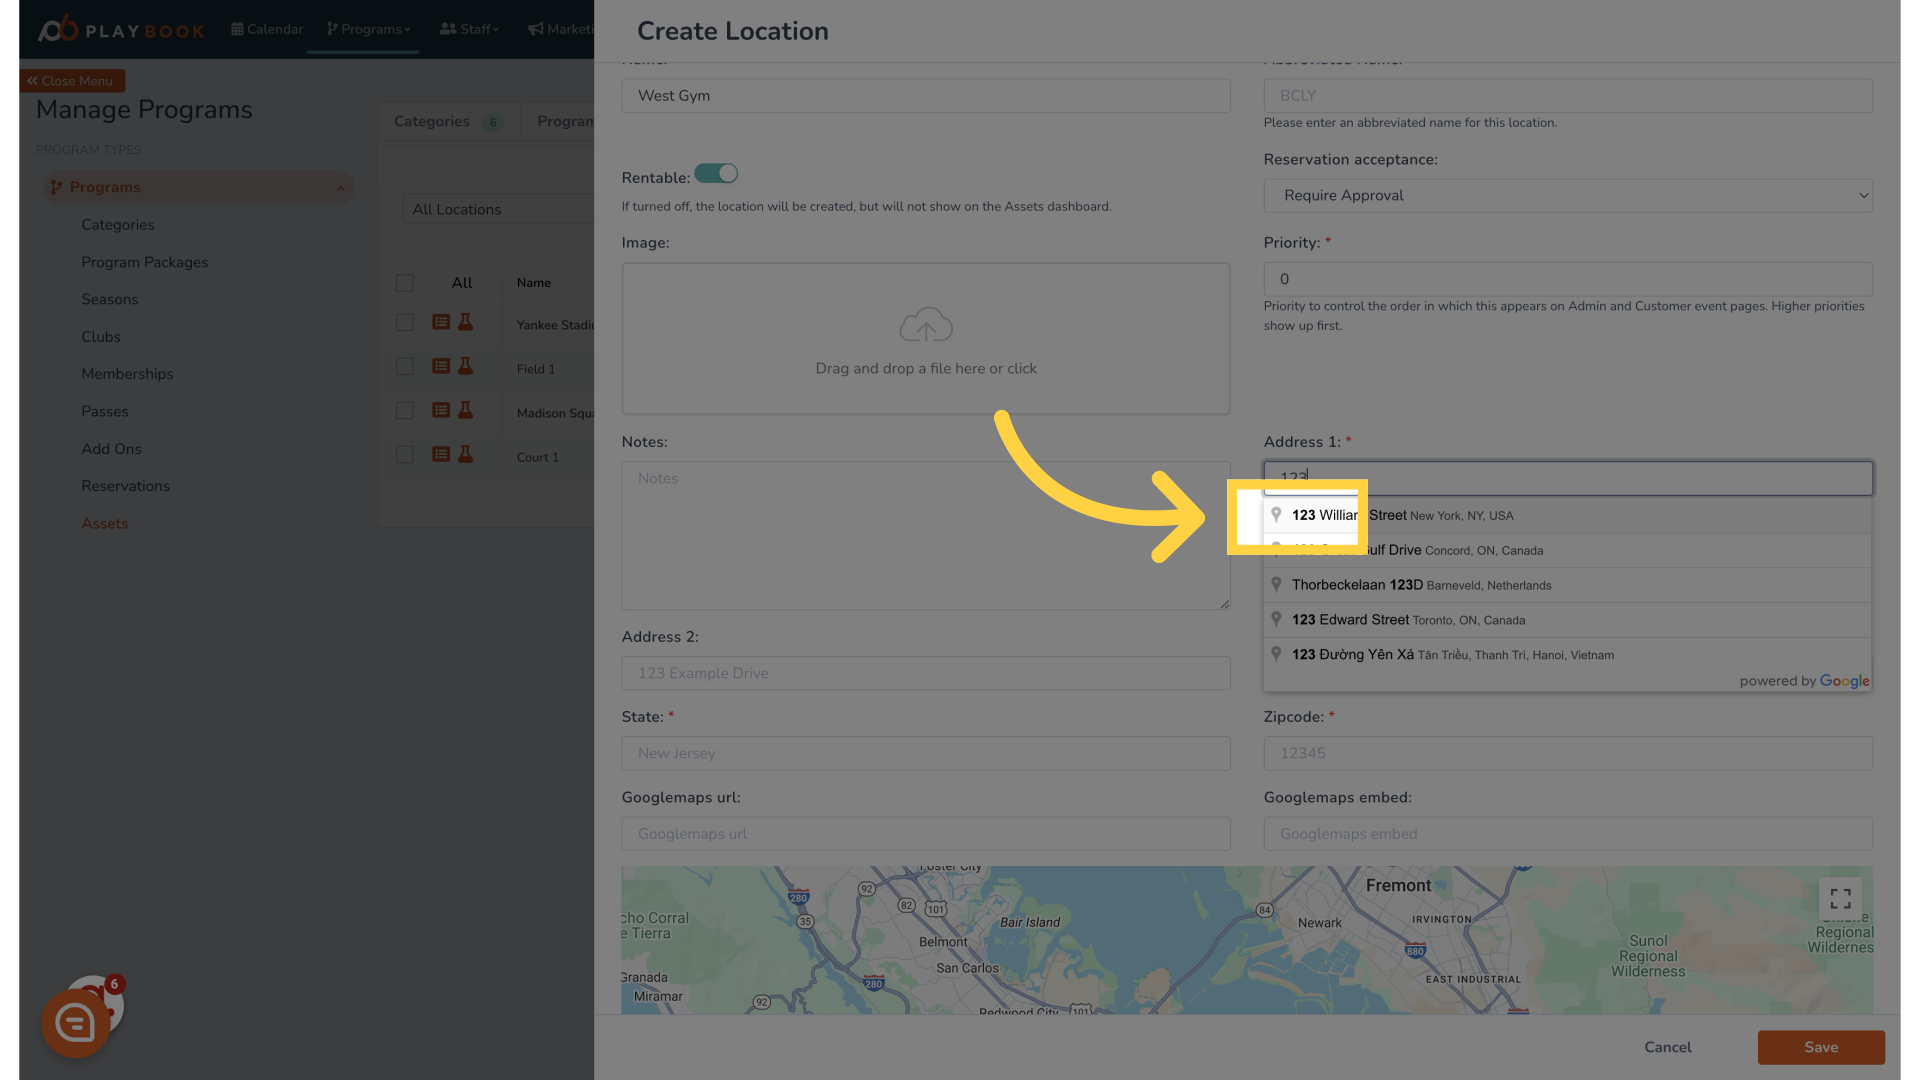
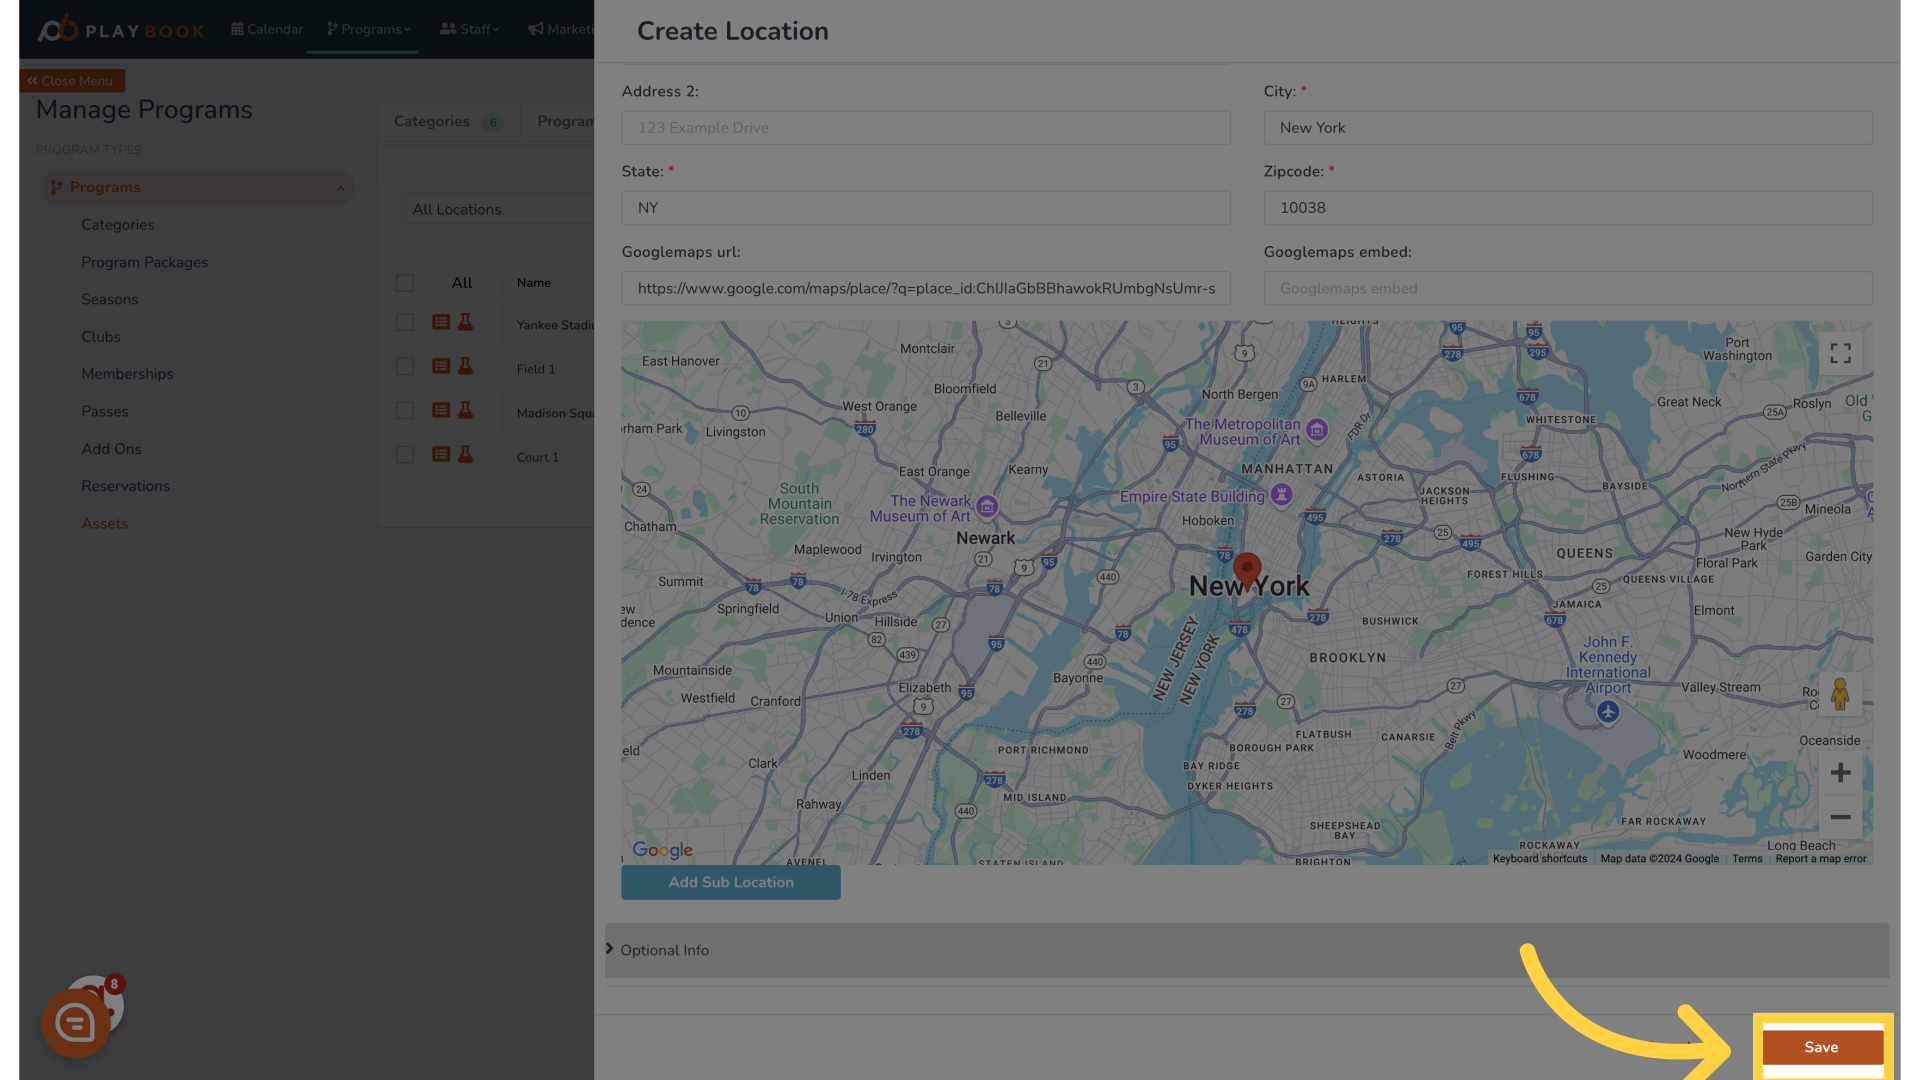
    7. Make sure to enter Address 1 (Address 2 is optional), City, State and Zipcode
    8. Cross Street is where you can provide additional information to front-end customers
    9. The Google Maps URL is where you can link your location to Google Maps 
    10. Finally, you can choose to select a Category for your location to belong in
    11. Once you are happy with all the settings, you can go ahead and press ‘Save’, and now you can pick this location when creating any new programs, as well as link it to any existing ones as well

You can also create Sub-Locations that exist within a larger location. For example, you could have Gym A set as a location, then set Court X, Court Y, Court Z as sub-locations within Gym A. Note that you can also create Sub-Locations within Sub-Locations

  1. Click the ‘Create Location’ button on the top right to open the pop-up window 
  2. Make sure to toggle on Is Sub Location, the information to fill out will be slightly different
    1. Give the Sub-Location a name, you can also choose to give it an abbreviation as well
    2. Click the orange Find under the Location box you will be taken to a window that shows all the current Locations in your system
    3. Click on the name of the parent Location your Sub-Location is under
    4. If your Sub-Location is part of another Sub-Location, you can use the same Find process as above
    5. You can also toggle whether the Sub-Location will be rentable or not
    6. You may also select a Priority the Sub-Location will have. Higher Priority Sub-Locations will appear first in any listings
    7. You can add Notes for other administrators to see, note that front-end users/customers will not be able to see these notes
    8. You can choose to apply a Category to your Sub-Location
    9. Once you have filled everything out, go ahead and press Save