
- Log in to the Playbook Back End of your website: (mywebsite.playbookapi.com/control_panel)
-
Use the admin search bar to search for the customer by:
- Name
-
- Email address
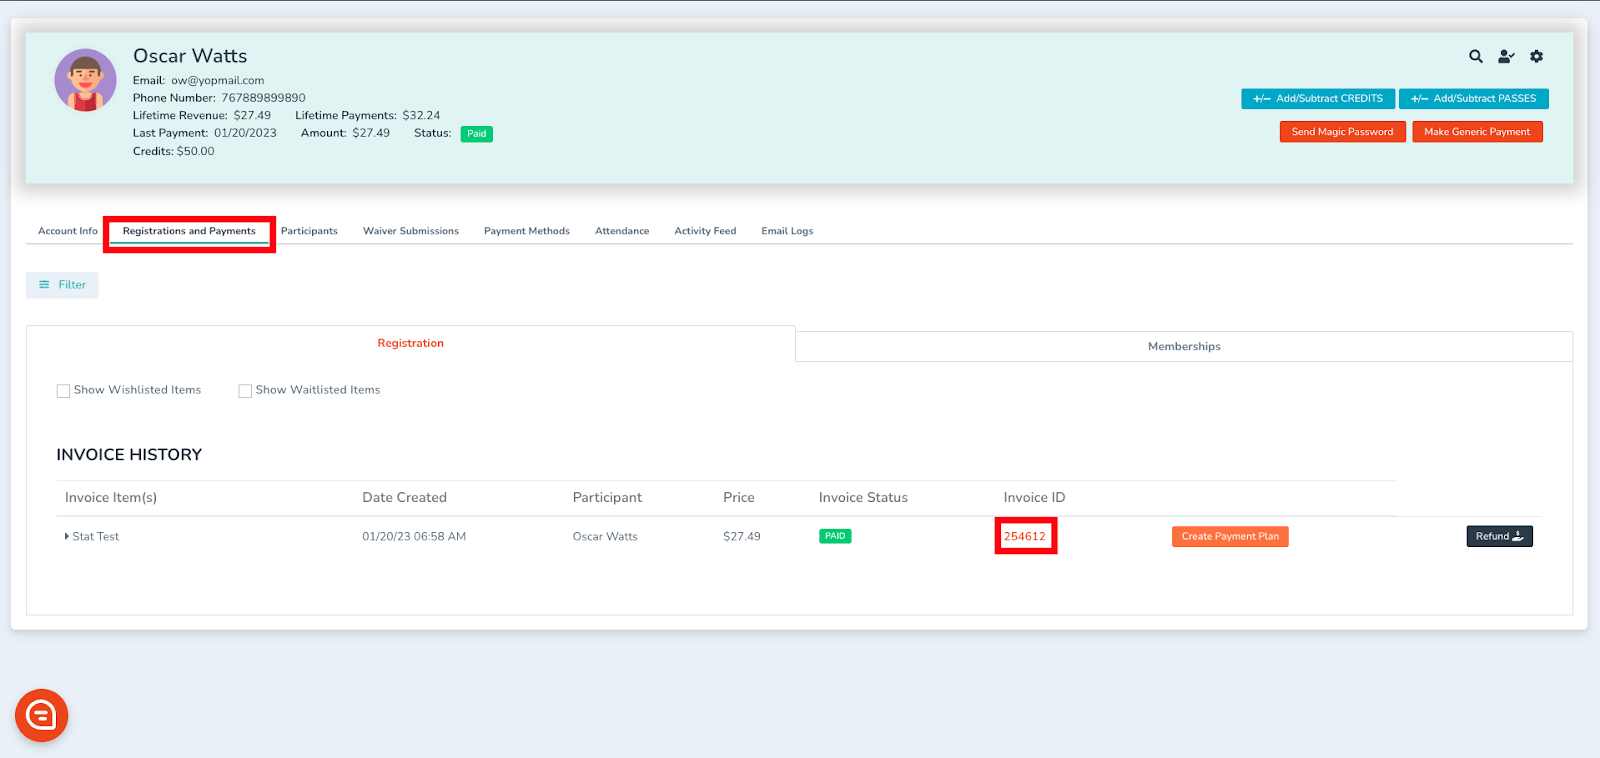
- Select the user to open their Customer Card

- Click the Invoice ID number to open the Invoice Card.
5. Create or Edit a Payment Plan:
- On the Invoice Card, click Create Payment Plan or, if a plan exists, select Edit Payment Plan.

-
-
- Create Payment Plan opens a window where you can:
- Set the total payment plan amount (can be less than the invoice total).
- Choose the first payment date.
- Enter the number of payments.
- Customize each payment's amount and date.
- Edit Payment Plan opens a window where you can:
- Modify the number of payments.
- Delete future payments using the trash icon.
- Toggle the auto-charge feature on/off.
- Add extra payment dates.
- Create Payment Plan opens a window where you can:
6. Save the Changes:
- After adjusting the payment plan, click Save to apply the changes. The updated plan will now take effect for the selected invoice.
Important Notes & Common Mistakes
- Only future payments can be edited or deleted — past payments cannot be changed.
- Make sure payment dates are correct before saving to avoid billing issues.
- Turning off auto-charge will require the customer to manually complete payments.
-